
Making Easter bunnies out of milk cartons
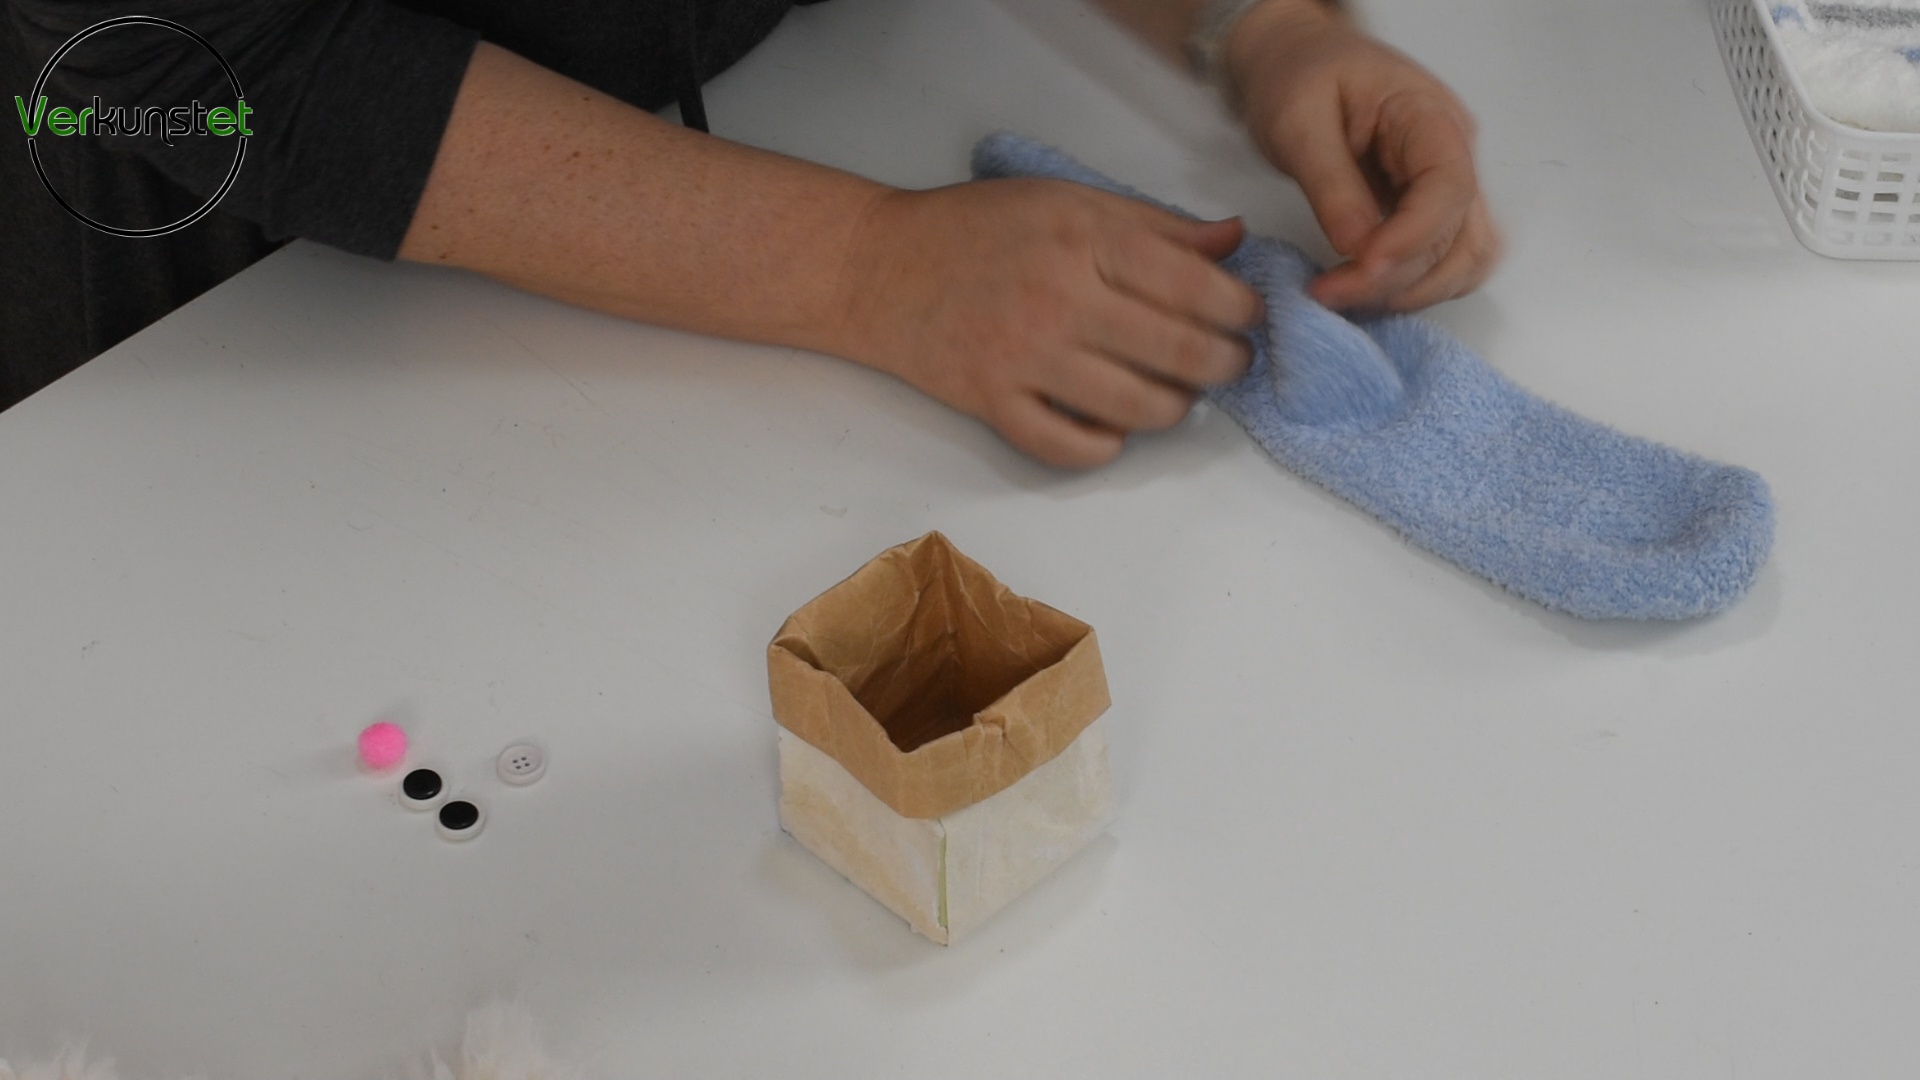
To make such a sweet Easter bunny, you do not need much. Get an empty, cleaned milk carton, an old terry cloth sock or similar “plush” socks, buttons, and maybe some wool or something.
Step 1 - Sew the bunny ears
The sock must now be prepared. To do this, place the sock in front of you a table with the foot rest facing the side of the table or upwards - i.e. level not the way a sock is usually folded in the closet. I show this also here in the photo:
Sock with the heel up
Now you can use scissors from the tip of the foot to just before the heel to cut your sock in half. Depending on the fabric, that can be a little difficult, so cut slowly and calmly. Above all, cut thick material as much as possible with wide open scissors, because then you have more power than if you cutting the tip. 
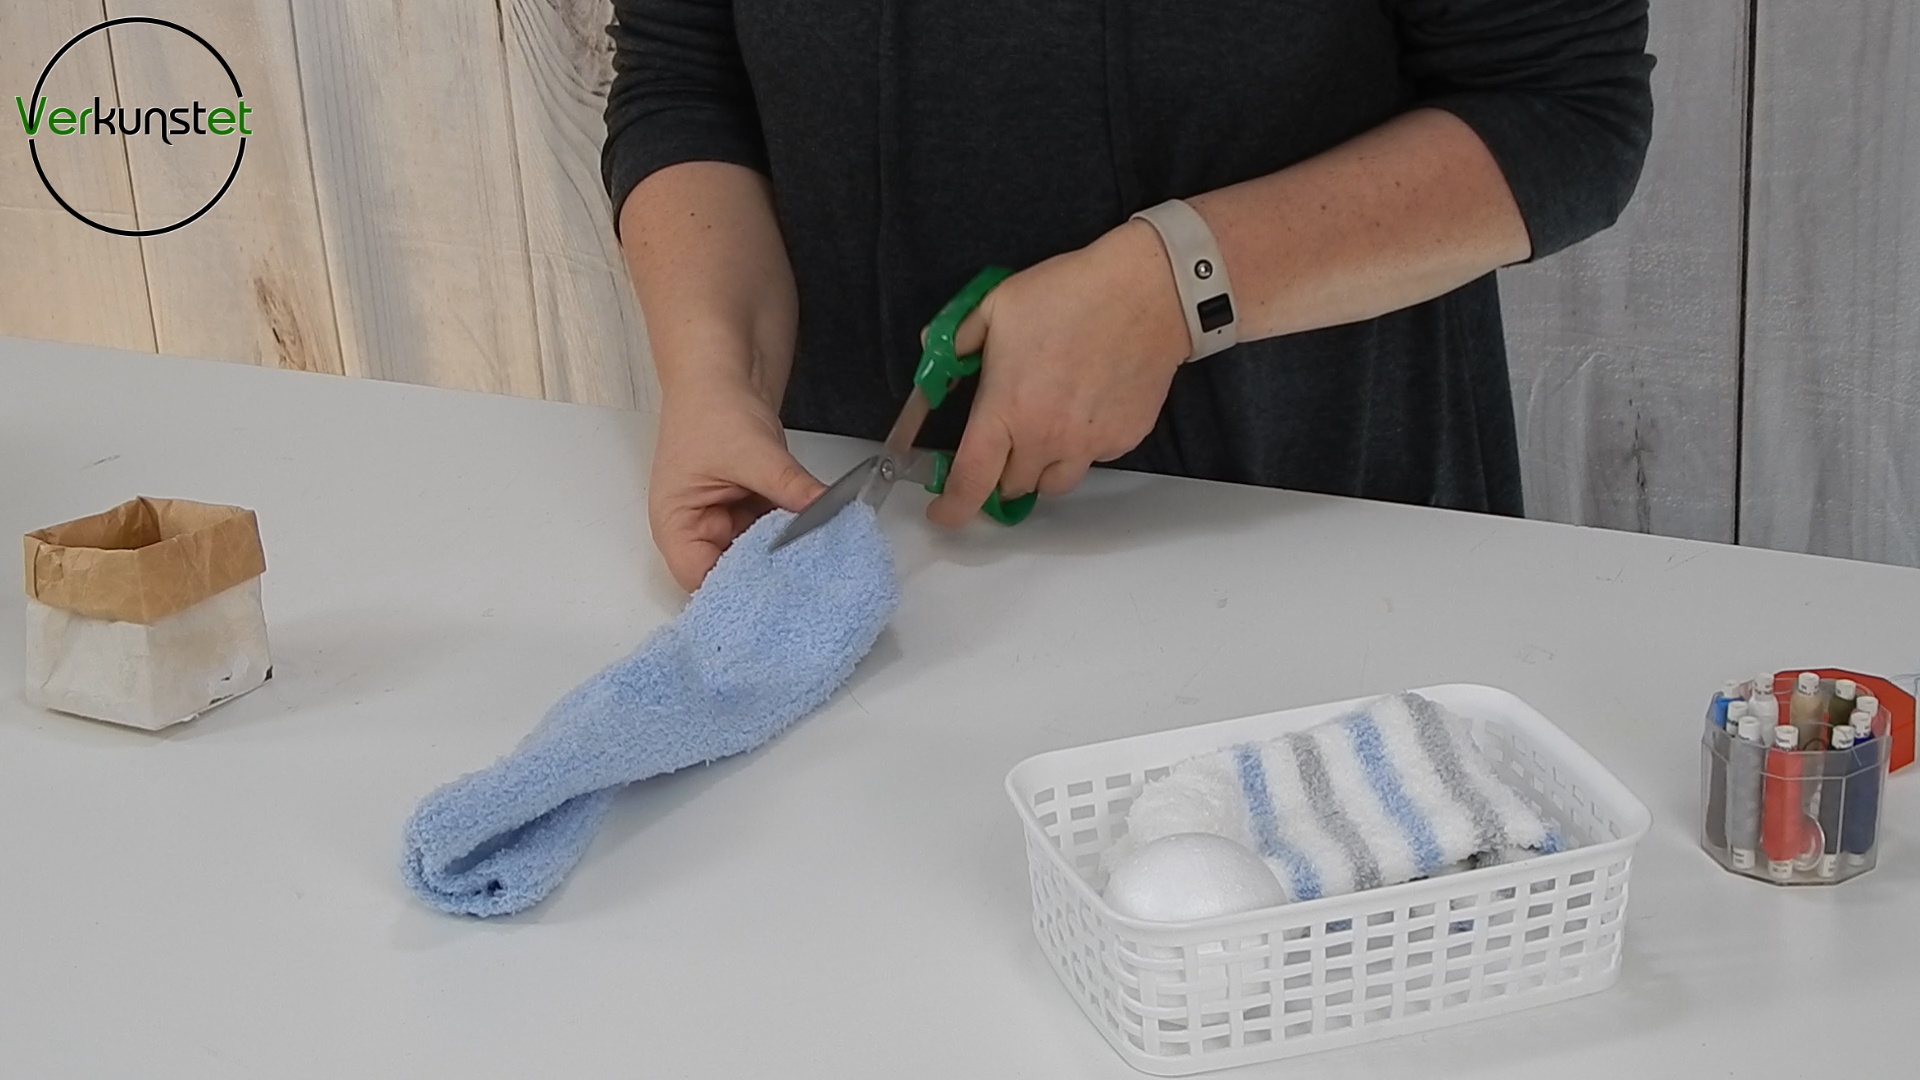
Cutting the sock
When you have cut the sock, put it back in front of you and pull the cut ends a little bit apart. Now you should already have the ears - the spoons - of the little rabbit.
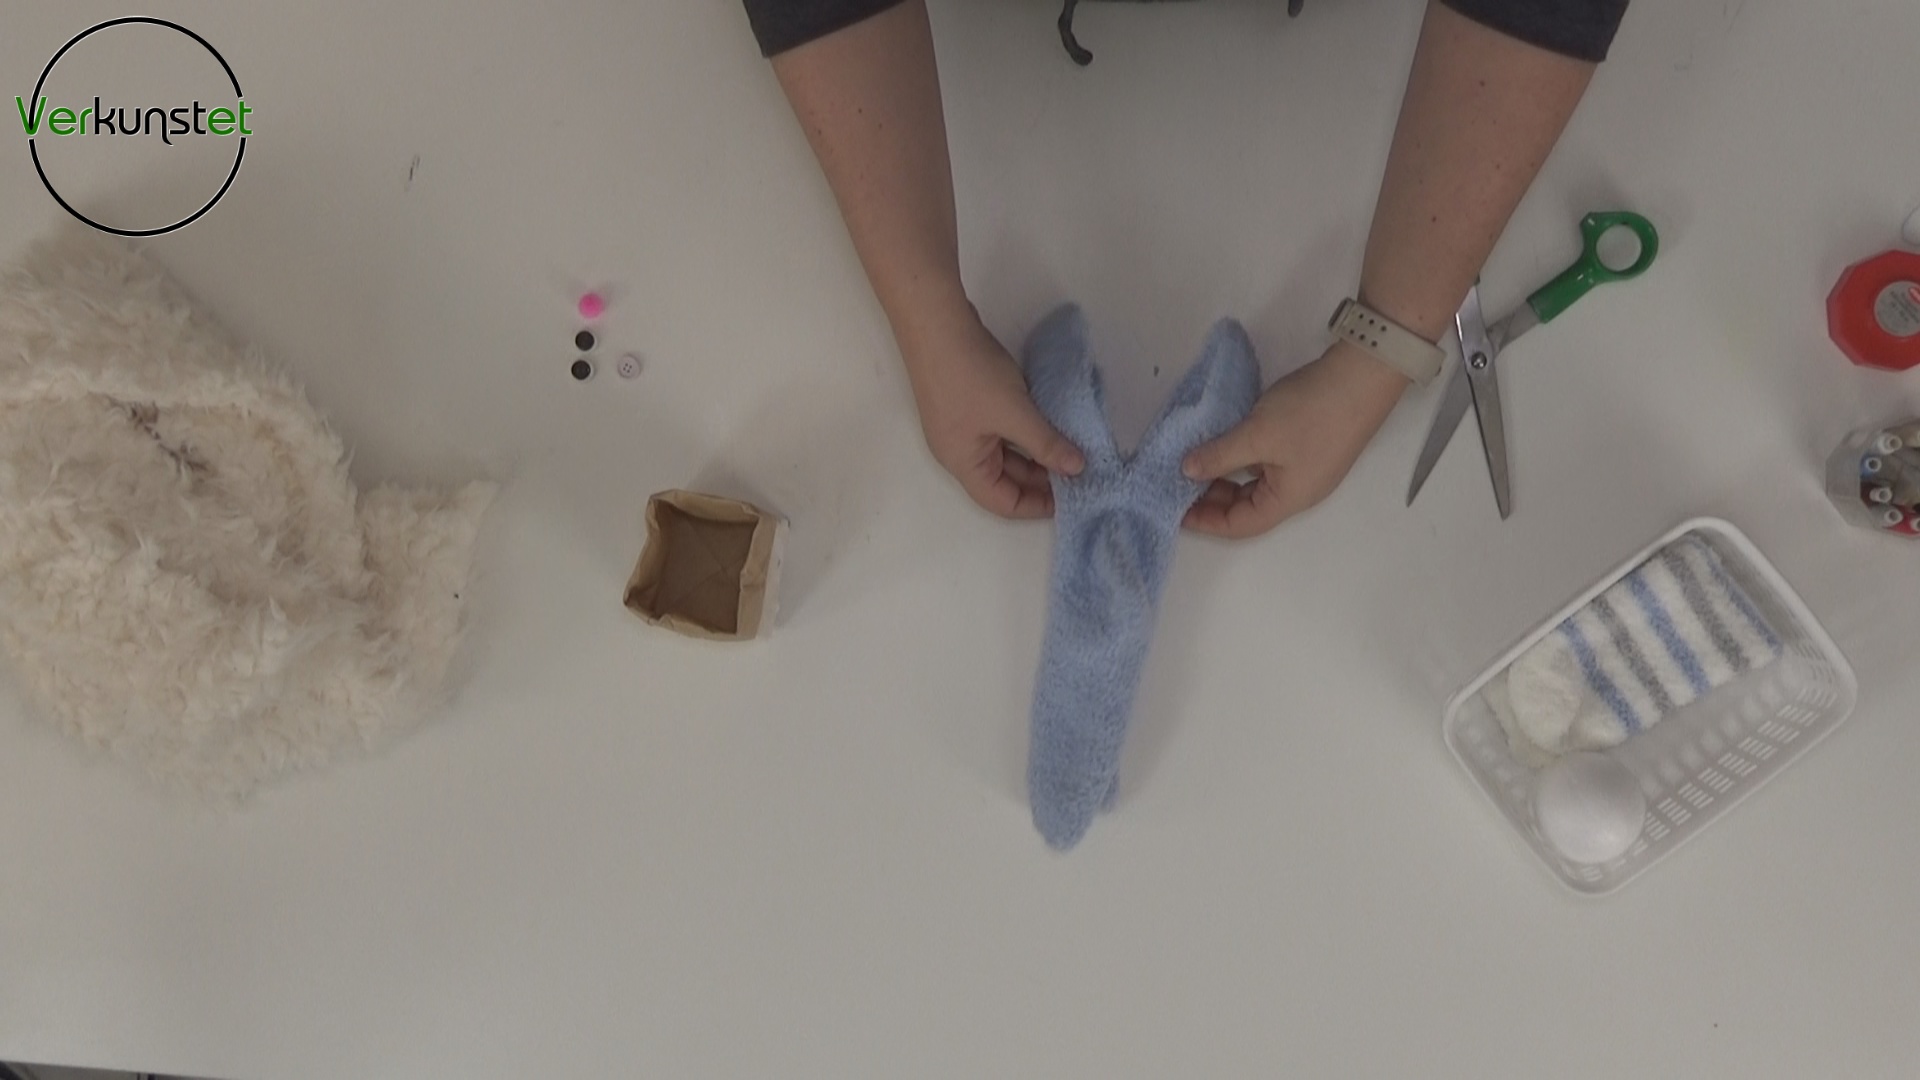
The ears become visible
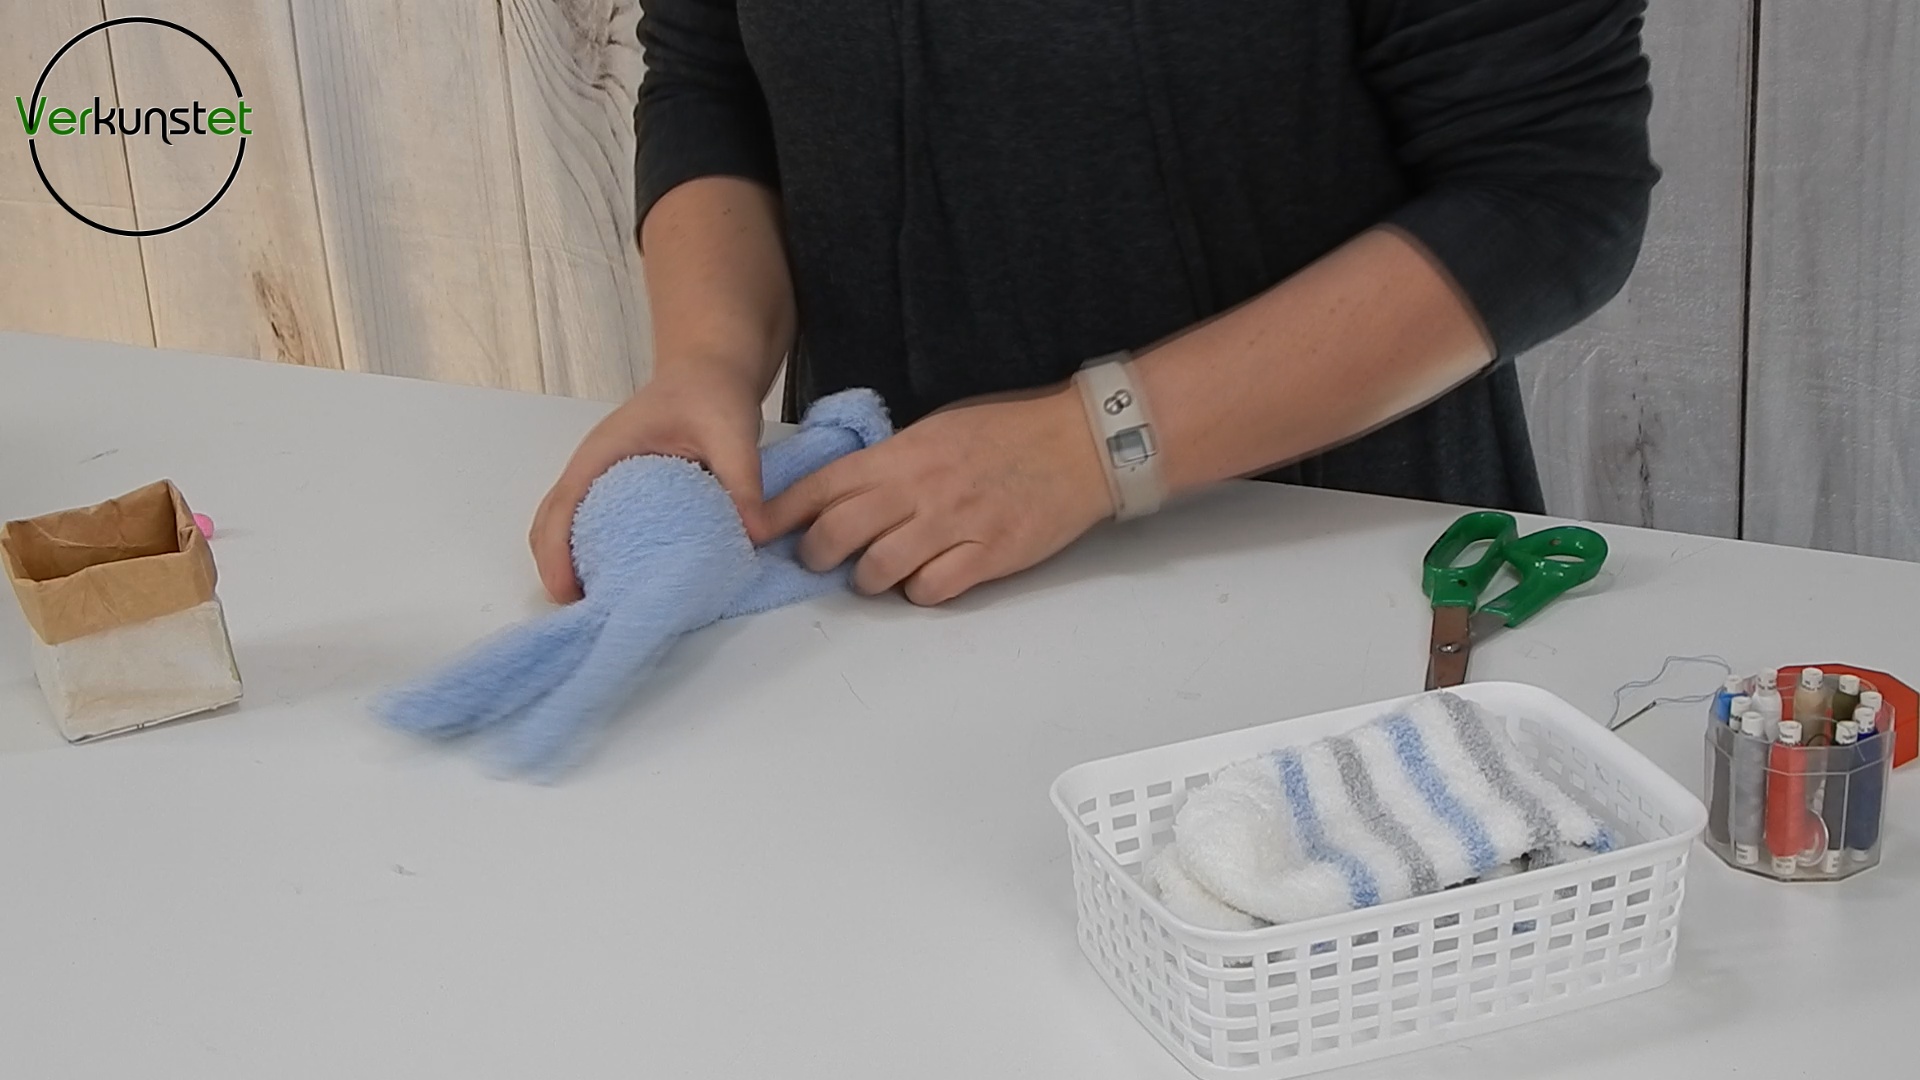
Now turn the sock inside out and sew the two ears together. Since you sewed the sock turned to the left and certainly did not put too much strain on the ears. As the spoons are not going to be heavily used, it is sufficient to sew the spoons with a few stitches each time. Here no extreme sewing perfection is required.
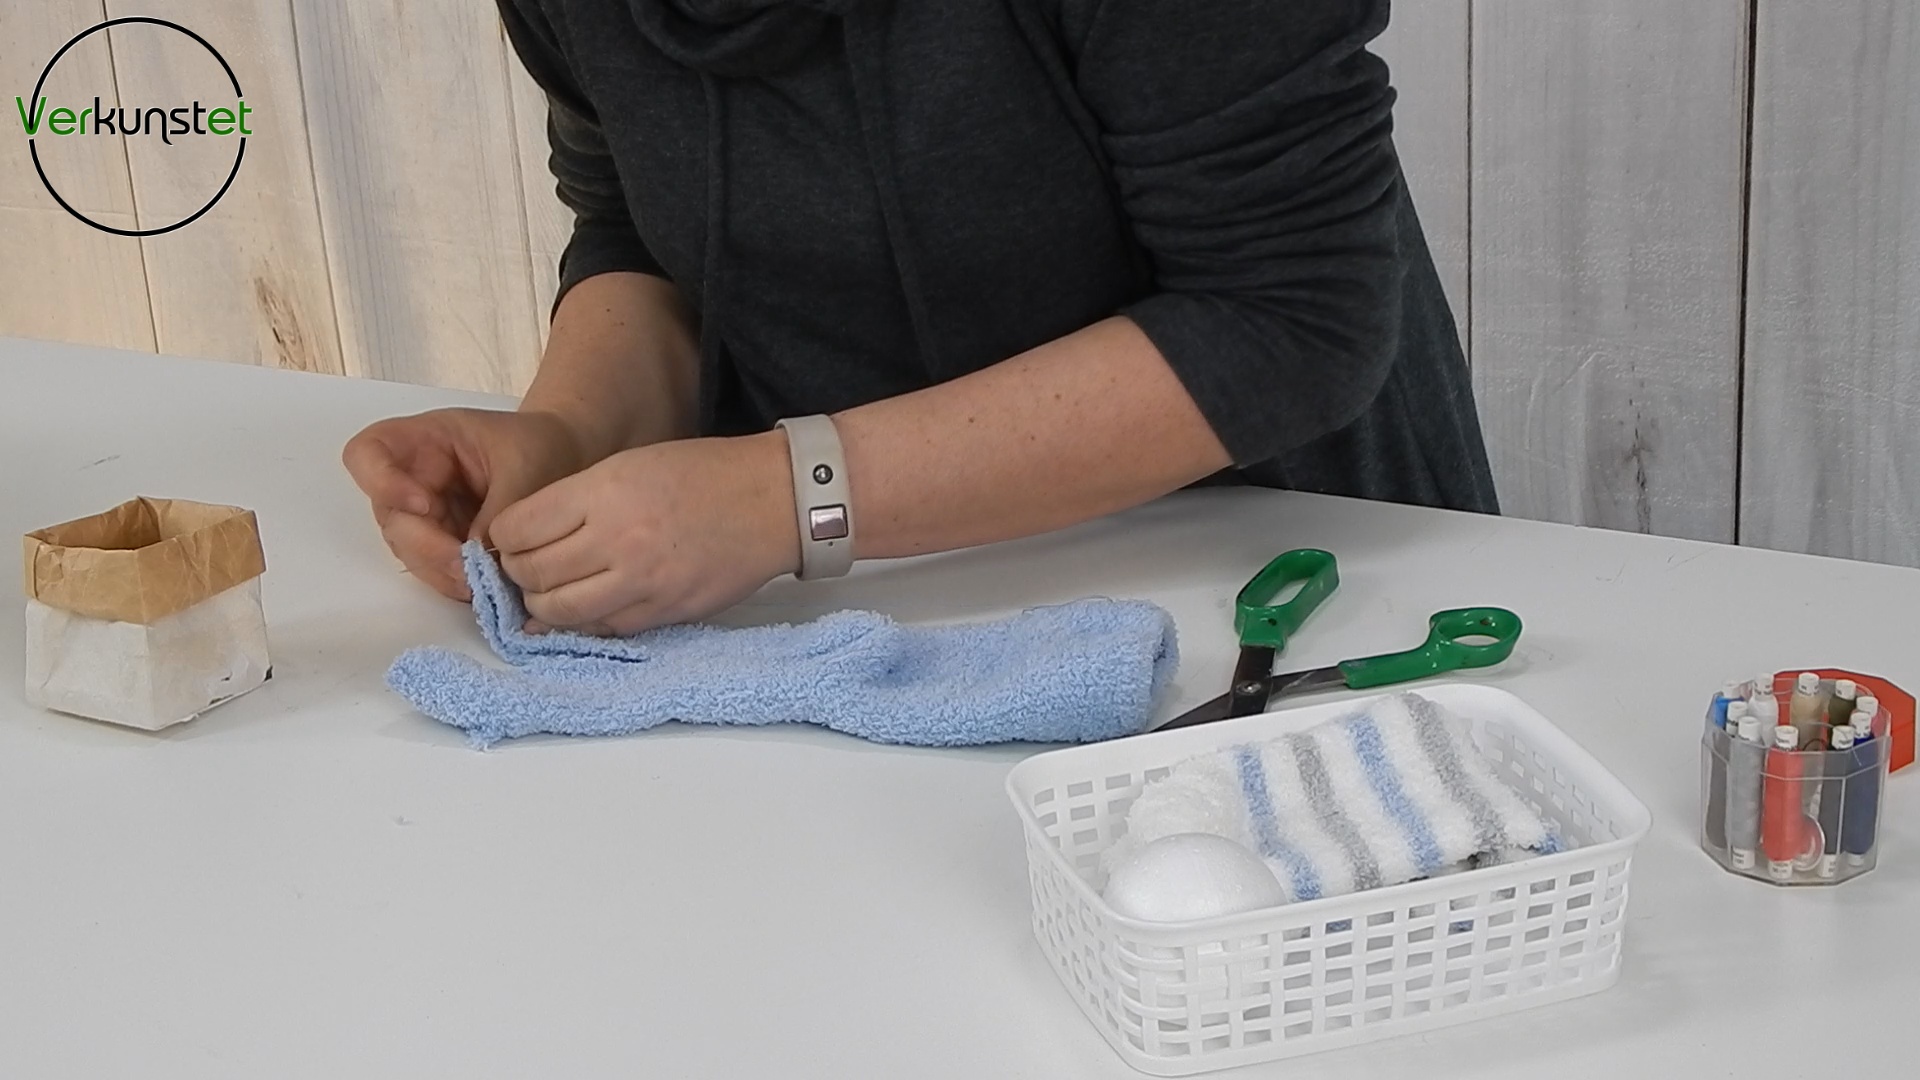
Sewing up the ears
Now pull the sock back to the right and put the new ears on off. If you like, you can also stuff your ears with cotton wool - but not too much ;-) Bunnies usually do not have thick ears.
The final result could look like this on the photo:
Interim Status
Step 2 - Prepare the milk carton
On the picture you can already see it: I shortened the milk carton a little and Edge turned over. With my milk carton I also wrapped the outer foil with printed advertising removed. You don’t necessarily have to do that, because later the sock covers the milk carton but I mean, if I get in the milk carton or candy, then the milk carton will be ready for the next day visible when unpacking, and then it is nicer not to have the milk advertisement see. How it works with the milk cartons and removing the foil, I have described in this article here. There is also a video on my YouTube channel to that.
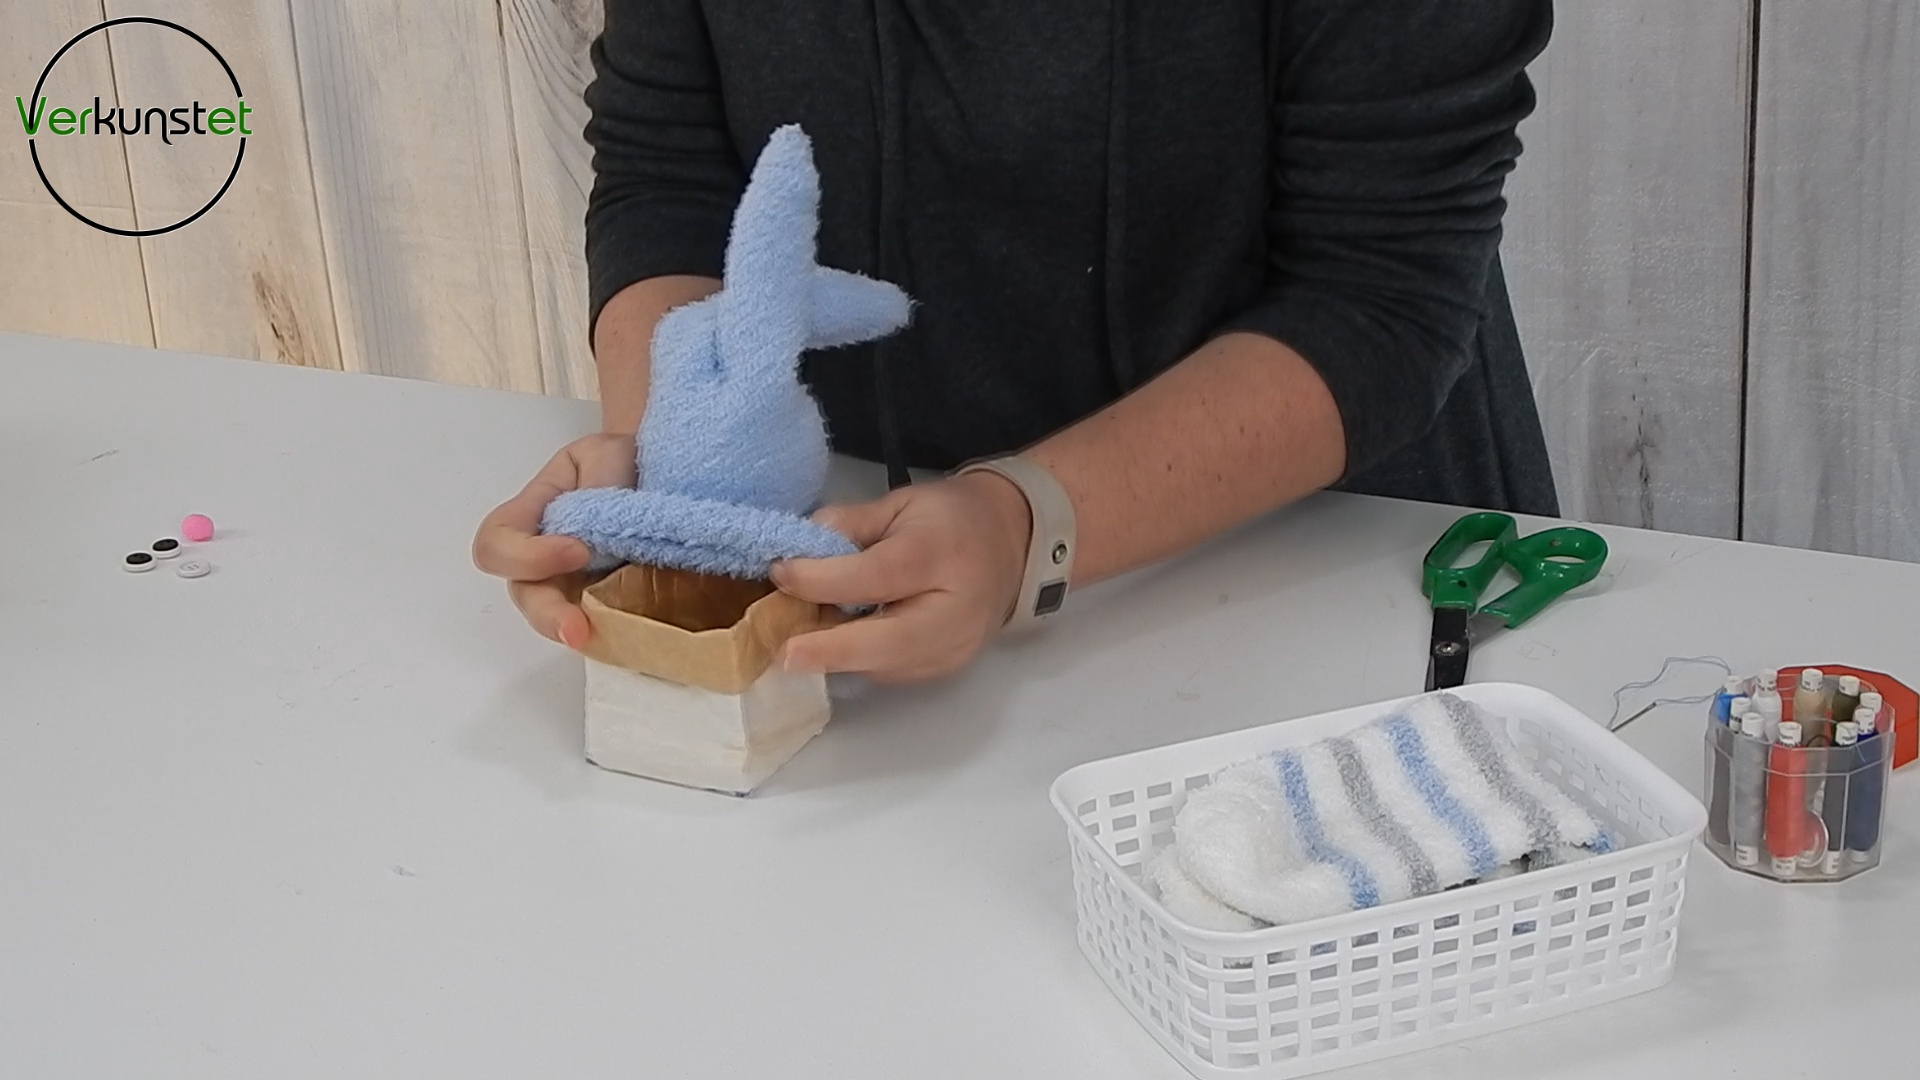
Step 3 - the rabbit gets a head
Next, the rabbit’s head should be stuffed. For this you can you can use cotton wool or paper again, that works just fine. In my video use I had a decorative styrofoam ball that I still had. Of course you can also and has the advantage that it is quite dimensionally stable. Disadvantage is quite clearly, it is not sustainable to use a plastic such as Styrofoam. When you use it anyway, I mean, why not? But I’ll leave that up to anybody. yourself. in principle, you can stuff the head with anything that gives the shape. you can even get the second sock out of the pair if you just make a bunny want to.
Stuffing the head
Step 4 - Make the rabbit body
Now it is time to produce the rabbit body as well. When you get into your bunny presents or sweets, then you should give them to the milk carton, because now we put the sock over the milk carton. Especially Sweet treats go down well with children in the bunnies - just as a tip.
Pulling the sock over the milk carton
Step 5 - a ruff and a tail
So that my bunnies don’t look so naked, they get another Neck brace. I still have a plush scarf, from which I can choose appropriate Cut pieces. Alternatively you can also do this with wool or other fabrics. There’s no limit to your imagination.
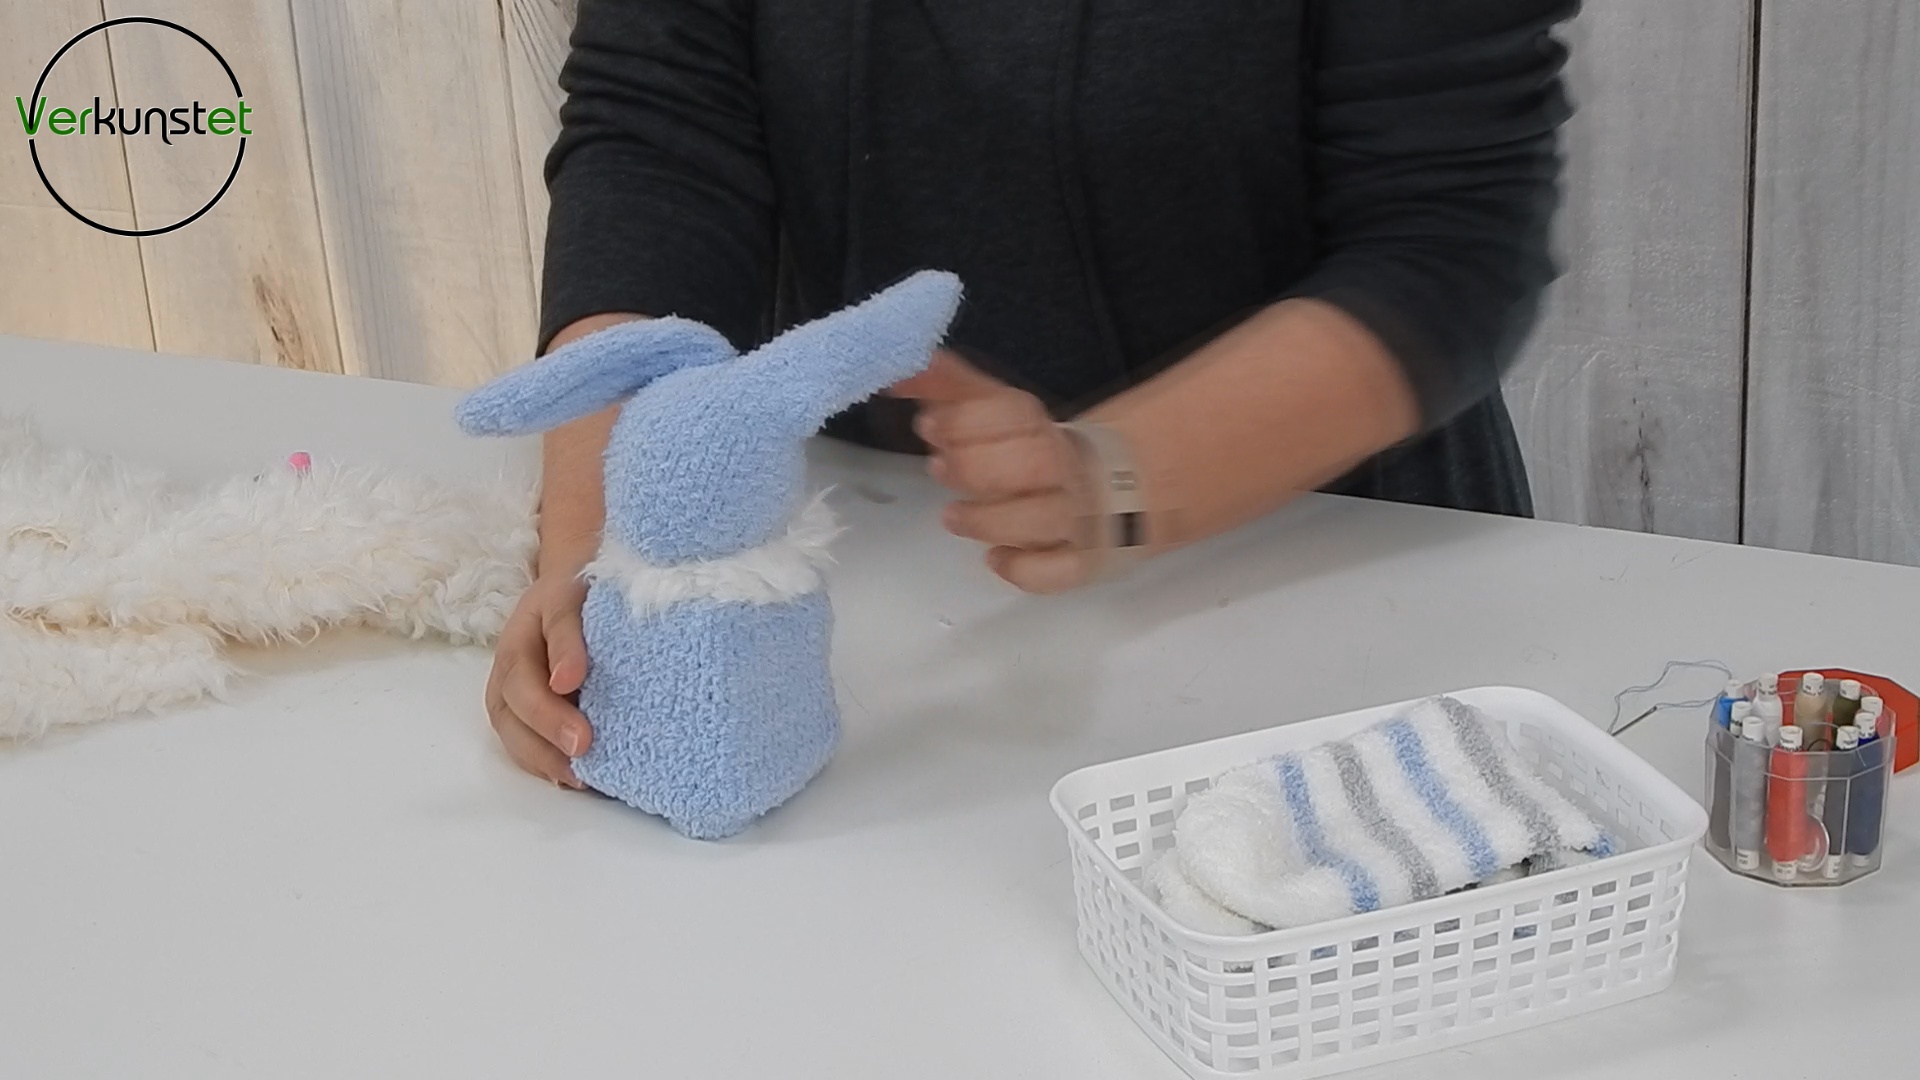
A neck brace for the bunny rabbit
To the ruffle fitting I have from the same material the bunny also a Stumpy tail missed. So I cut off some of the fabric and formed into a ball. You could glue it together or you could just like me sew on the rabbit body. It’s really quick and you have needle and thread are already there.
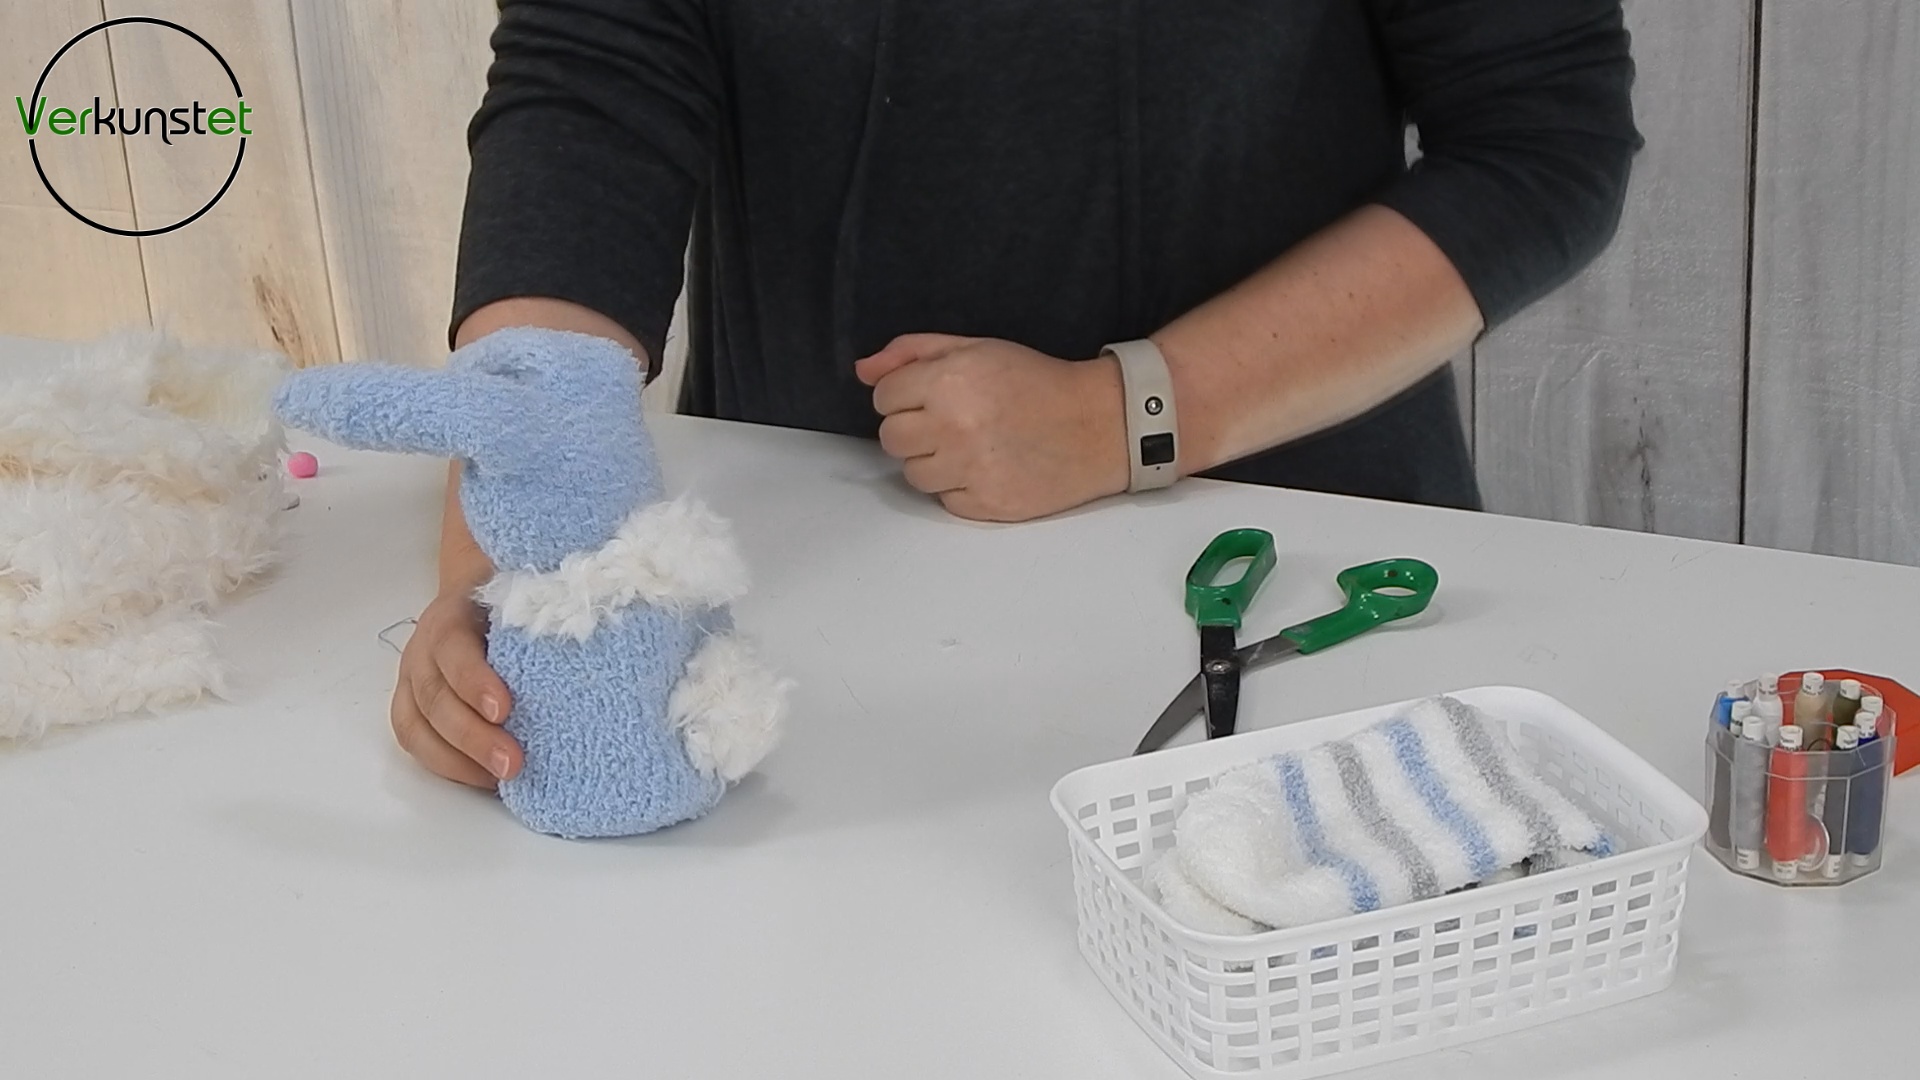
A stumpy tail is one of them
Step 6 - The bunny face
Our bunny is already clearly visible, but the Face. Only then does the rabbit become really cute. For this I have chosen picked out a few buttons I don’t need anymore.
I use them to make my eyes and nose. For the eyes, I take a black and a smaller white button to give a little more the look of eyes to reach. But it also works with only one button per eye.
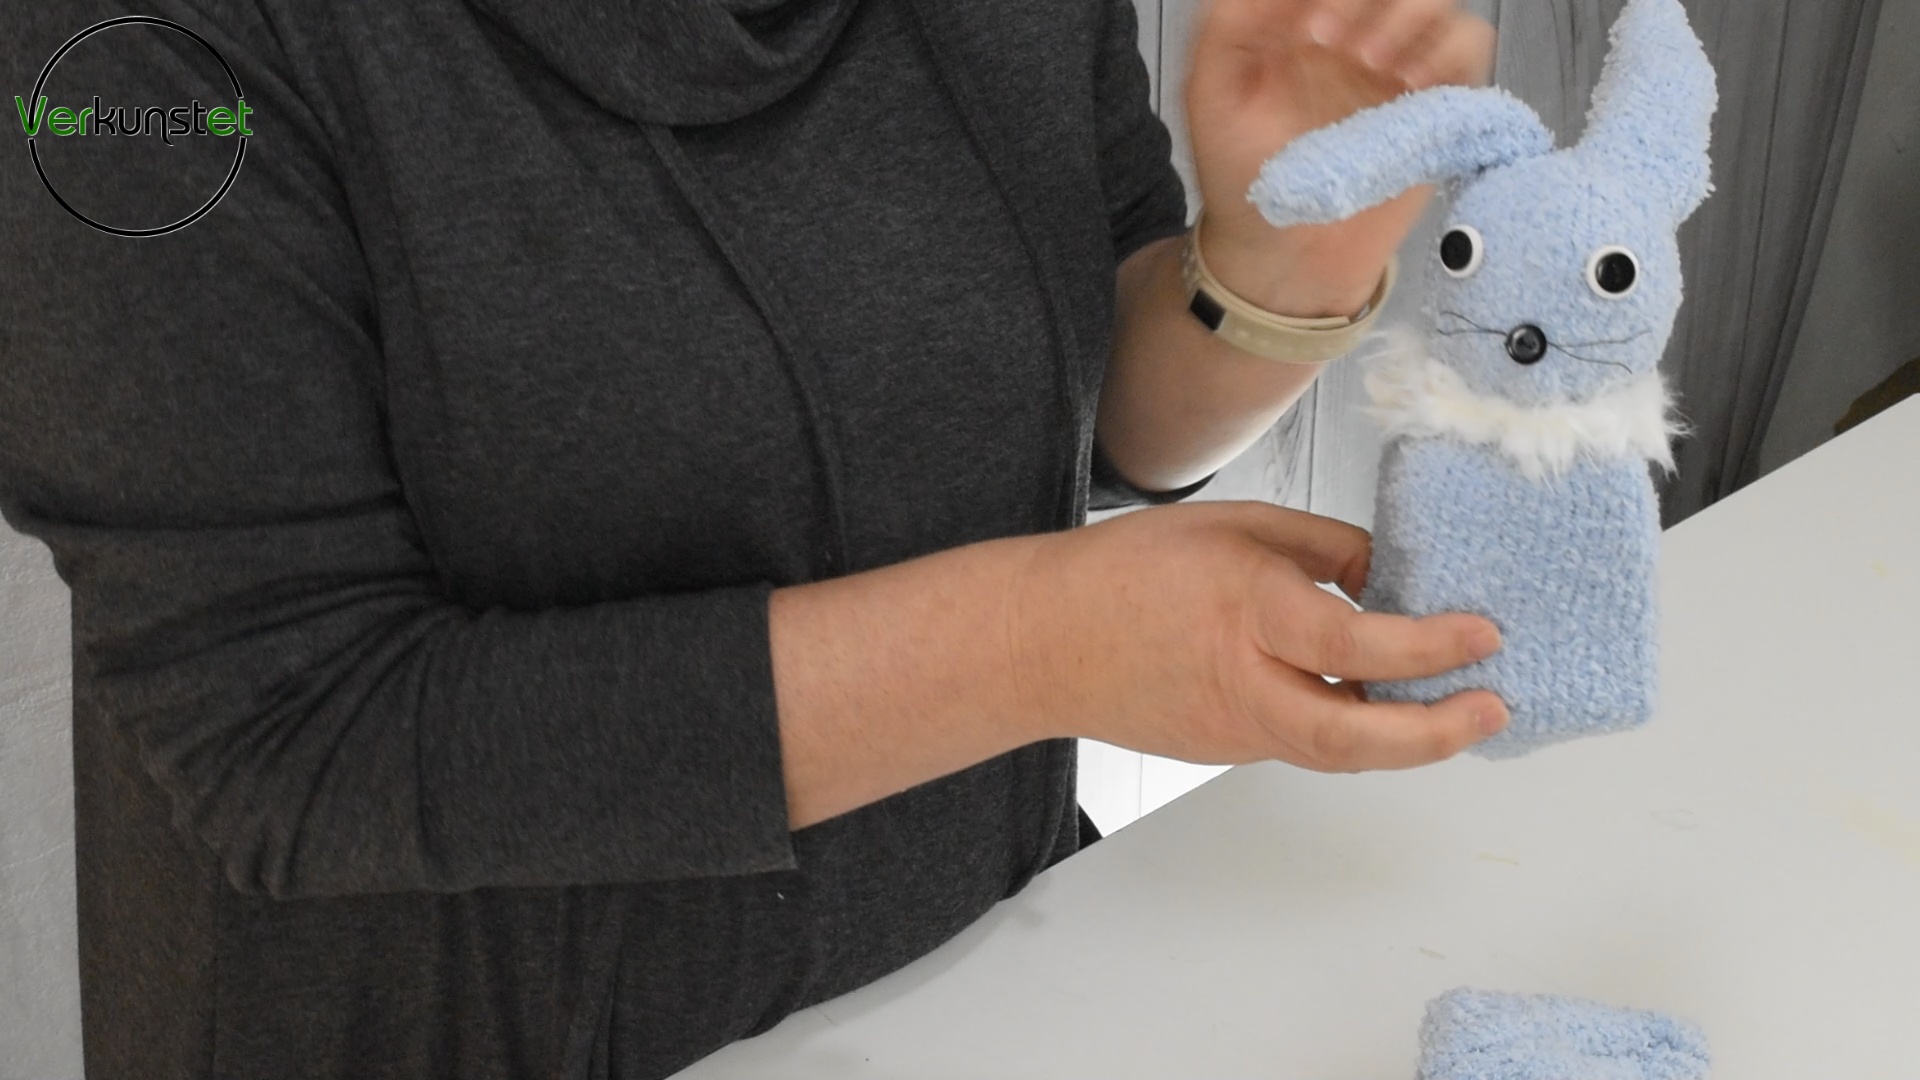
Easter bunny with two-tone eyes
The nose is also sewn from a button. In addition I have then still something Thread twisted around the nose to create whiskers. This can also be done quickly. For this, the yarn must be really strong - and black, of course. If If you don’t have black thread, you can also cut the ends of the whiskers either sew briefly or stick on with a little super glue.
Of course you can make many variations here. You can make bunnies with standing ears, or with a scarf instead of a ruff. Here would like I do not anticipate much at all - just let your imagination run wild. 
List of materials
I have used the following material and equipment:
- Milk carton or juice carton
- Towelling sock, second-hand
- Fabric from an old plush scarf, wool or similar
- needle and black thread
- Buttons
- Styrofoam ball
- Scissors
Resources
I also show all steps again for easy comprehension in my YouTube video. If you like my creations …I’m very pleased. Why don’t you leave me here or on YouTube or Facebook a comment on how the article or the video.
Maybe you’ll tell me what other ideas you have, or what else maybe I could try it out for you. I also have a Facebook group set up where you you are welcome to share your own creations, crafts or ideas or to present your paintings and so on. You will find many like-minded people there who are looking forward to seeing you.