Empty cans of food are something for the barrel? Far from it. In this blog post I will show you how you can create a magical decoration from old tin. You don’t need any special tools or skills to do this. Also, the whole thing goes quite fast. But of course, a little craftsmanship won’t hurt here. But let’s start, I will show you what is important.
Start with the tin can
You can of course do this with almost any tin can. The important thing is that it is empty and that you get the label off completely. If in doubt, warm dishwater, patience and a coarse household sponge, pot cleaner or steel wool will help. Only lacquered cans can be a little problematic. Also flat, wide cans, for example tuna cans or similar are rather bulky - it works in principle, but you get the look of an ashtray :-(
Also the can should still be nice and round and free of dents, but I think that goes without saying.
So, the first step in short: Select the can, clean it and remove the label.
Away with the edge
If you have the can clean and label-free, the top edge goes to the collar. To do this, carefully cut a small piece into the edge from above. If you use a universal cutter or a stable scissors for this work, this would be the place to use a side cutter or pliers. If you have a tin snips, you can easily do everything with them. If you cut the edge with a typical “universal cutter” or household scissors, they will often suffer injuries.
As soon as the edge is cut through, go around the can with the tin snips or the universal cutter and cut the edge off the can. We don’t need it anymore and can dispose of it. Please take a look at the rules of your waste disposal company or the waste regulations of your local authority - it may very well be that these leftover pieces no longer belong in the recycling zone but in the household trash can. Please be careful, because these cutting edges are razor sharp. If your recyclables are sorted manually, the sorters may get hurt - if in doubt, put them into the household waste.
PRO-TIP: You can also open the can directly with a can opener, which does not cut the lid from above, but cuts the can at the sides and thus cuts off the lid including the rim. Here is an example on Amazon Amazon ( Advertisement)
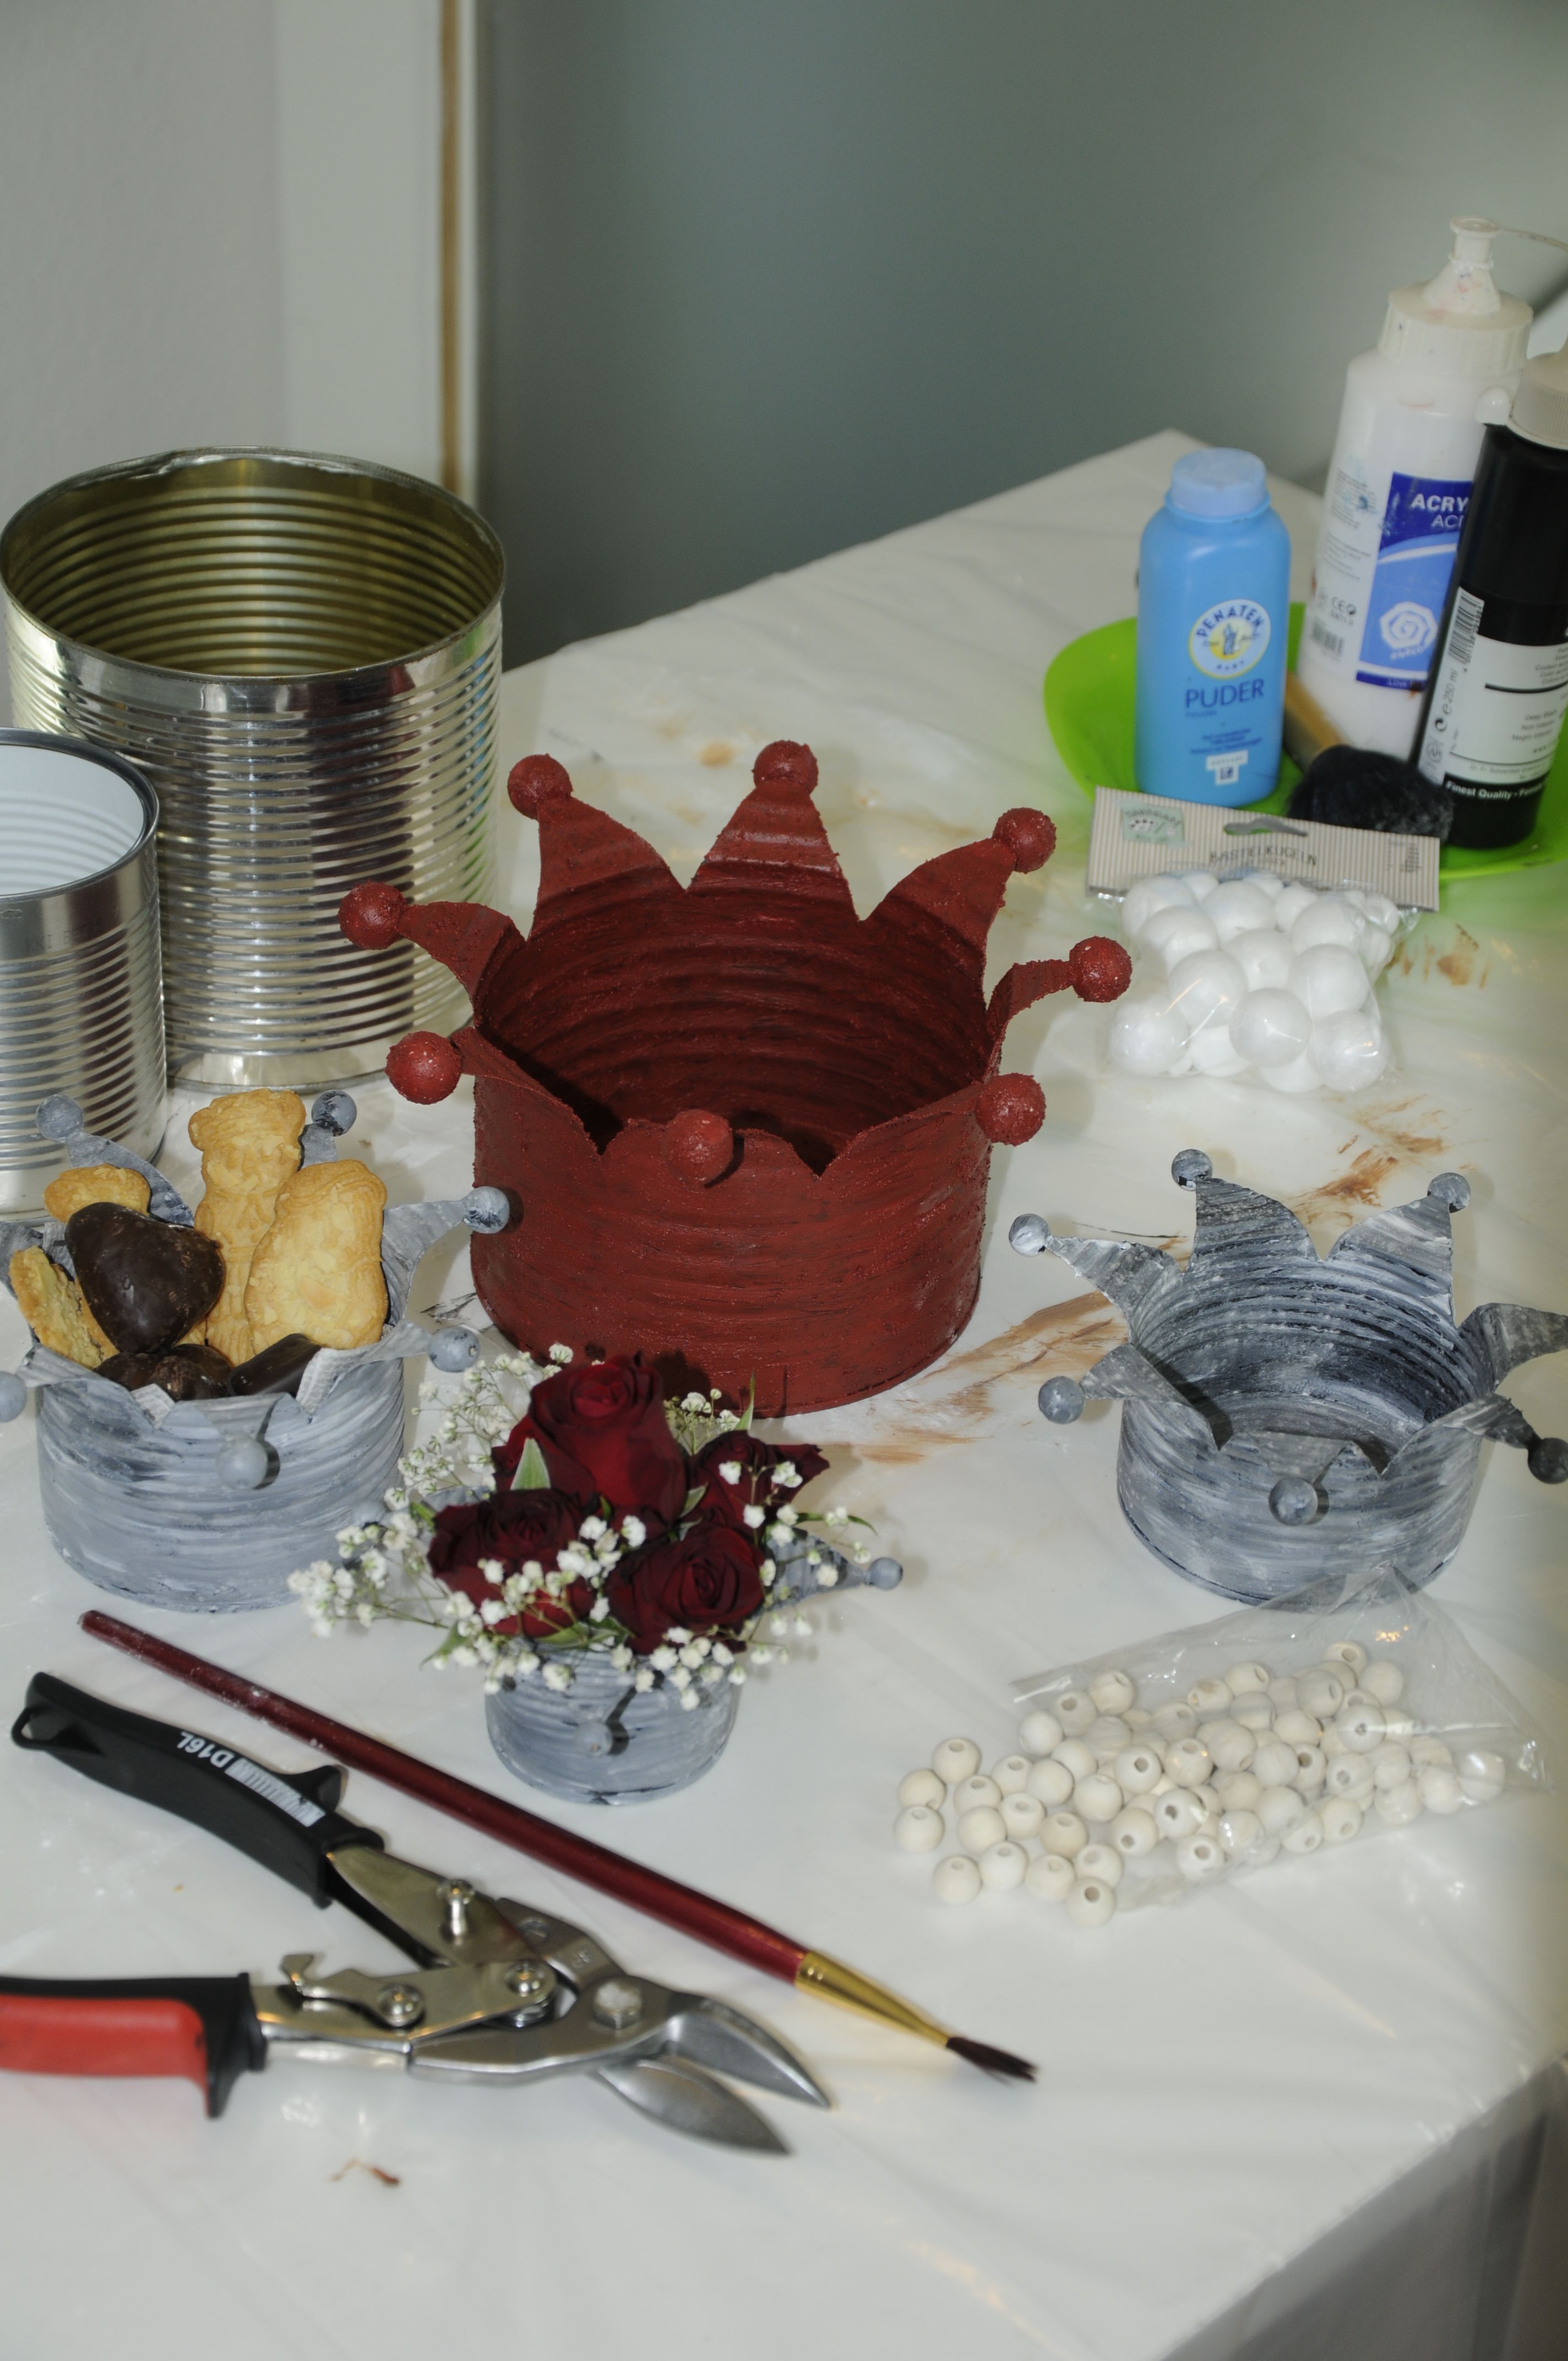
Needed material
Get off the label
Now you need a sheet or two of paper. This paper is wrapped around the can and then adjusted to the height - if necessary you have to glue two sheets of letter paper together. At least the typical bigger cans, the classic canned food format for cans with a filling of 600-800gr (21-28oz), needs 31,5cm (12.4 inches) paper for the circumference.
A pragmatic approach is to simply measure the length of paper on the can by wrapping the can in the paper. Of course you can also use a tape measure or implement the solution suggested by my husband: You measure the diameter of the can and multiply it by 3.14… then you have the circumference.
The new “label” does not have to be stuck to the can yet. We need this right away as a template.
The template
To make this stencil from the cut sheet of paper, we think about what we want. For a can from the example above, seven prongs is a good quantity, so we divide the sheet into seven sections of equal length. The best way to do this is to use a triangle and a ruler. Along the six lines we now fold the sheet in zigzag. Then we cut a triangle from the middle to the outside. This way we get a zigzag line when we unfold the zigzag fold “Accordion” again. We can then stick this on the box with one or two adhesive strips.
Thus the stencil is ready and on the can. Now carefully draw the contours with a suitable pen, such as a marker pen or a foil pen, etc. on the metal sheet, then the paper stencil can come down again.
How it can look like - The can from the video
Cutting and filing
We now carefully cut out the tips along the contours drawn on the can with the tin snips. Please be really careful here. The cuts are sharp-edged and the tips very pointed 😉
Therefore, it is absolutely necessary to file or sand these edges a little. For this you need a simple file. If necessary you can also use some sandpaper. If you have a small sanding machine like a sander or similar, you can use it, of course. When working with the file, make sure that you pull the file as long as possible over the cutting edge. So if you start the file on the inside of the tip of such a “V”, the file should sit on the whole length up to the top. If you don’t do that, the file will “rumble” a bit over the thin sheet metal and you might file notches into the sheet metal. So always go long. With the machine it is of course a bit easier, but it is not absolutely necessary. In the tool list below I have listed what I use in the video.
No crown without pearls
In the next step we glue the beads to the tips of the crown. I prefer hot glue for this. It’s fast, holds almost always and is firm as soon as it’s cold. Alternatively it could be done with superglue. If an all-purpose glue gives good results, you would have to try it. In any case, the hot glue gun is faster than an all-purpose glue, which has to set first. For wooden beads, the cheapest ones will do. There are also differences in price for pre-painted wooden beads - but since we don’t build a space shuttle, but decoration, even the cheapest beads are sufficient. 😉
Alternatively there are also larger beads or balls made of styrofoam. These are easier to apply, but here you have to use an adhesive suitable for styrofoam. The disadvantage of this material is that it is much more difficult to work styrofoam with paint opaque and even. Also, the paint can quickly be scraped off again later. Therefore I do not really recommend it.
Paint for the Shabby Chique look
We prime the can including the beads from all sides - inside and outside - with black acrylic paint. Usually you have to apply two layers to get the paint really covering.
The primer is then left to dry well. In the video I show you how you can create a grey mottled used look. I achieve this with black and white acrylic paint on my plate. I don’t mix them evenly, but take some of both colours to the brush and spread it on the can. Then I dust baby powder on the still wet paint. I let this layer dry. Afterwards the surplus baby powder is brushed away with a soft brush - I like to use a rougue brush.
Upcycling can in red - structure is created by coffee grounds in the last layer.
But you can also do completely different things with the top layer - you can see it in the video, but here you can see it again in a photo:
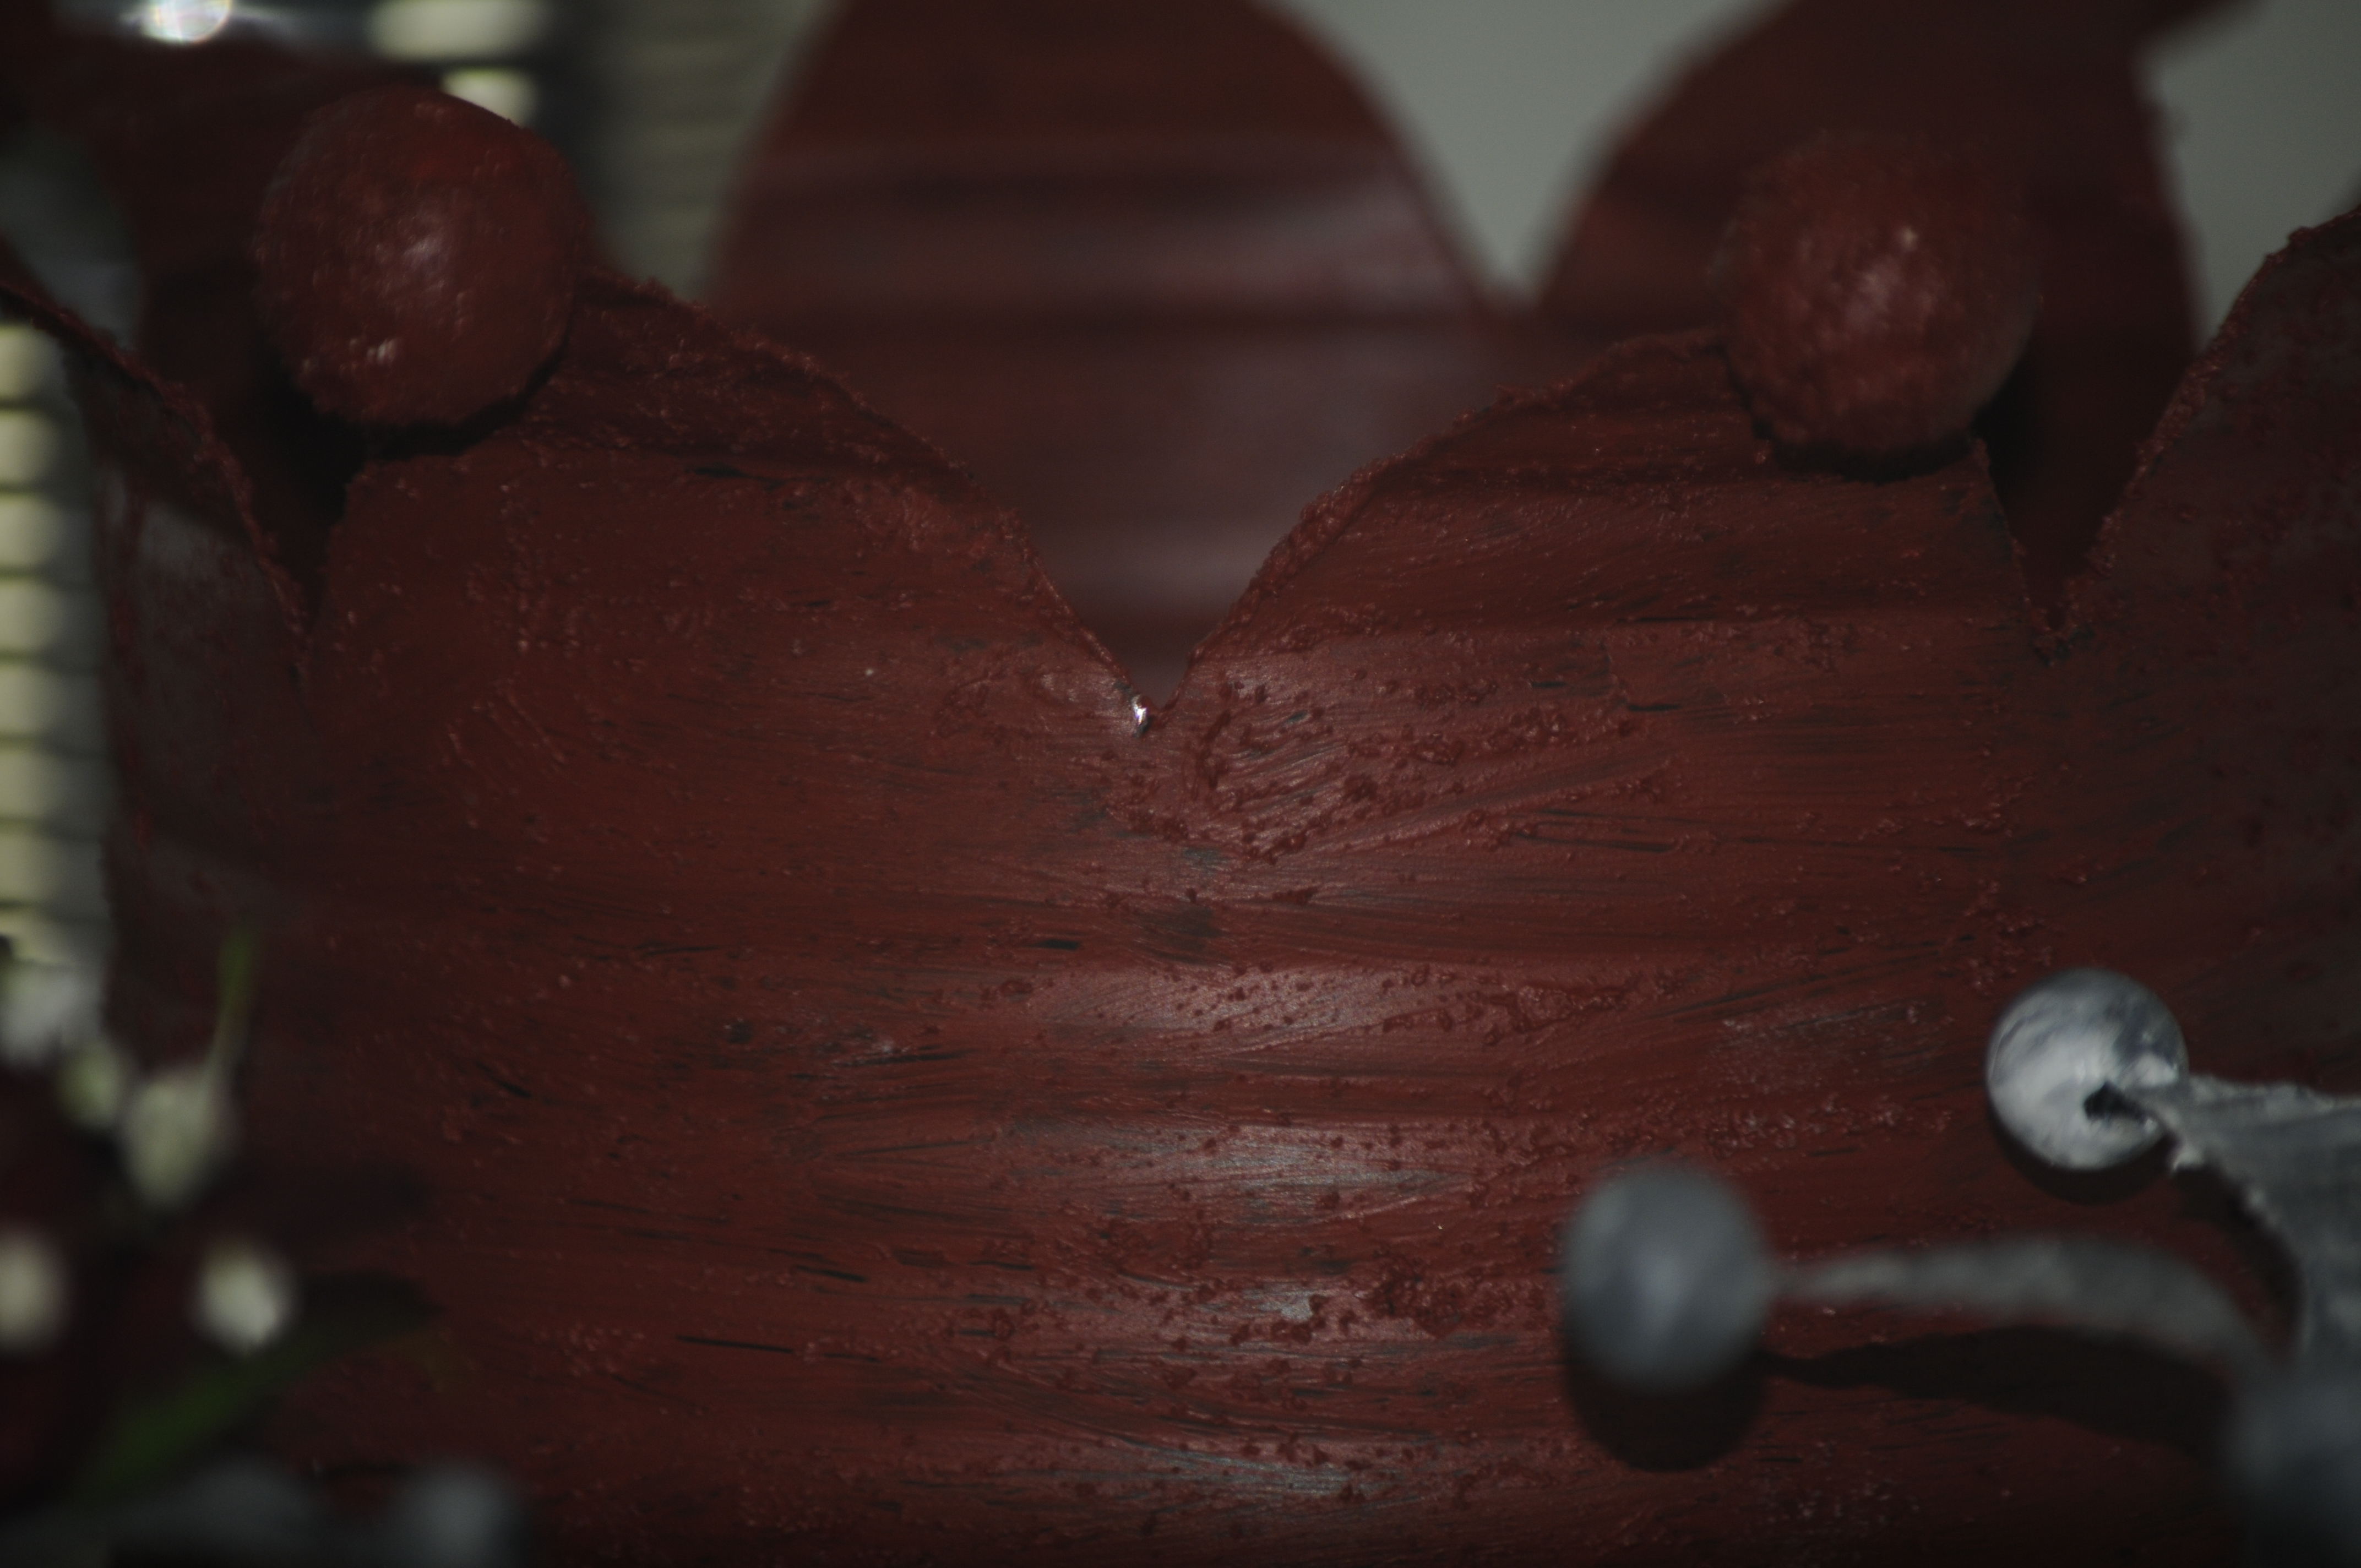
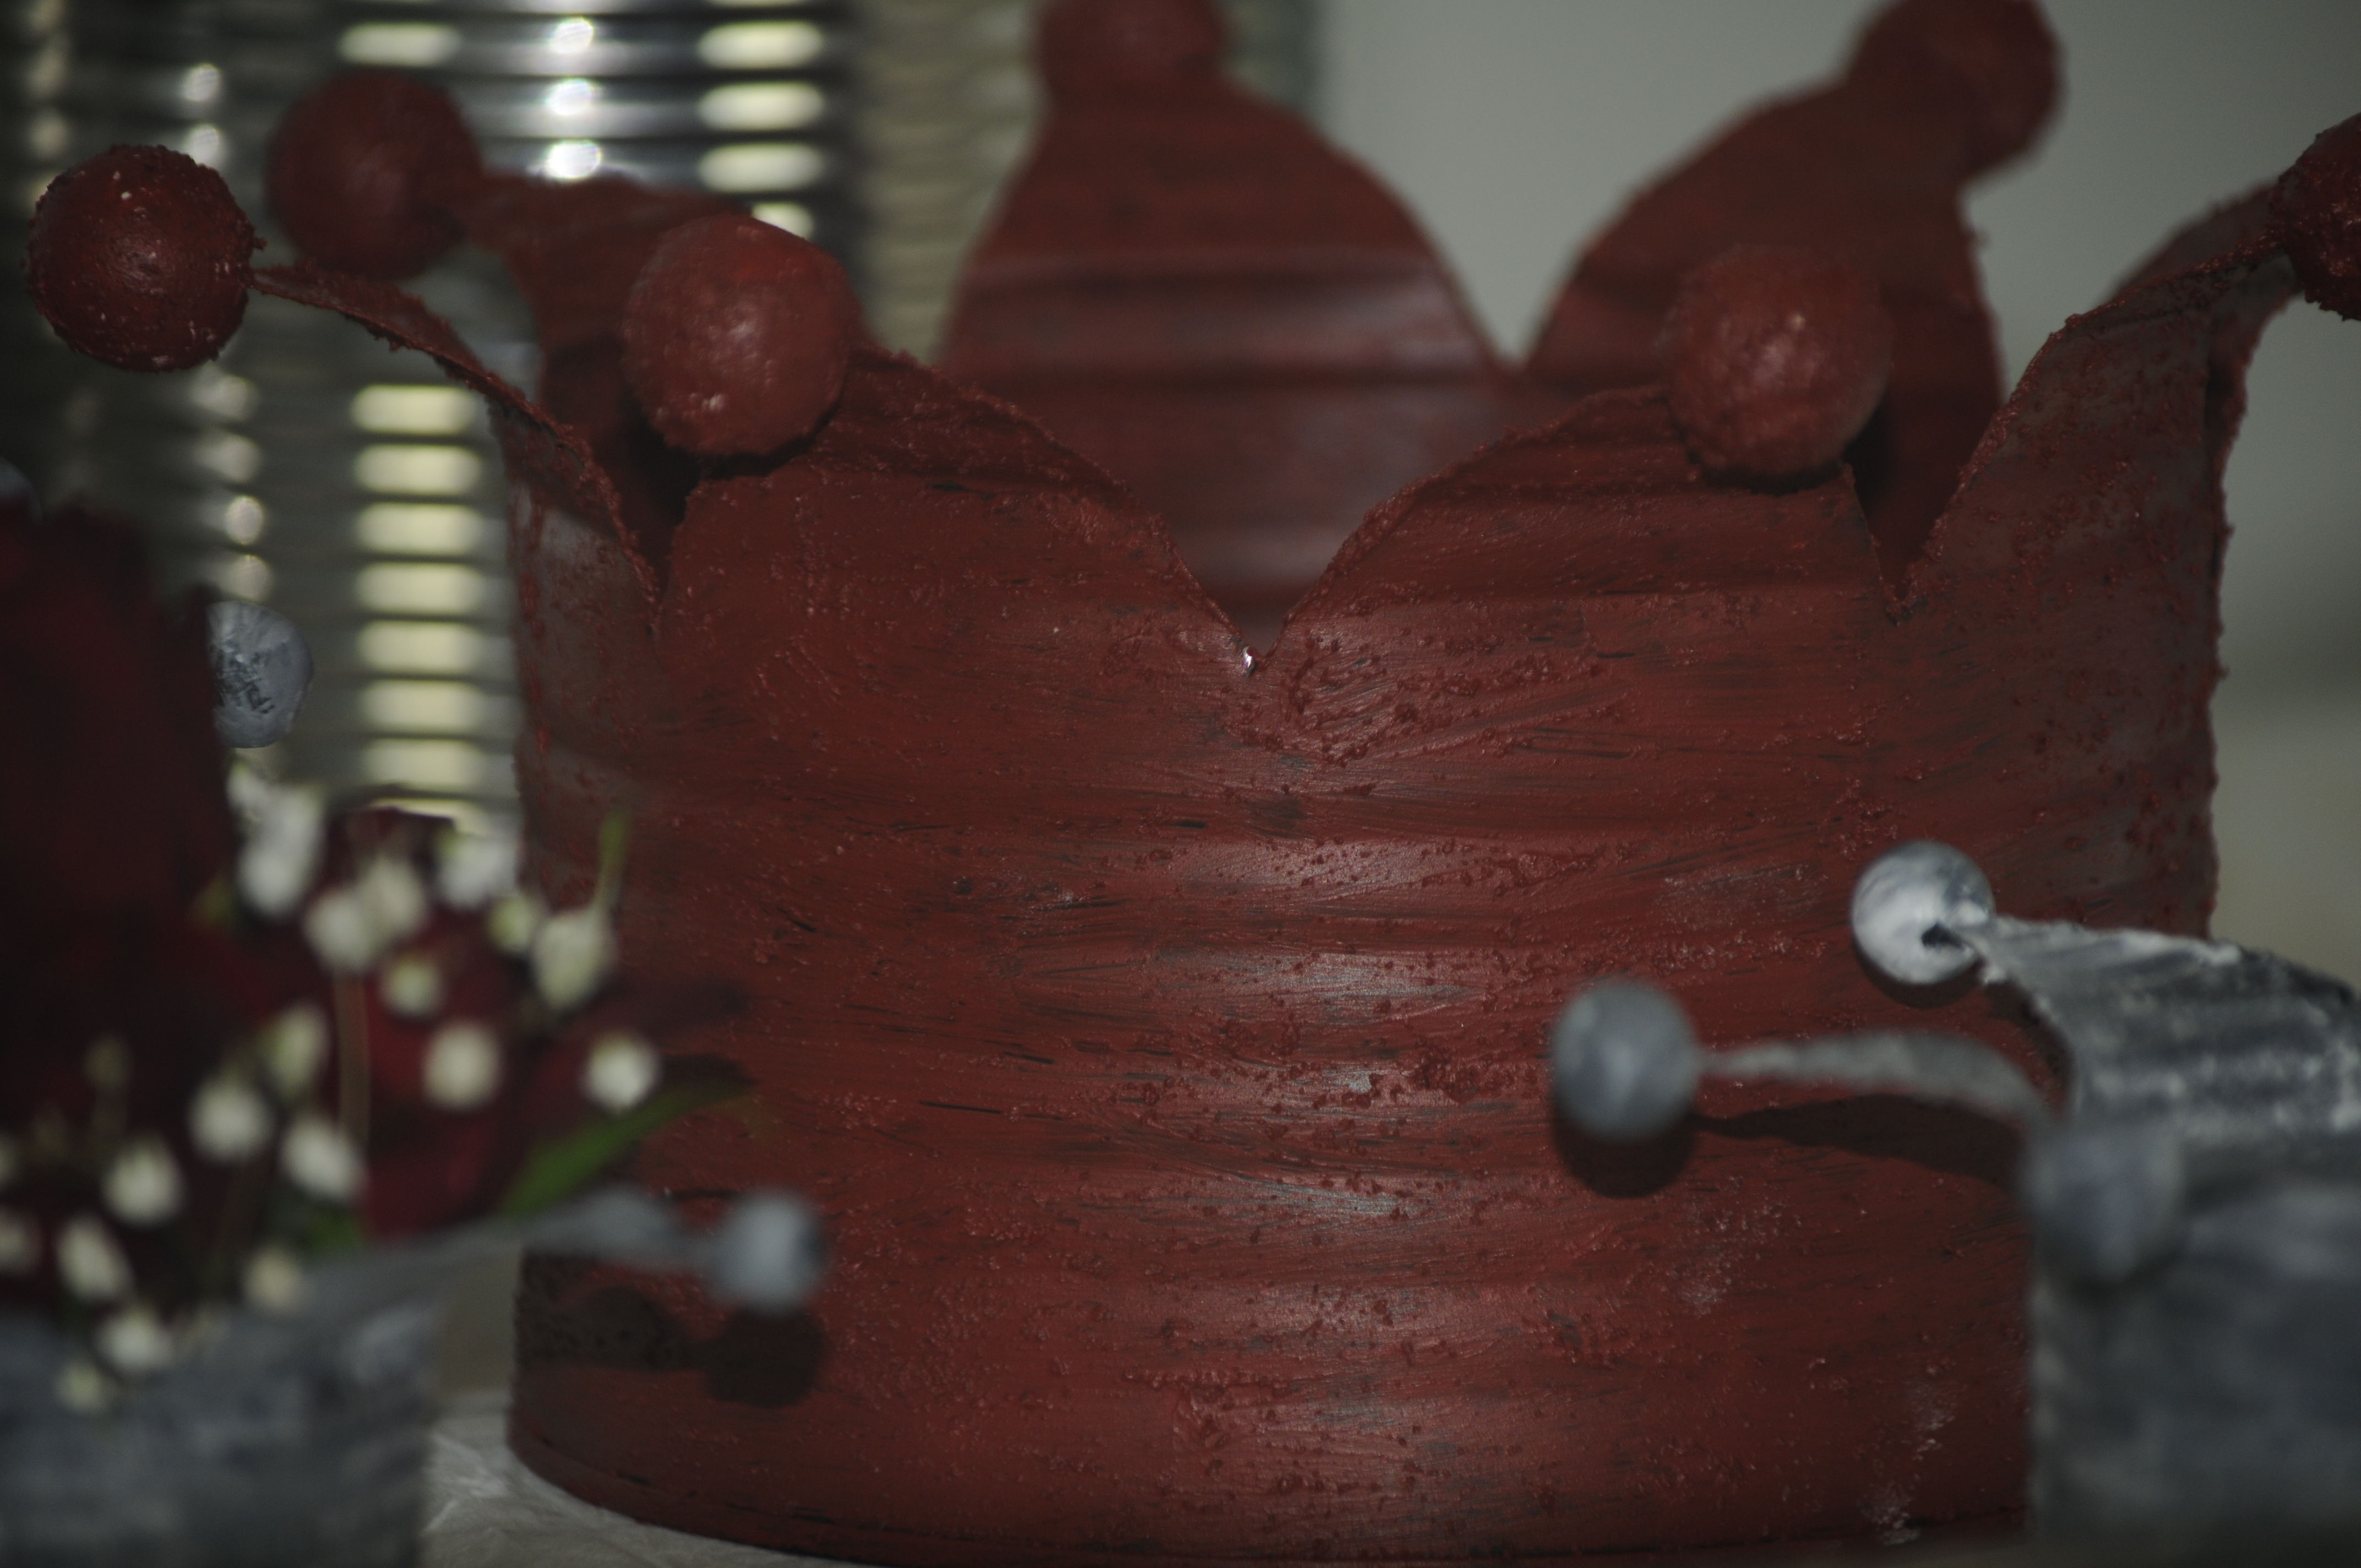
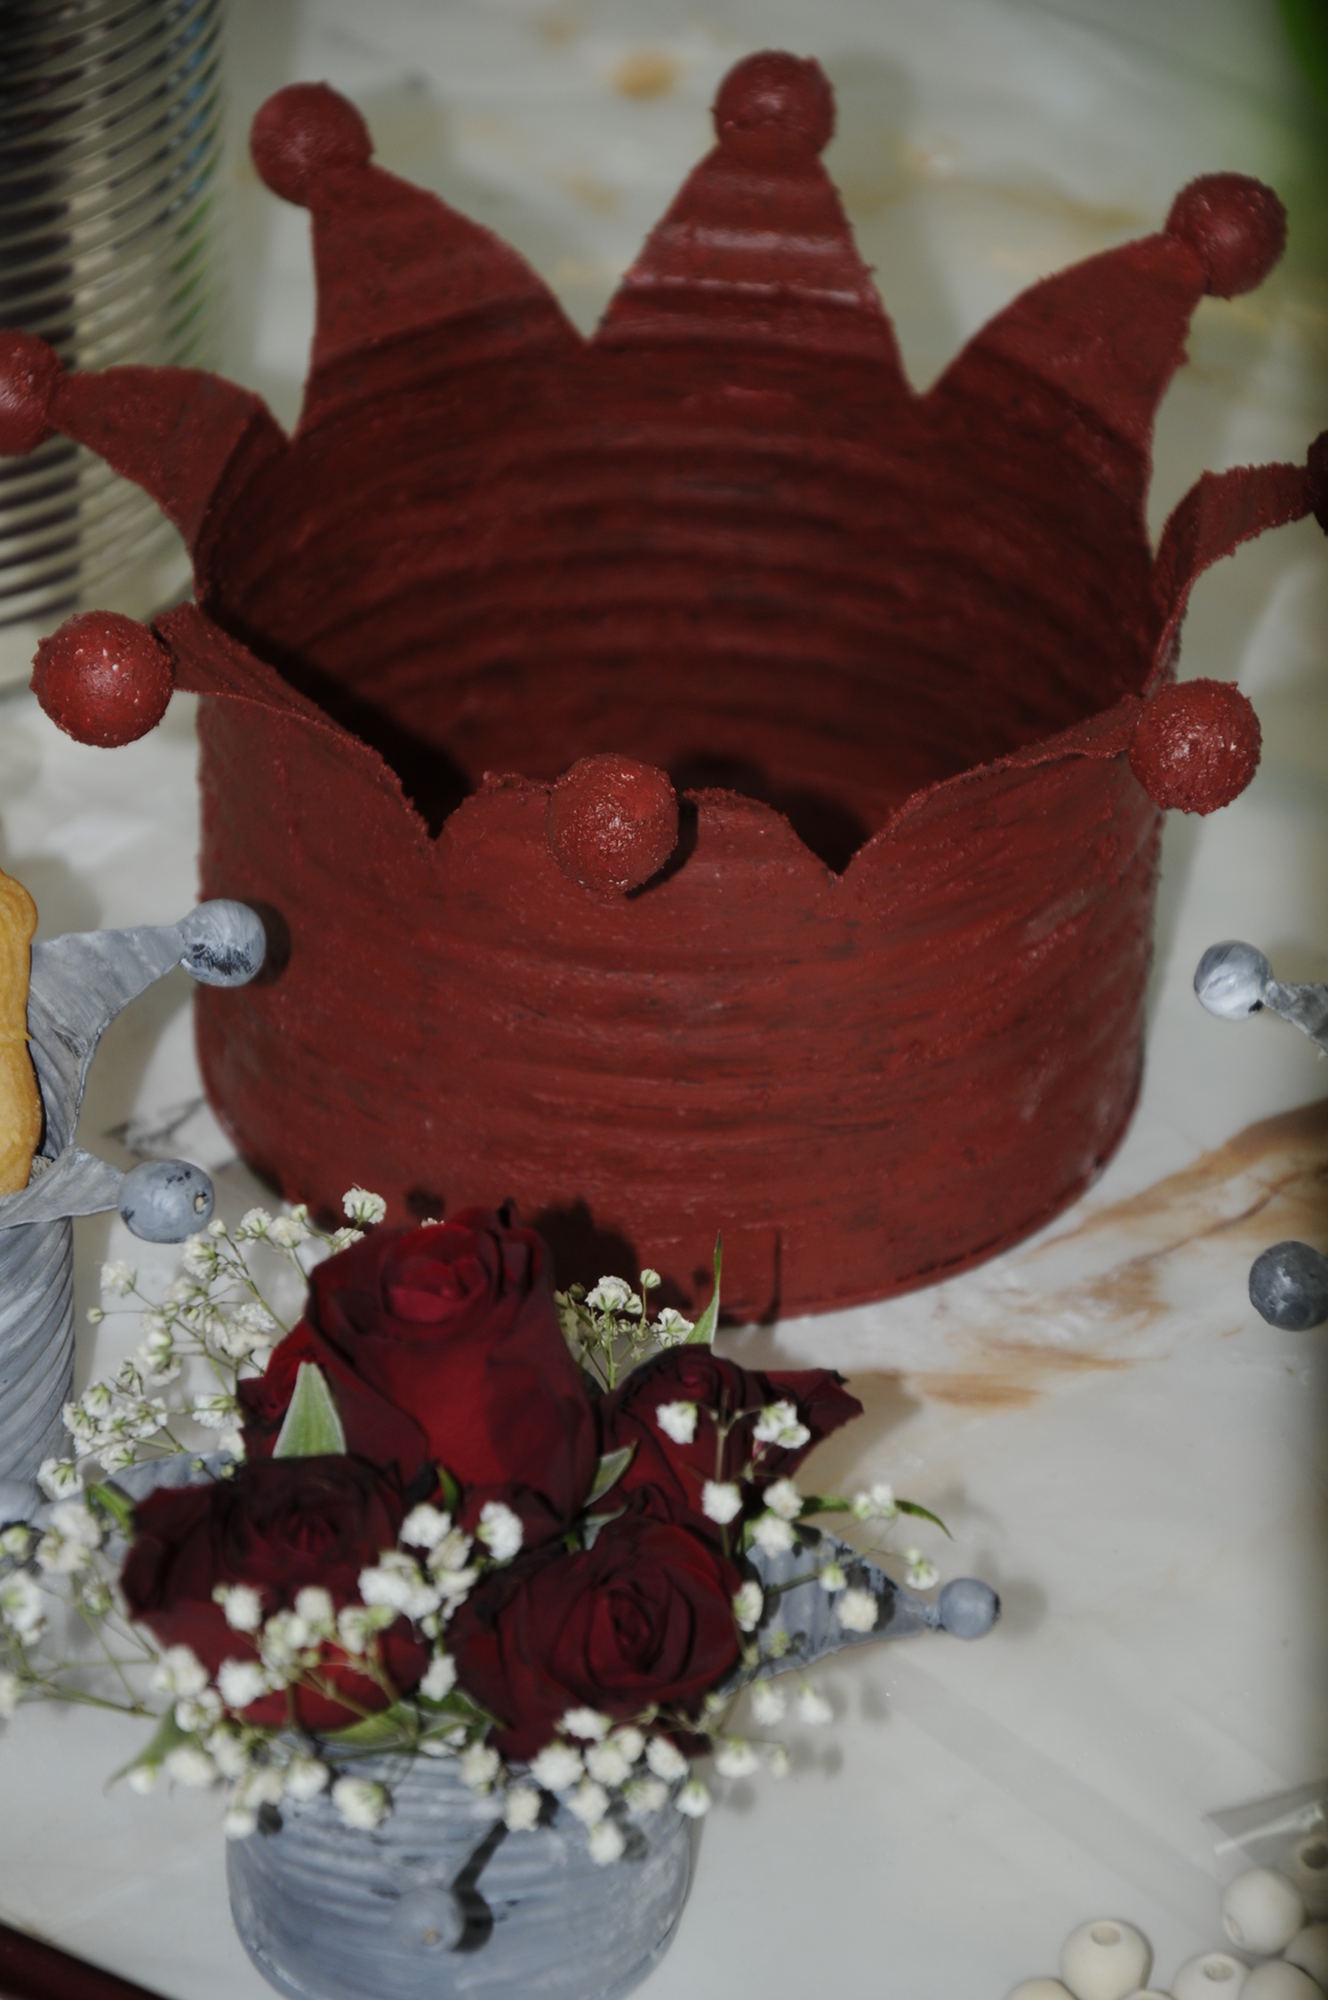
Hier könnt Ihr die Details der Krone in rot sehr gut sehen.
The red can is also primed in black and then red. In the red acrylic paint I added coffee grounds, that this structure conjures on the surface. You see, you can experiment here very well.
Please leave your comments on the project - here in the blog or on YouTube! I am looking forward to reading from you!
- One tin per crown
- Sheet of paper
- Adhesive tape
- Wooden beads
- Black acrylic paint
- Titanium white acrylic paint
- Baby powder
- Hot glue gun sticks
- Plate shears Alternative:
- Hot glue gun
- Bowl
- Brushes
- Foil pen
- Geo triangle
- File Alternative:
- Calculator
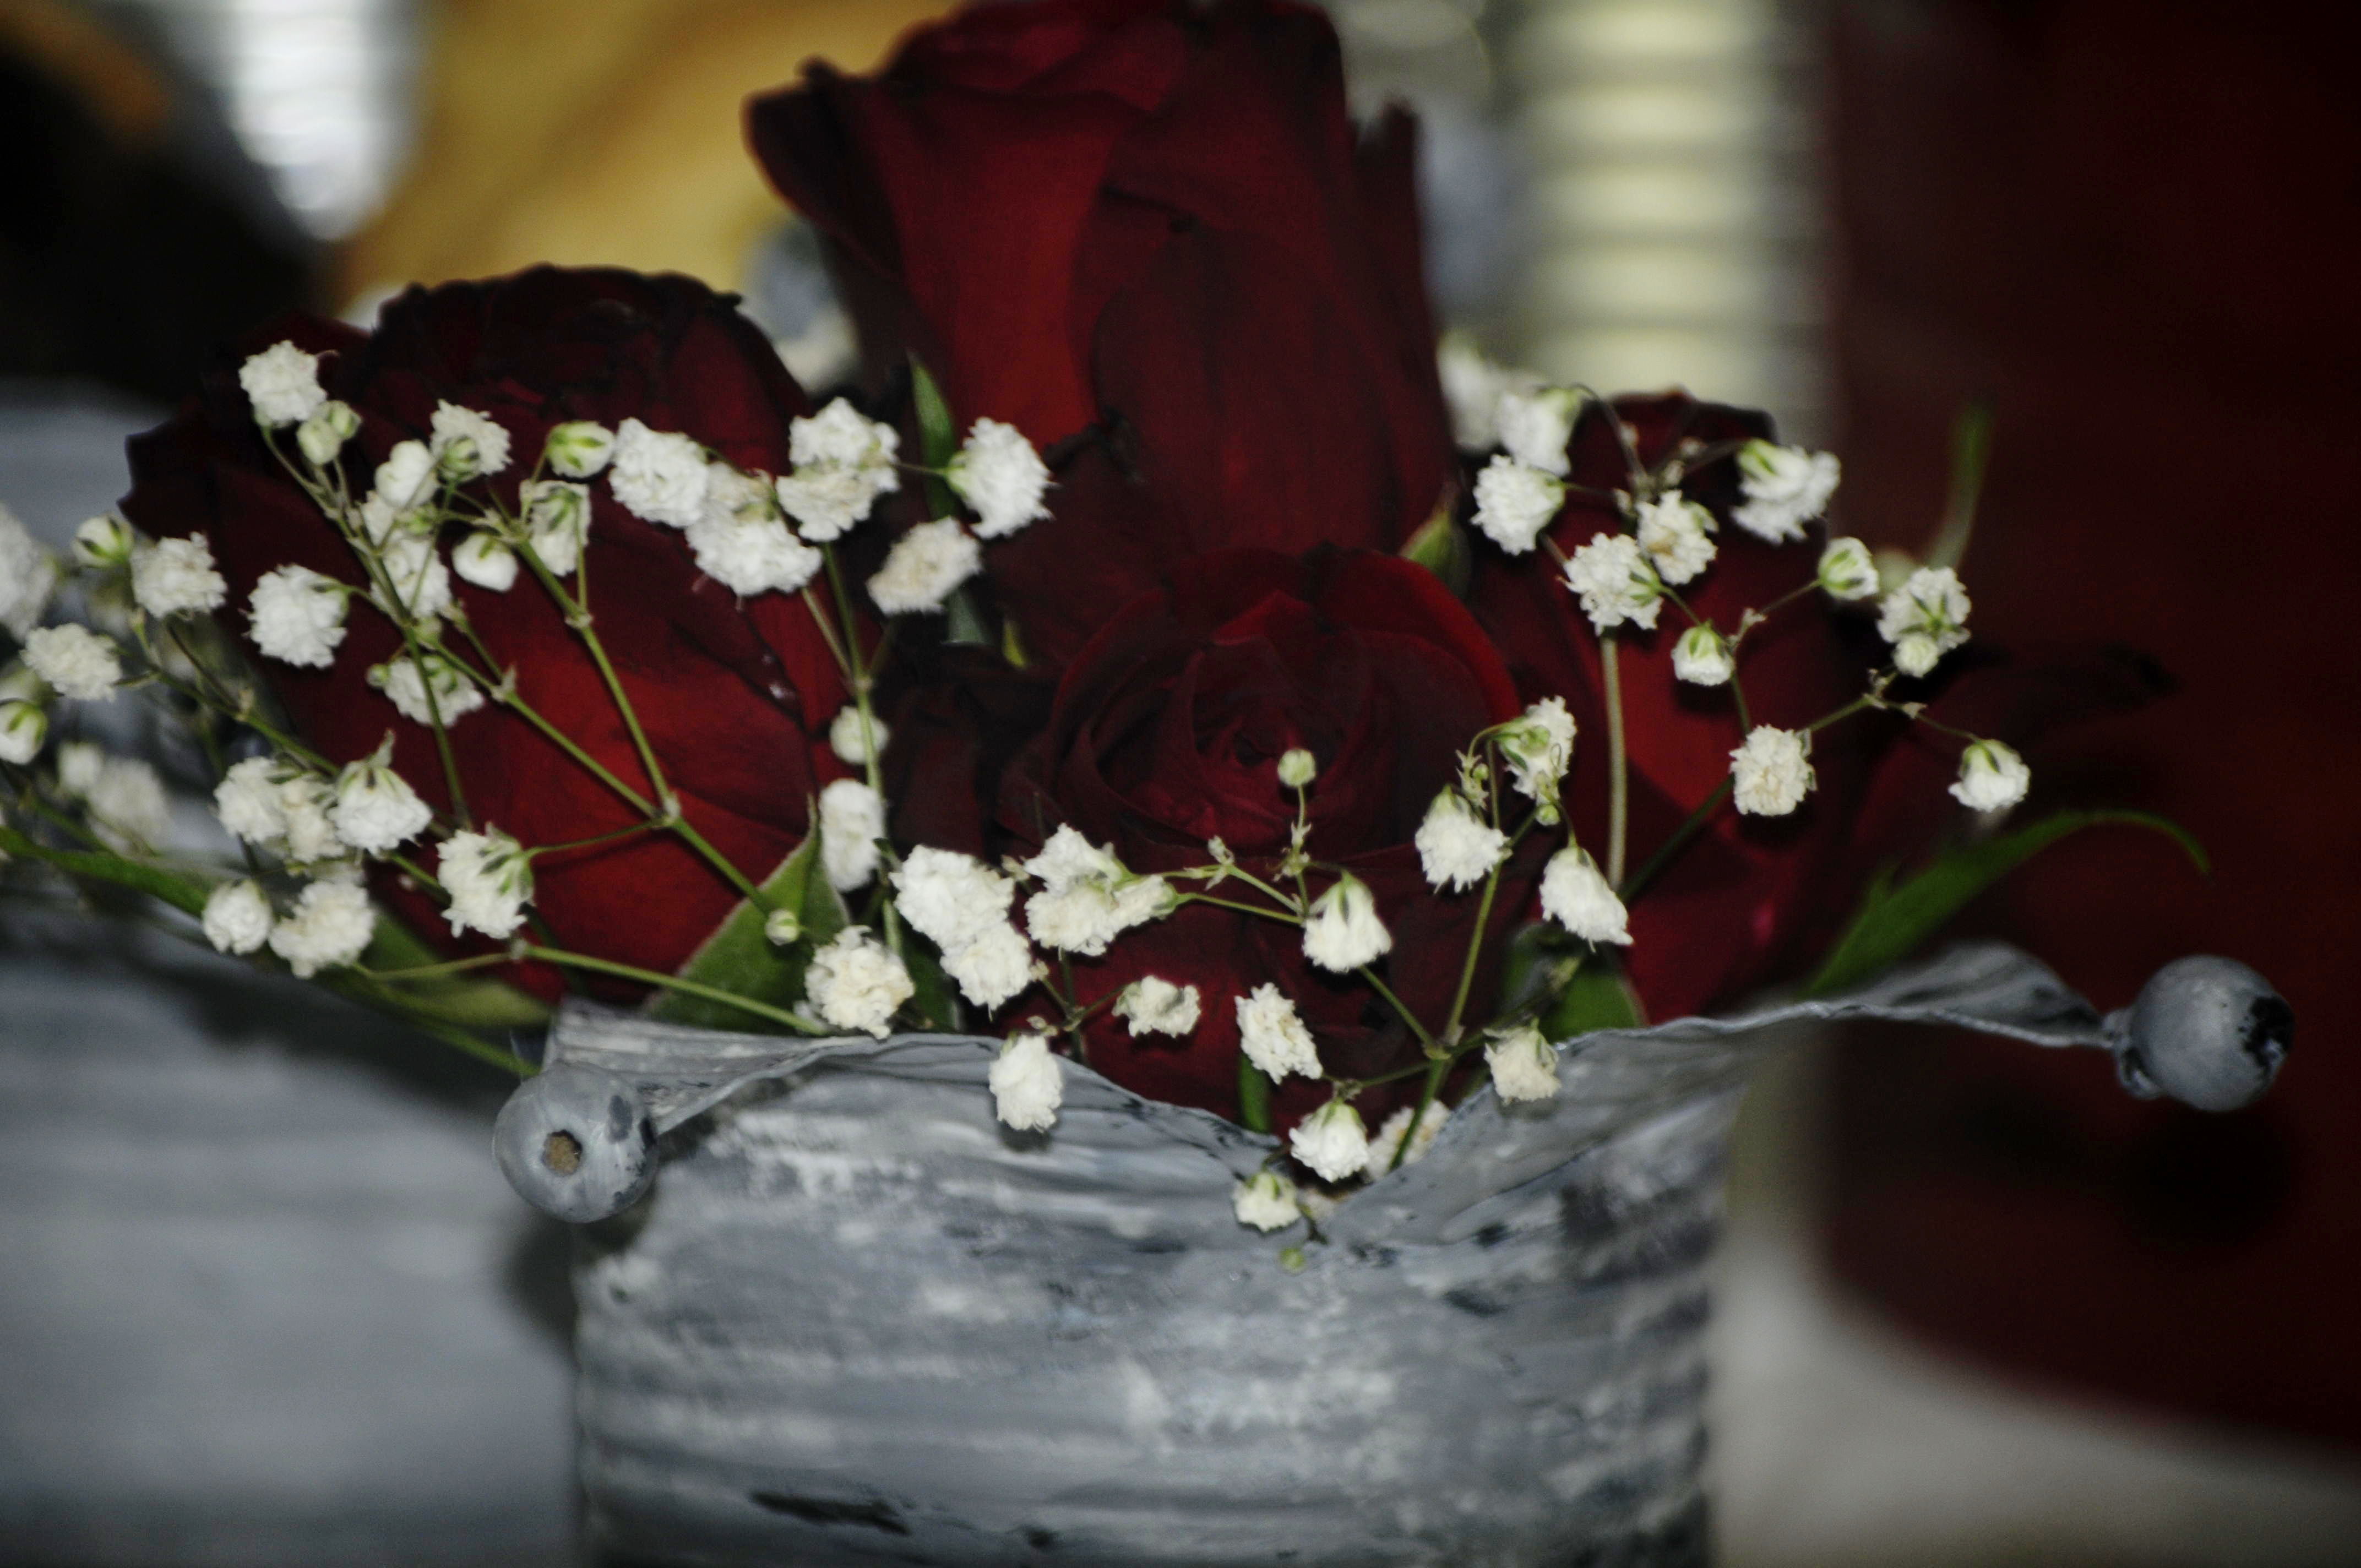
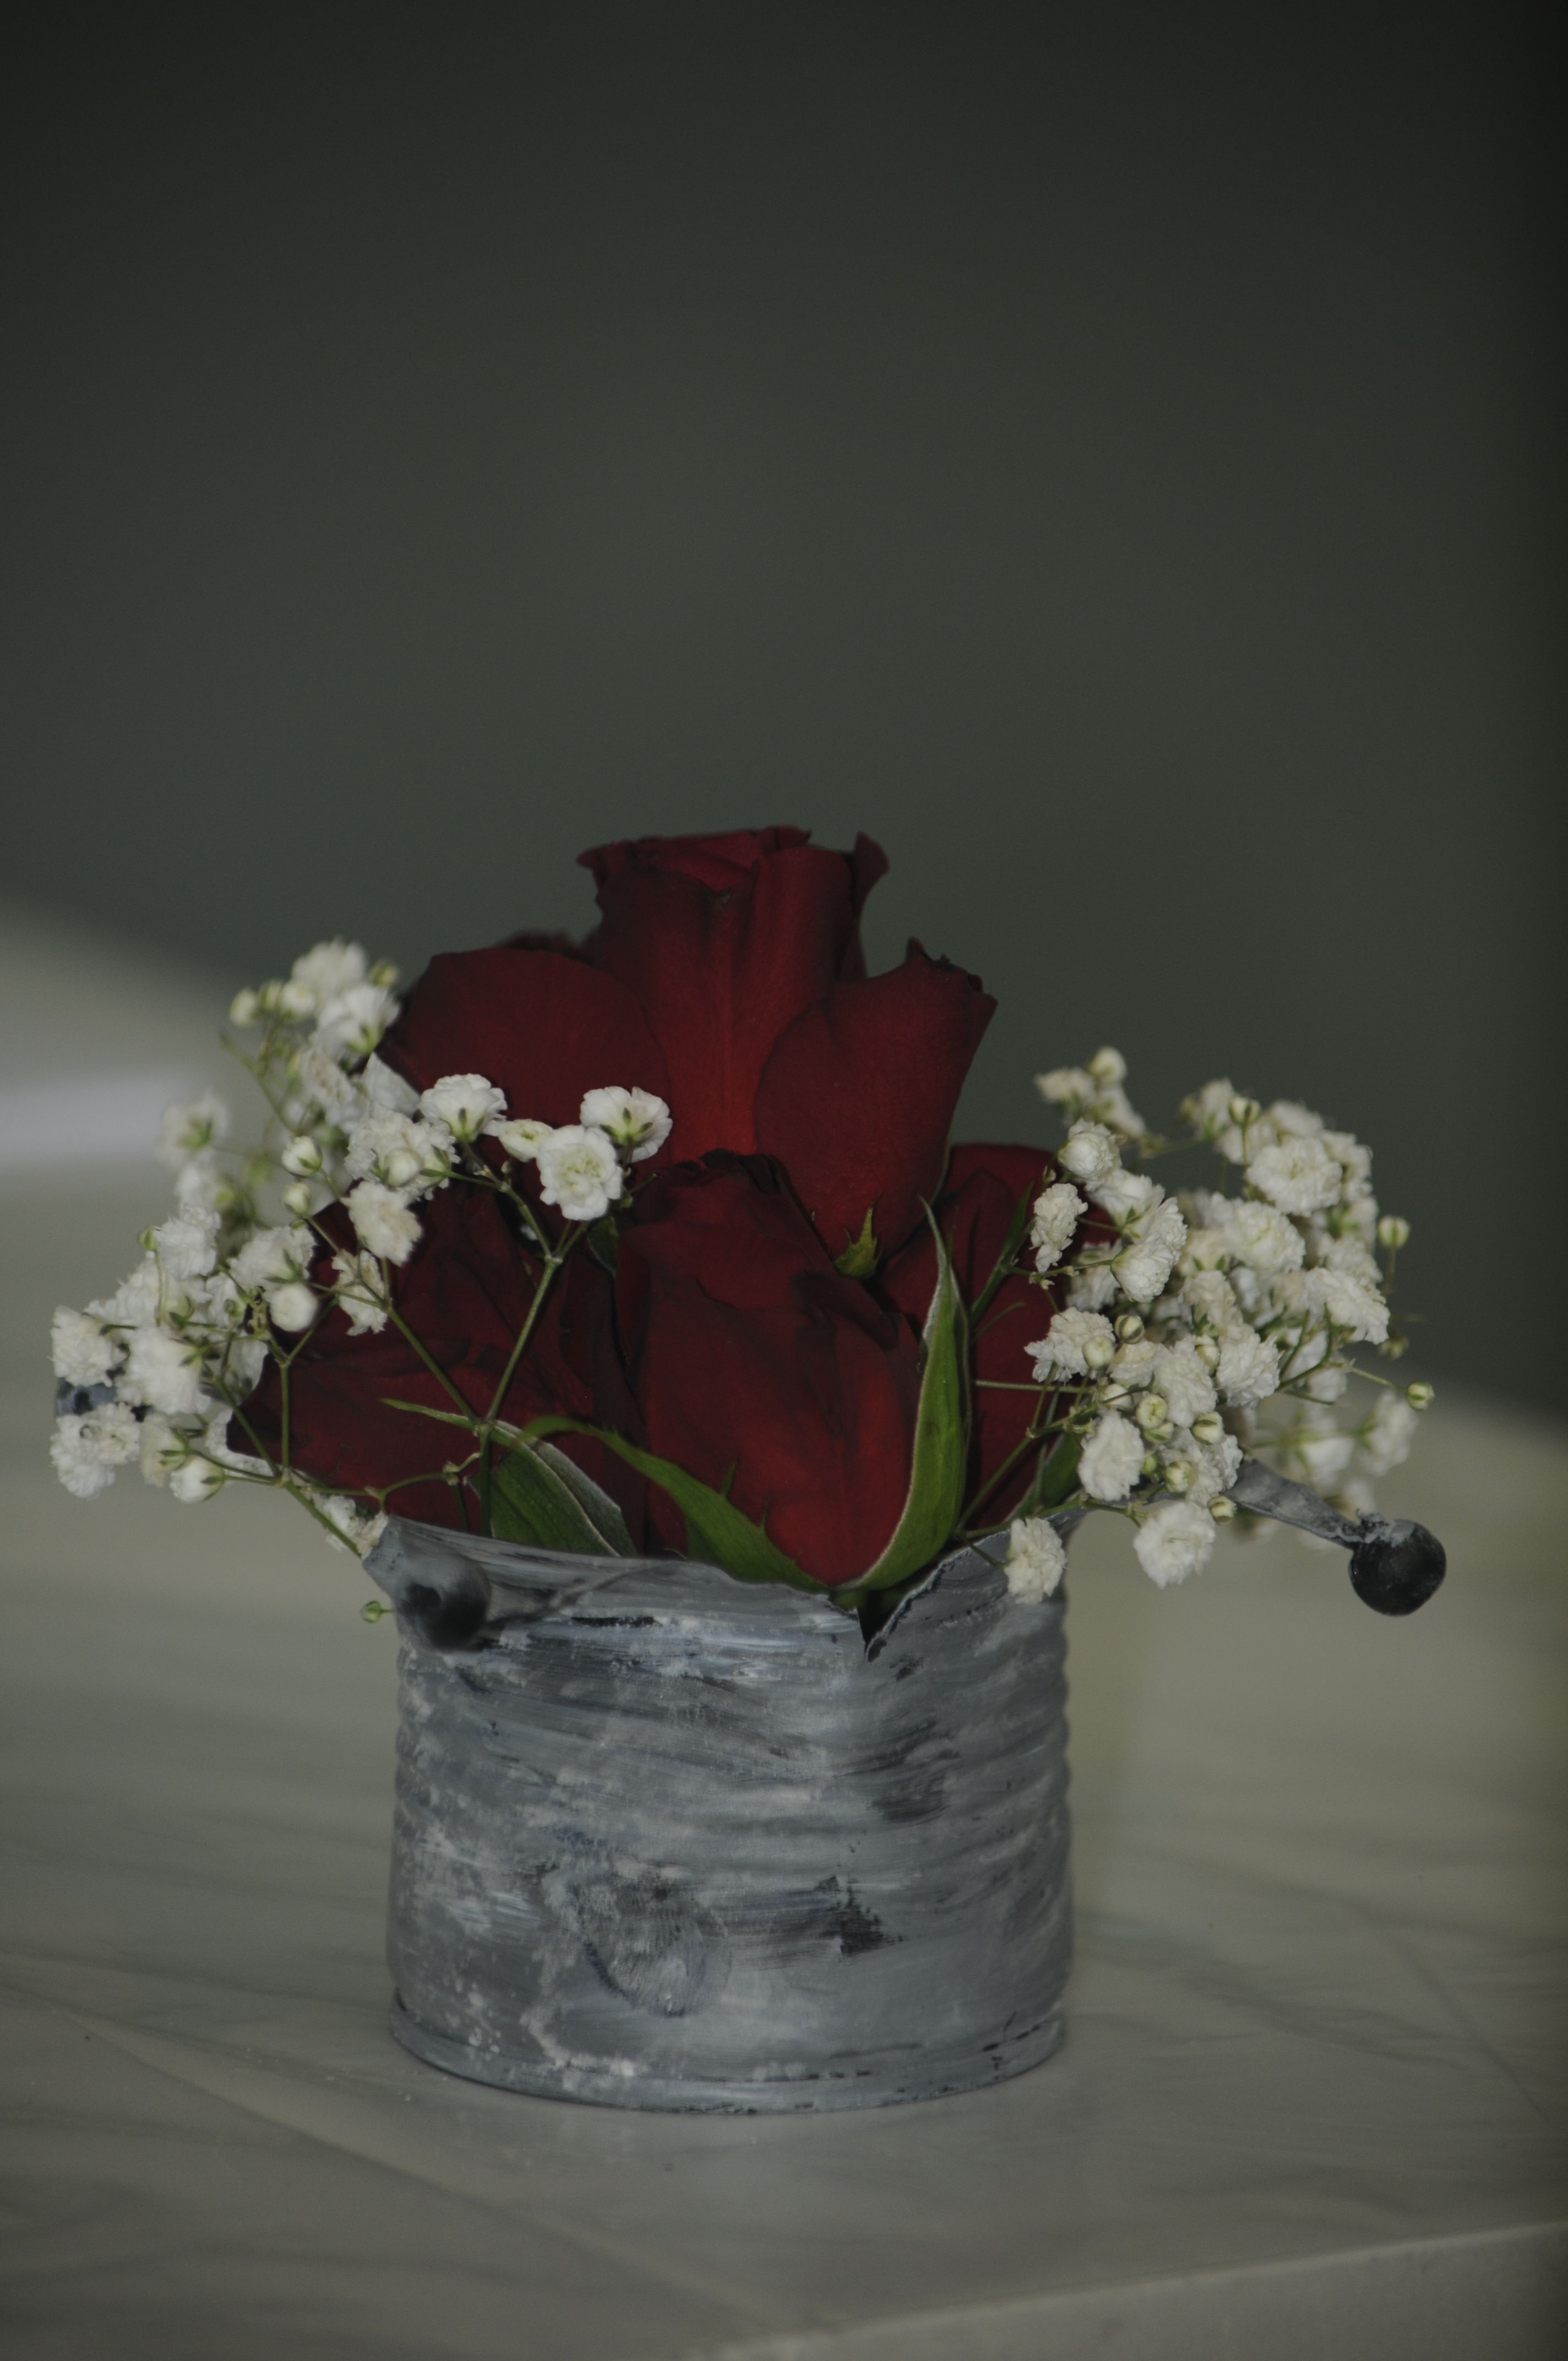
Crown as flower vase