
Welcome to a new blog article about upcycling! Today it’s all about crafting and upcycling with milk cartons. Who follows me from the beginning on my YouTube channel, knows that the upcycling of milk cartons at that time already a big topic with me was. Therefore, let’s get started right away and create together a great Easter decoration from a milk carton. You will see, that’s really easy.
You can also find the craft project in this YouTube video:
At a time when sustainability and environmental protection are becoming more and more important, upcycling everyday items is a great way to conserve resources and give free rein to our creativity. In this blog post I would like to show how you can conjure up a beautiful Easter decoration from a simple milk carton. But before I start with our instructions, I would like to briefly discuss the topic Upcycling.
What is upcycling and why is it important?
Upcycling refers to the process of turning old or unused items and materials into new products with greater value. Unlike recycling in which materials are broken down into their component parts and then reused in the same or or altered form, upcycling breathes new life into materials by transforming them into creative and functional objects.
Upcycling is not only a creative process, but it also has a positive impact on the environment, as it extends the life of items and thus reduces the need for new resources. In addition, upcycling promotes awareness of sustainability, environmental protection and helps to produce less waste.
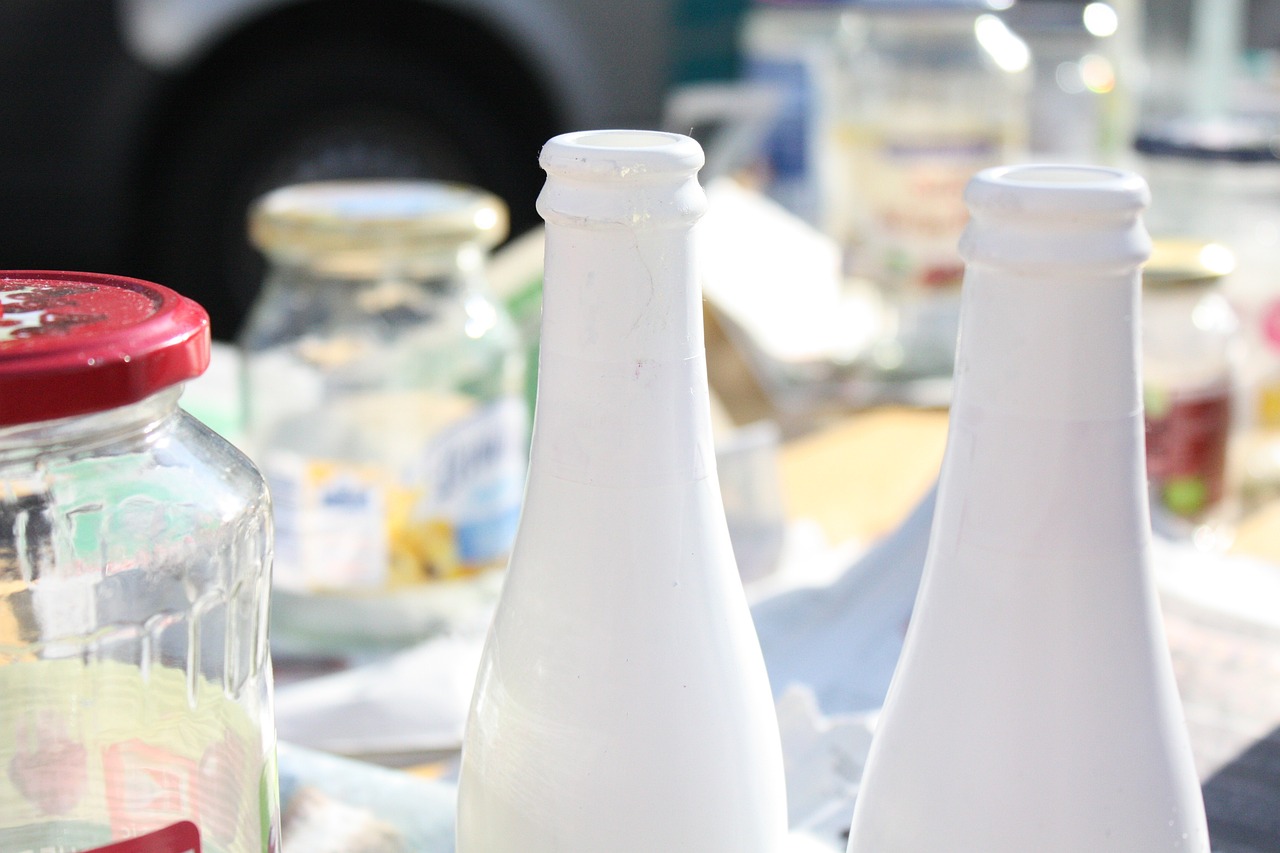
Upcycling with bottles and jars
Upcycling a milk carton for Easter decoration: step-by-step
Now that I’ve touched on the importance of upcycling, I’d like to move on to the main topic of this blog article: The transformation of a milk carton into a pretty Easter decoration. Just follow the step-by-step instructions and let your creativity run wild.
Step 1: Prepare the milk carton
First, clean the milk carton thoroughly by rinsing it and let it dry. Then cut off the upper part of the milk carton, i.e. the lid and the cap. Depending on the type of carton, it may be helpful to moisten the foil with water so that the foil with the advertising imprint can be peeled off more easy. Make sure that only the outer film is removed. The usually light brown paper layer underneath should remain undamaged. When the bag is “naked”, we crumple it up to make it look used.
Important: Make sure you don’t crease the bottom, because we need that for a secure stand.
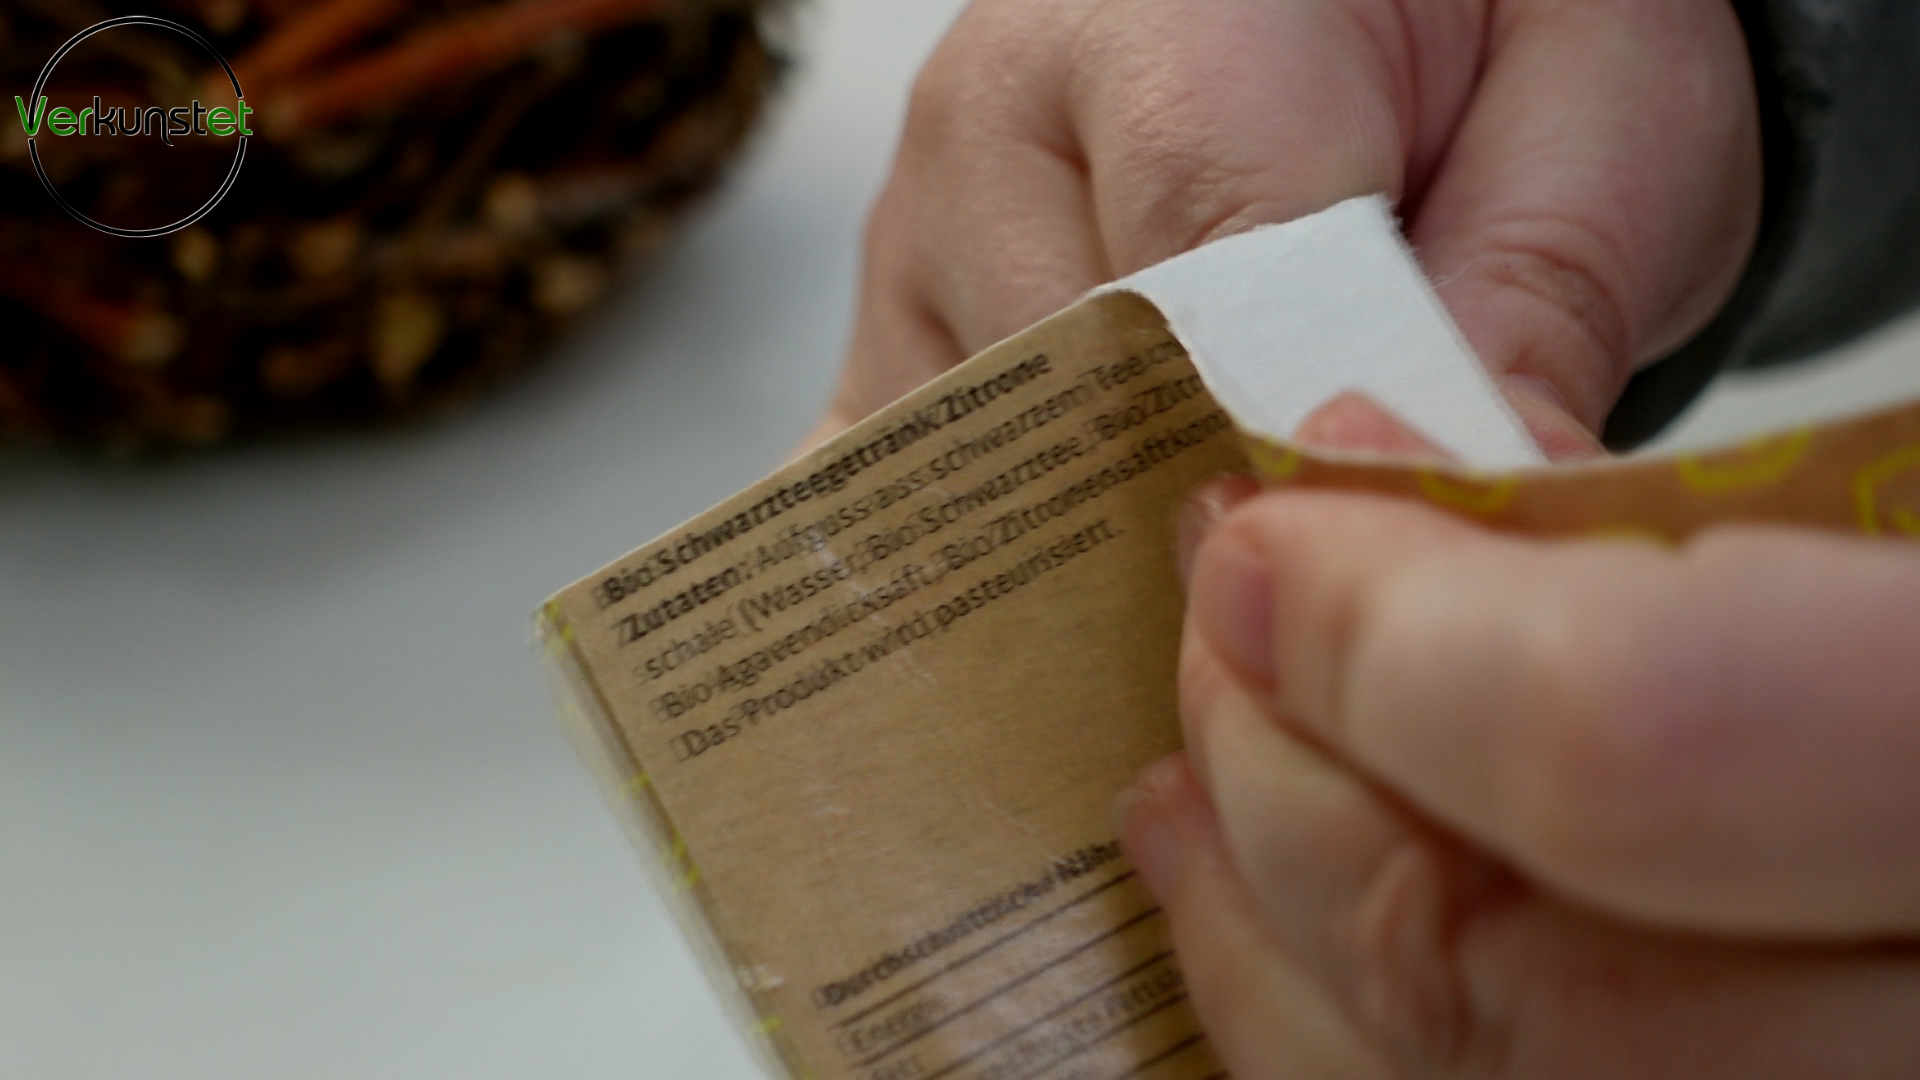
Peeling the foil off the milk carton
I covered the process with the milk carton and how you “take it off” and crinkle it in my first Milk carton post here in more detail. There is also my YouTube video linked to it.
Step 2: Create Easter decoration
Now we fold over the top edge of the milk carton to create a brim. When doing this, it is important to take the tension out of the bag. To do this, we press the side walls inward a little, so the stretches shorten a little and the folding over is easier. The bag should not tear in the corners.
Turning the top edge inside out
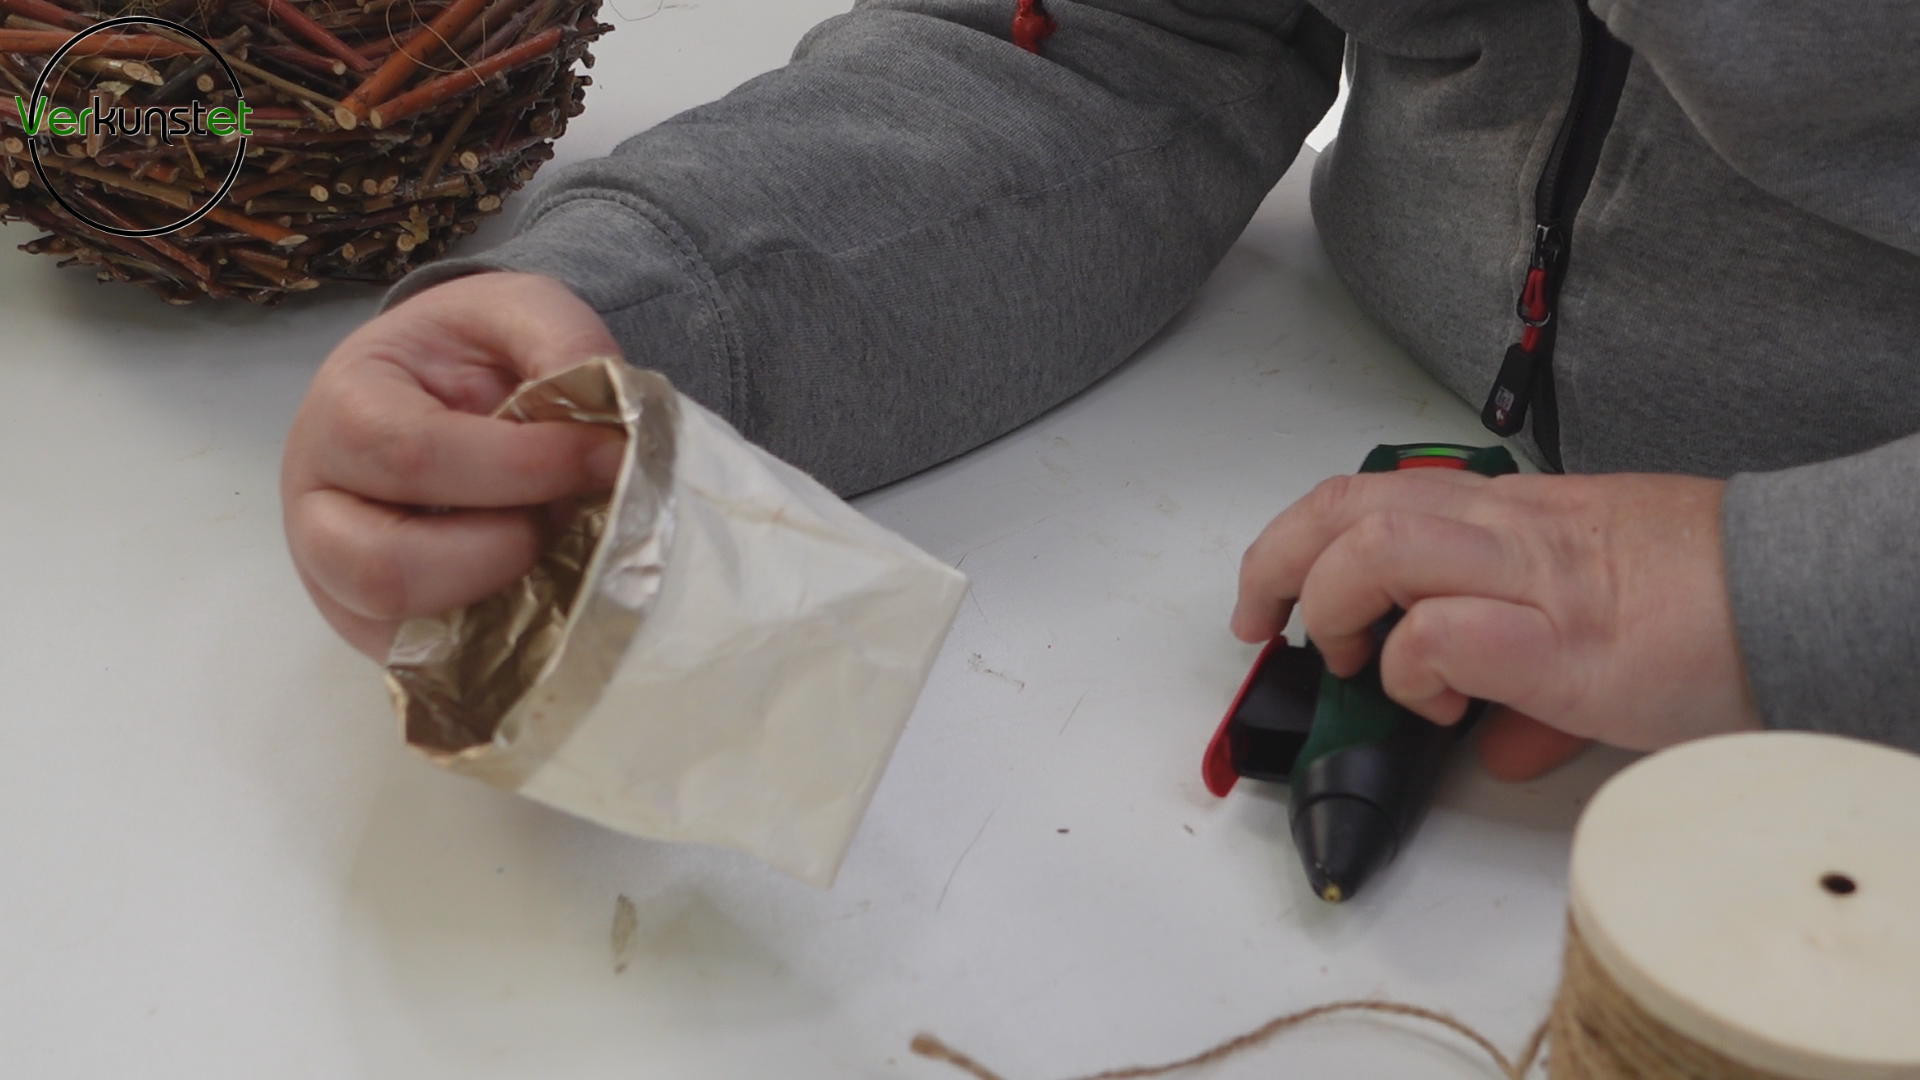
To fix the brim, we take a piece of sisal tape and glue it all around. This is where I take several wraps.
Then we thread colorless wooden beads onto another sisal ribbon. I also place these once around the milk carton. This “string of beads” should fit so tightly that it doesn’t slip down. Then it can be reused later.
If you like, you can write a message like “Happy Easter” or “All the best” on the milk carton. However, I opt for the natural natural variant and do without additional lettering.
Step 3: Fill Easter decorations.
Next, we fill our upcycled milk carton with a small Easter decoration, such as an Easter bunny or Easter eggs. To top it off, I add some coconut or straw to create a natural and cozy atmosphere.
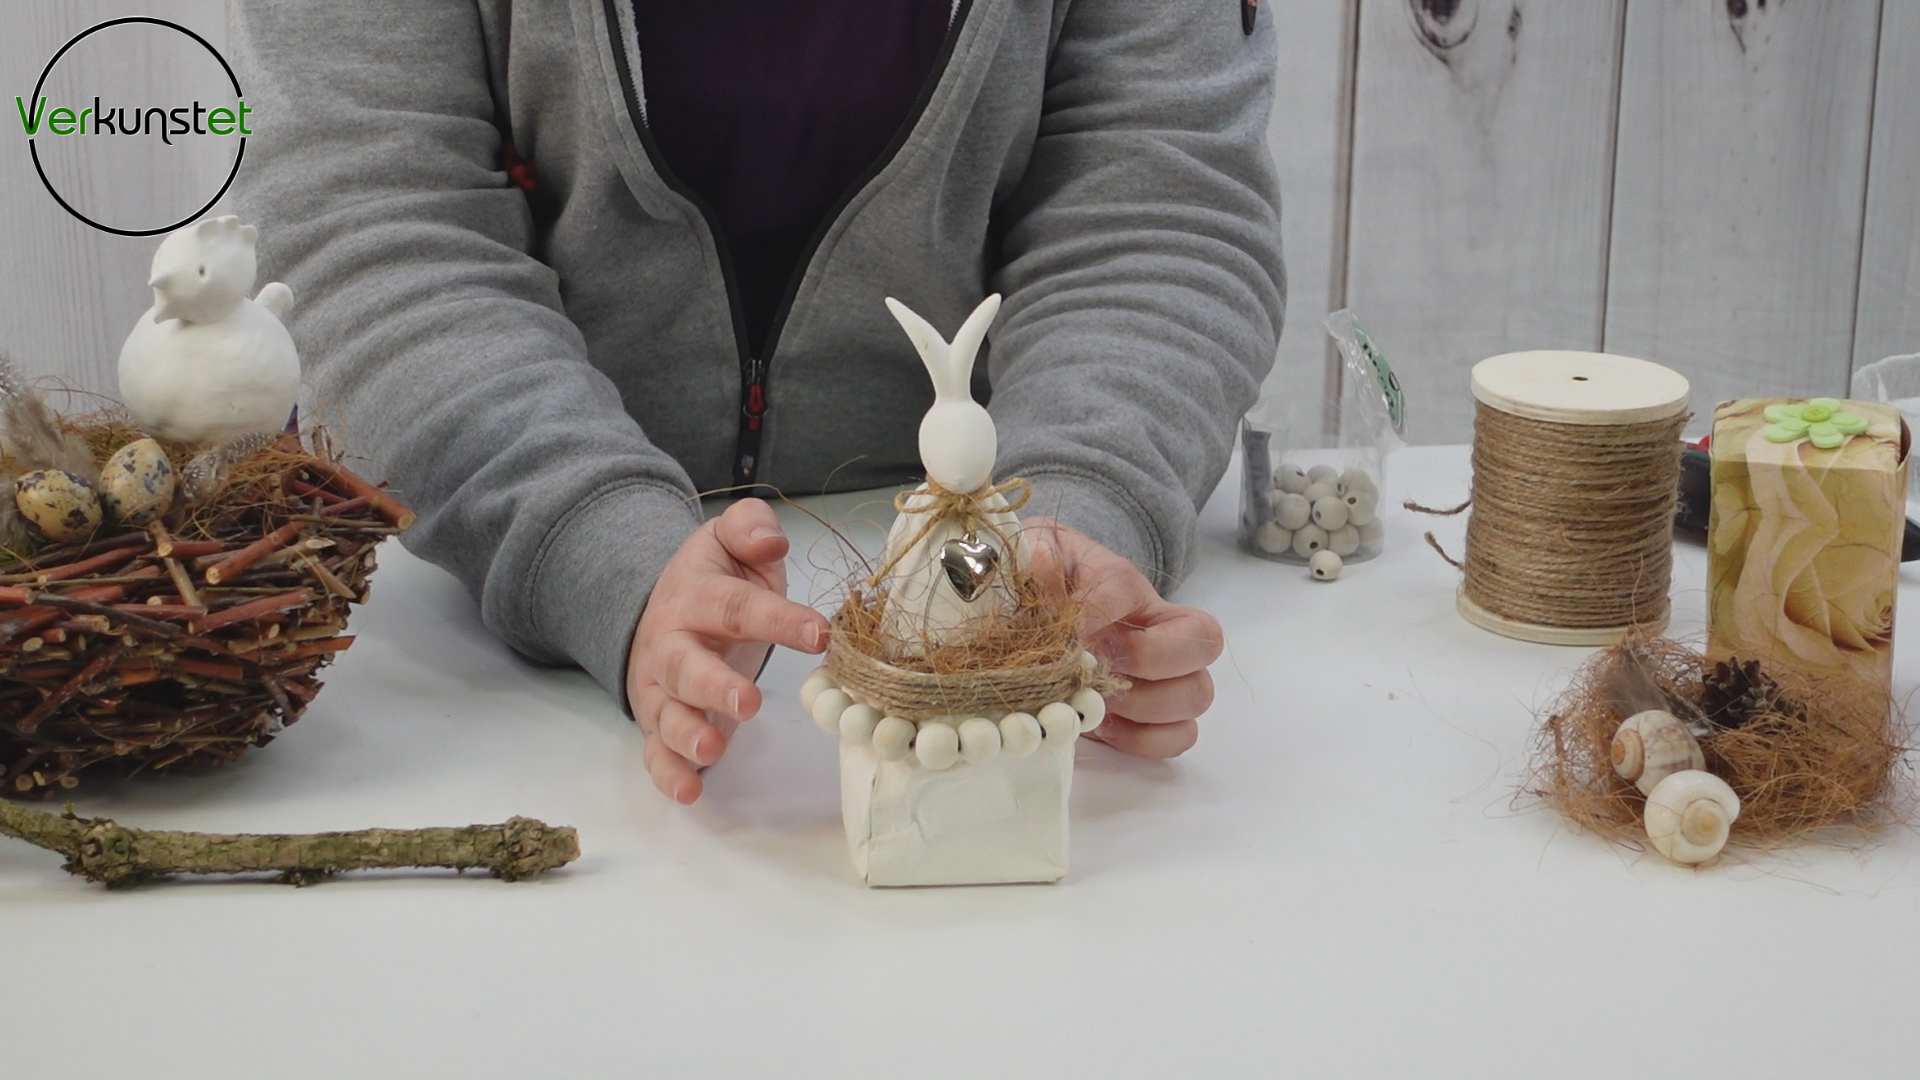
The decorated milk carton
More ideas for upcycling milk cartons.
The possibilities for upcycling projects with milk cartons are many and limited only by your own creativity. Here are some Ideas you can try:
Jewelry or Gift Box: Turn a milk carton into a jewelry box by gluing beads or other decorations to the top and adding a clasp. decorations and attaching a clasp. This makes a great gift box or for storing jewelry.
Growing Pot for Plants: Use the milk carton as a growing pot for your plants. Make sure that no stagnant moisture is created and provide for Holes in the bottom of the bag.
Gift bag for sweets: Use the milk carton as packaging for. sweets or small gifts. Design it according to your and fill it with sweets. I link you my bunny from 2020, which was very popular ;-).
- Pen holder: Design your milk carton as a pencil holder on your desk. To do this, cut the bag to the height you prefer and decorate according to your wishes.
- Empty milk carton
- Bunny figure or similar
- Hot glue gun
- Hot glue
- Bosch GluePen
- Wooden Beads
- Jute Tape
- bowl with water
- scissors
Conclusion
Upcycling milk cartons is not only a creative and fun activity, but also a sustainable way, to reduce our environmental footprint. By making Easter decorations and other useful items out of milk cartons, we are promoting environmental awareness and helping to produce less waste. Plus, these upcycling projects are a great opportunity to spend time with family or friends and be creative together.
Let your imagination run wild and try out different upcycling ideas. Share your experiences and results in the comments on my video or on social media and inspire others to get involved with upcycling as well. By doing so, we all contribute to a more sustainable and environmentally friendly future.