
Vintage pictures and signs are in demand. If you walk through furniture stores or decoration shops, you often come across the small works of art in Shabby Chique design today. These can be found in wood, on sheet metal or as simple printed cardboard. Nevertheless, some really high prices are called for them. In addition, you sometimes have to look through a lot of signs until you find the slogan you really want - after all, the sign should fit to you.
Besides: The whole thing is not that difficult and faster self-made than you might imagine.
So I think, it’s more fun to make your own individual vintage sign in Shabby Chic style. This is not as difficult as you might think. What do we need for this:
- Wooden panel or wooden board in the appropriate size
- Acrylic colors as desired
- Candle
- Household sponge / pot cleaner
- (Photo-Patch
- Saying printed on paper
- Saying printed mirror-inverted on paper (use a laser printer)
- Flat brush
- Scissors
- Screen printing Squeegee
- Bowl with water
- Bowl to mix and pick up the colours
- a hair dryer if necessary
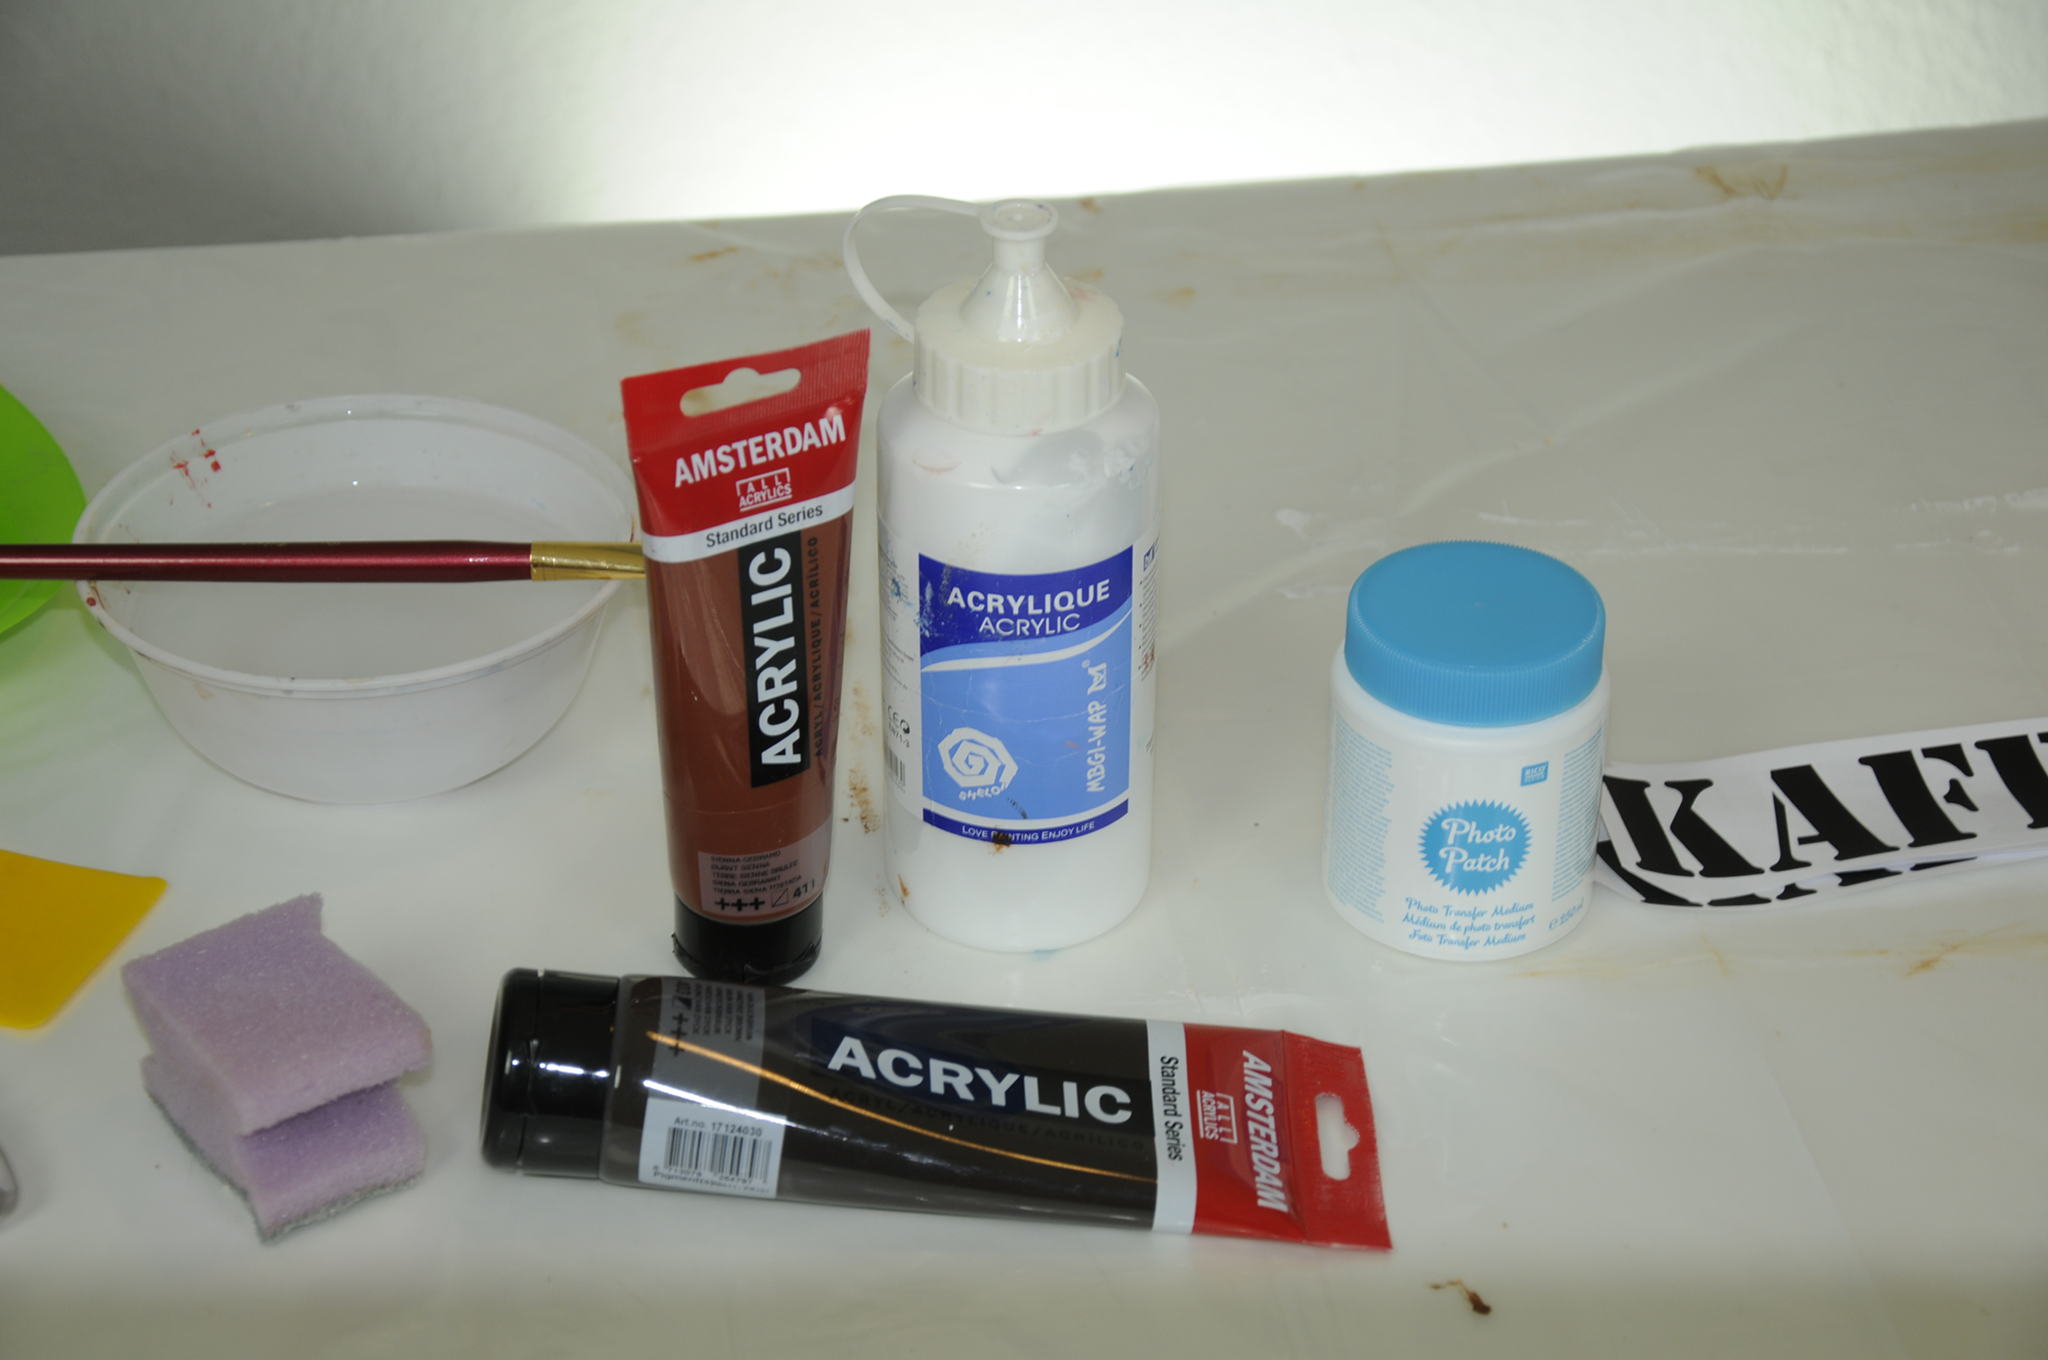
Needed material
Products used and the advertising links
For you, I have selected the products I used or sample products on Amazon and linked them in the list. For legal reasons I have to point this out here again:
The links to Amazon on this page are advertising. With this advertisement I can earn money, if someone calls Amazon with such a link and buys. Of course I have a business for this and tax the profit, as far as it arises. Details can be found in the imprint and also in the privacy policy here in the blog. I hope you won’t hold the refinancing of this website by the advertising links against me. I have no relationship to any of the manufacturers, nobody has hired me or paid me for the use of these products - also there are no paid placements etc. in my video for this project. I just want to give you an understanding of what I have used. I am sure other products can bring similar results.
Lets continue with the Shabby Style sign
I got the plywood panel from the remaining stock at the hardware store around the corner for exactly one Euro. There they also had wooden lids for wooden boxes, for 3,50€ which are about letter paper format and already have a frame. This one could also be used well. Here you just have to rummage around. Don’t be afraid of the “men’s shop” - DIY stores and hardware shops often have cool things for art and decoration.
Start with the first vintage sign
In fact, this project is the first in which I try out the technique with Photo Patch and the transfer of laser printing on wood. I’ve done various signs and other projects in Shabby Chic design, but I’ve never used a photo transfer medium before. So I am curious to see the result.
Step 0 - The design
I have discreetly left out the initial step in the video. This is the most difficult one, but by far the most individual. Here we first tried out various fonts and font sizes from printed words with positive - i.e. normal layout - until the whole thing fitted on the board and I liked it. But here I can’t really help you. Let yourself be inspired and have a look on the internet. Pinterest for example is a great Source of inspiration. I have a board there where I pin some ideas. I’m sure you will think of something. I have linked my template here for download as LibreOffice or OpenOffice document and PDF file. Maybe this will help you a little bit. The coffee symbols I got from a public domain picture library, which I link below.
The mirror-inverted printing can be realized in different ways. With me it was very easy, because I have a laser printer from Brother. The Brother printer driver can print mirror-inverted by a simple check mark. PDF display programs often have similar functions. If necessary you have to use a graphics program and do the mirroring “by hand”. If you have any questions about the printout, write me in the comments, I am sure you will find a solution.
My templates
- Template as PDF
- Template as Open Document Text using LibreOffice or OpenOffice
- https://publicdomainvectors.org/de/kostenlose-vektorgrafiken/Stemy-Tasse-Kaffee/43646.html
Heads up: This technique with Photo Patch does NOT work with a printout from an inkjet printer. It must be a laser printer! If necessary, a photocopy from the nearest copy shop will help. Photocopiers today almost always print with toner like a laser printer.
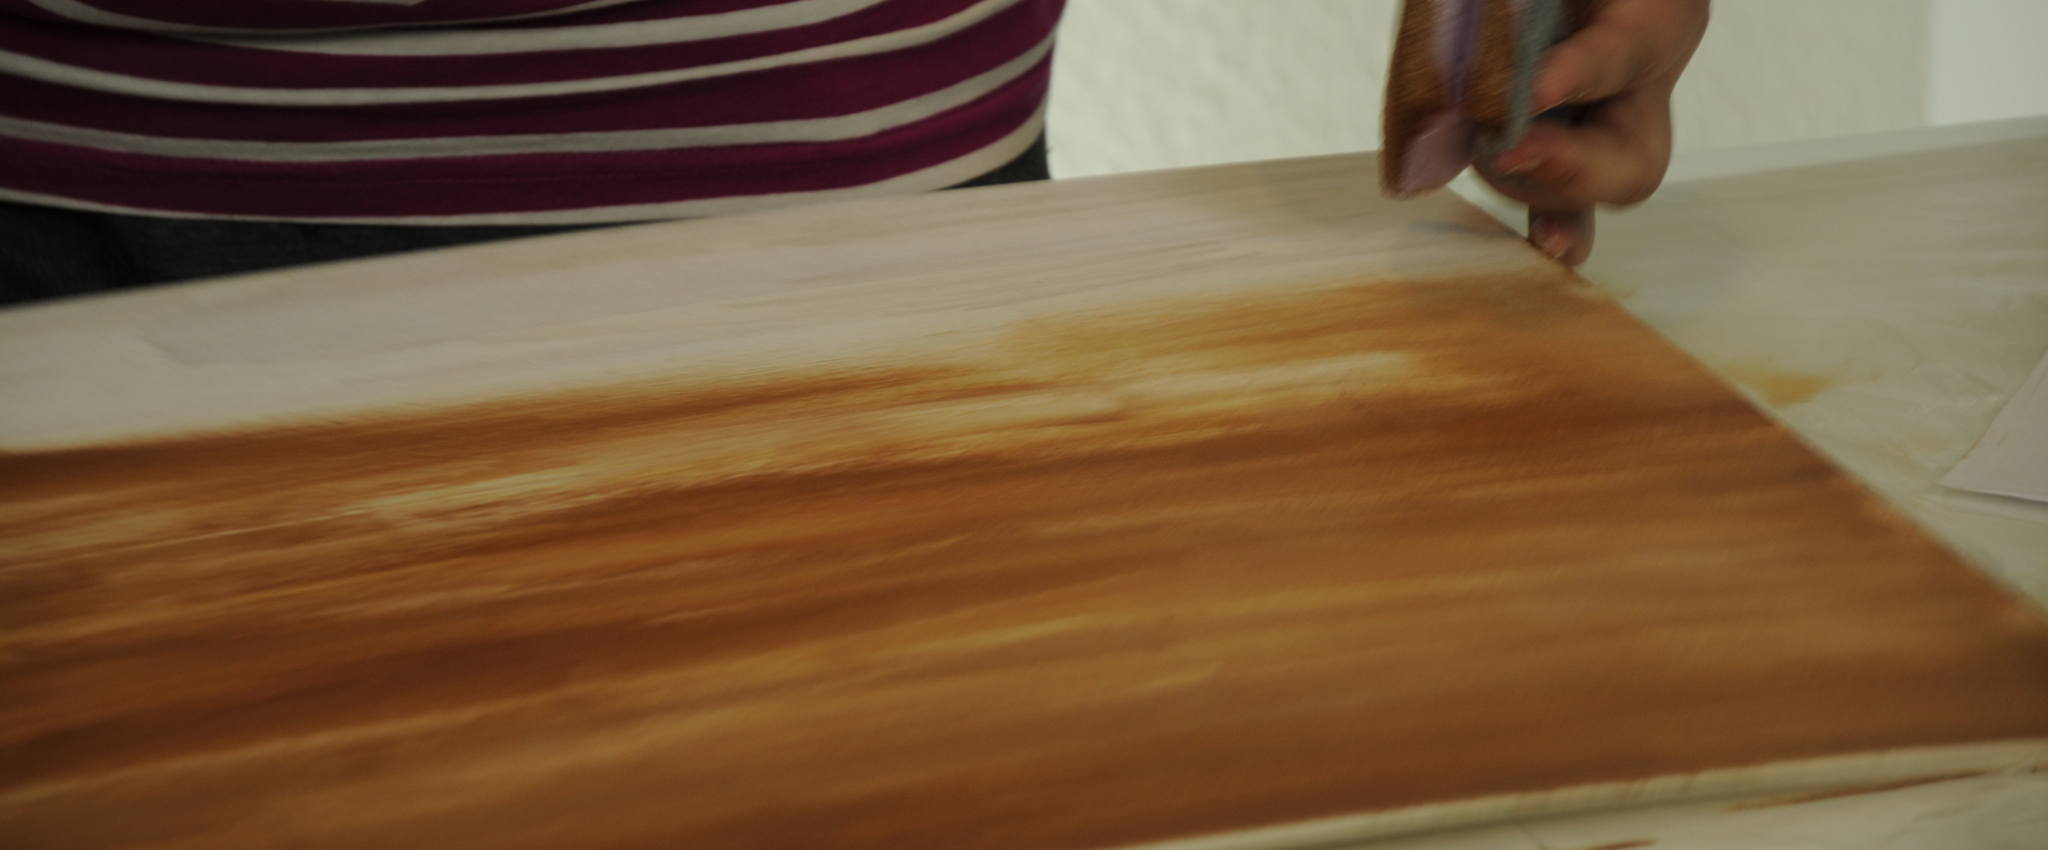
Step 1 - Priming
First, the wooden board must be primed. For this you take the acrylic paint, which should later show through a little. In the example here, I prime the wood in white. For this purpose the paint is put into a bowl - I simply take a soup plate with aluminium foil to protect the plate. Here you pick up paint with the sponge and brush the paint on the board in the direction of the wood grain. It is important that you always work in one direction.
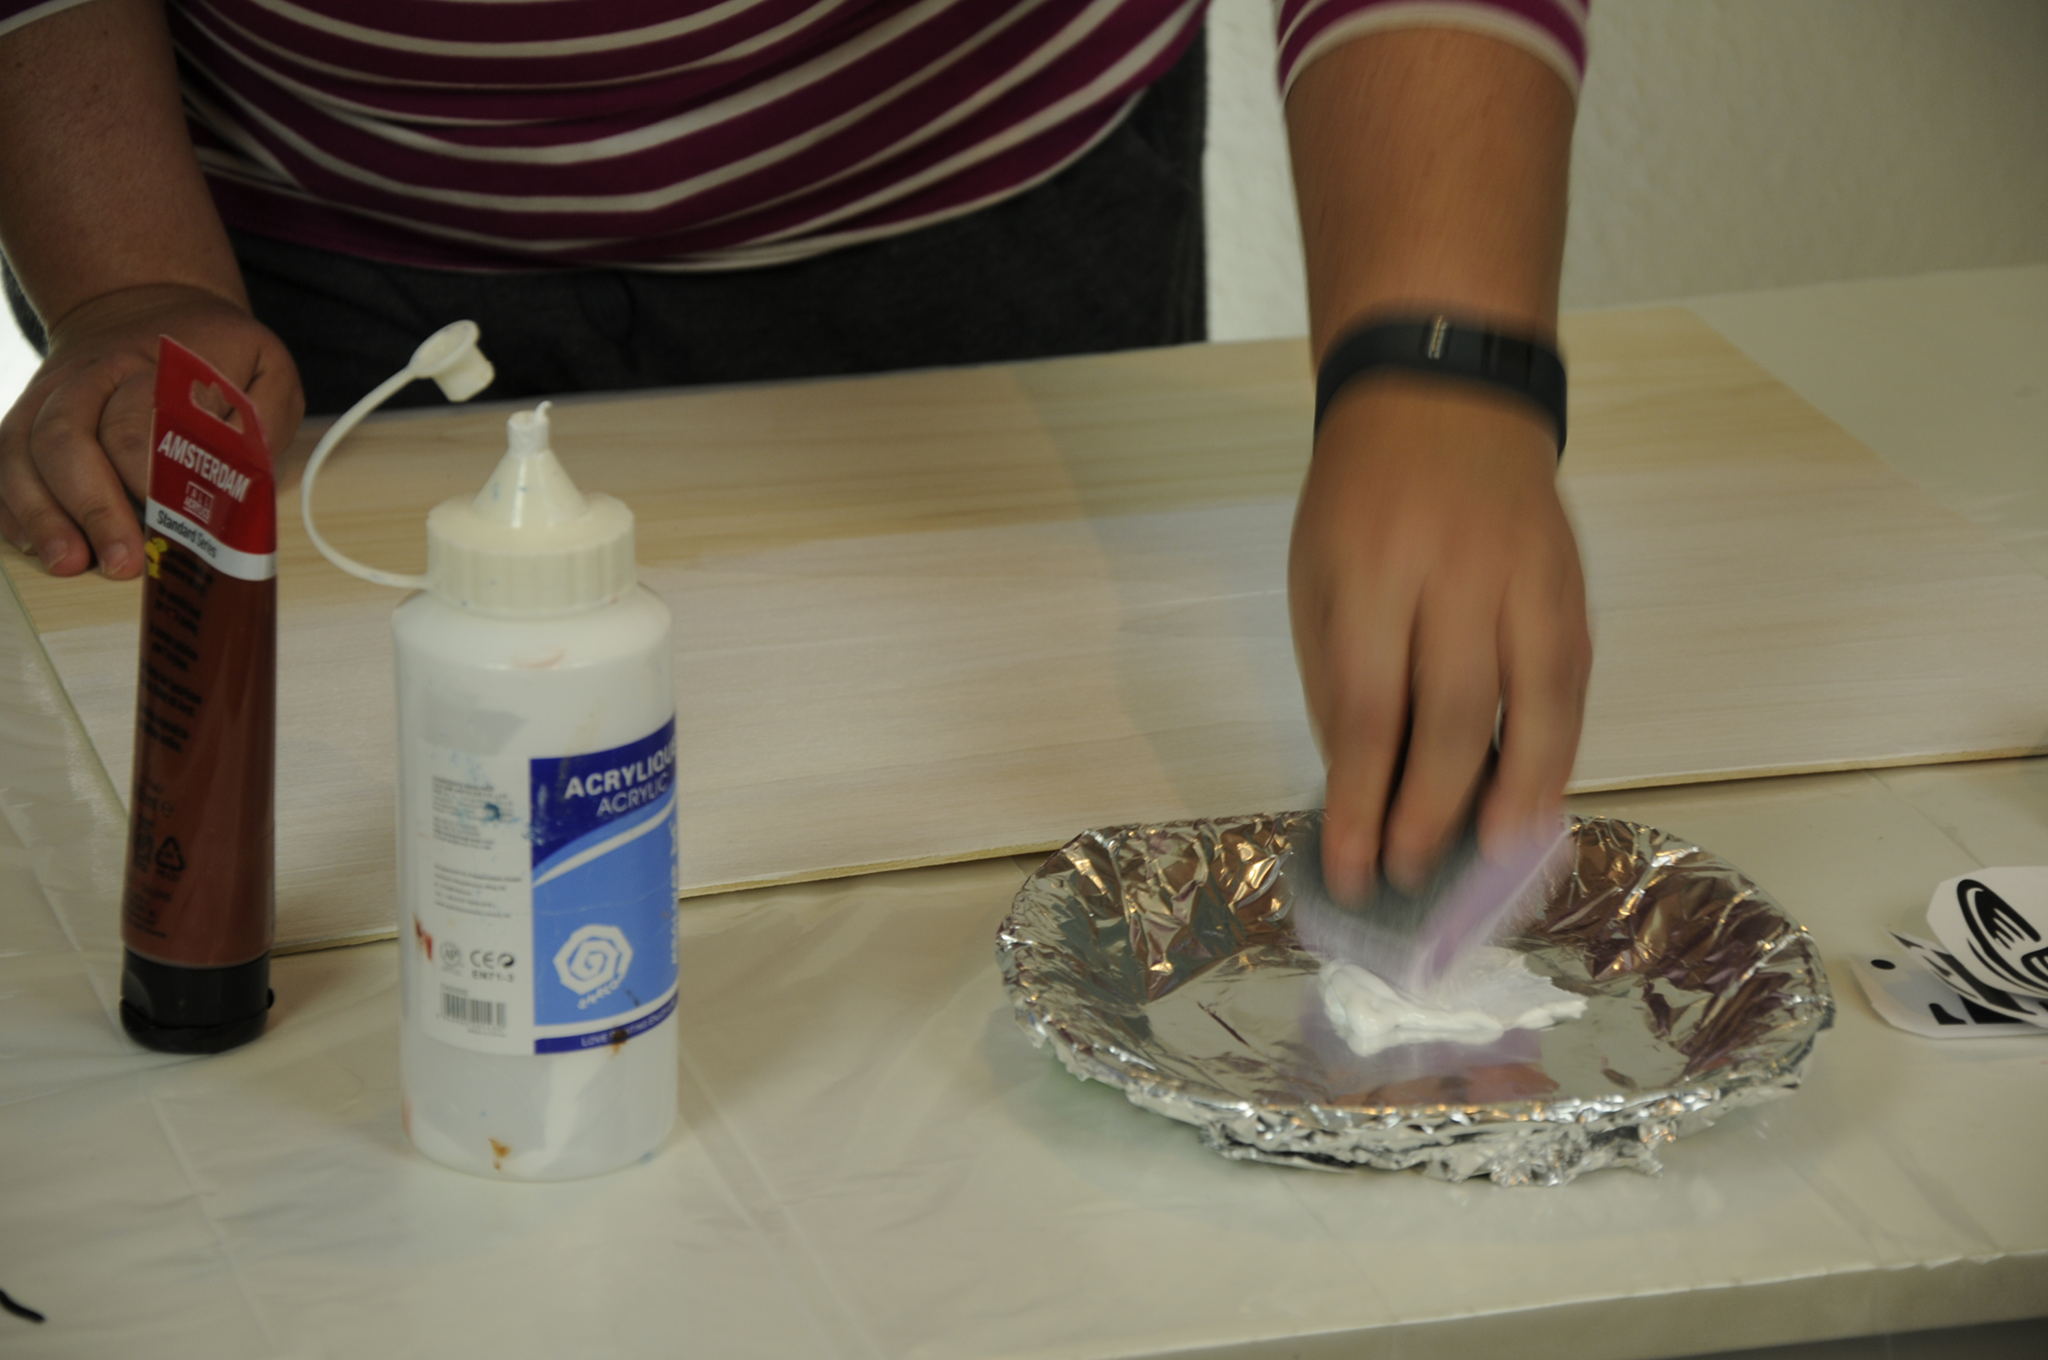
Priming
The paint does not necessarily have to be applied very evenly or very thickly. It should be applied opaque, but you should still be able to see the wood structure. Afterwards, this first acrylic layer should dry well. Here you can help a little with a hair dryer if necessary. 😉
Please do not forget to prime the edges as well, because this might look unintentionally “shabby” afterwards, which we would like to avoid in any case. You can easily work on the edges with the sponge you just used.

Priming the edges
Pro-tip: With a thin wooden board, the back also should be primed. Moisture applied to one side sometimes causes the wood to bulge. If it has become damp on both sides, it remains straight.
Step 2 - Isolation with wax
In the second step you take a candle and rub over the wooden surface - sometimes more, sometimes less. Where wax is applied, the second acrylic paint layer will not adhere as well and can be brushed off again. This is exactly the effect you want for the Shabby Chique style.
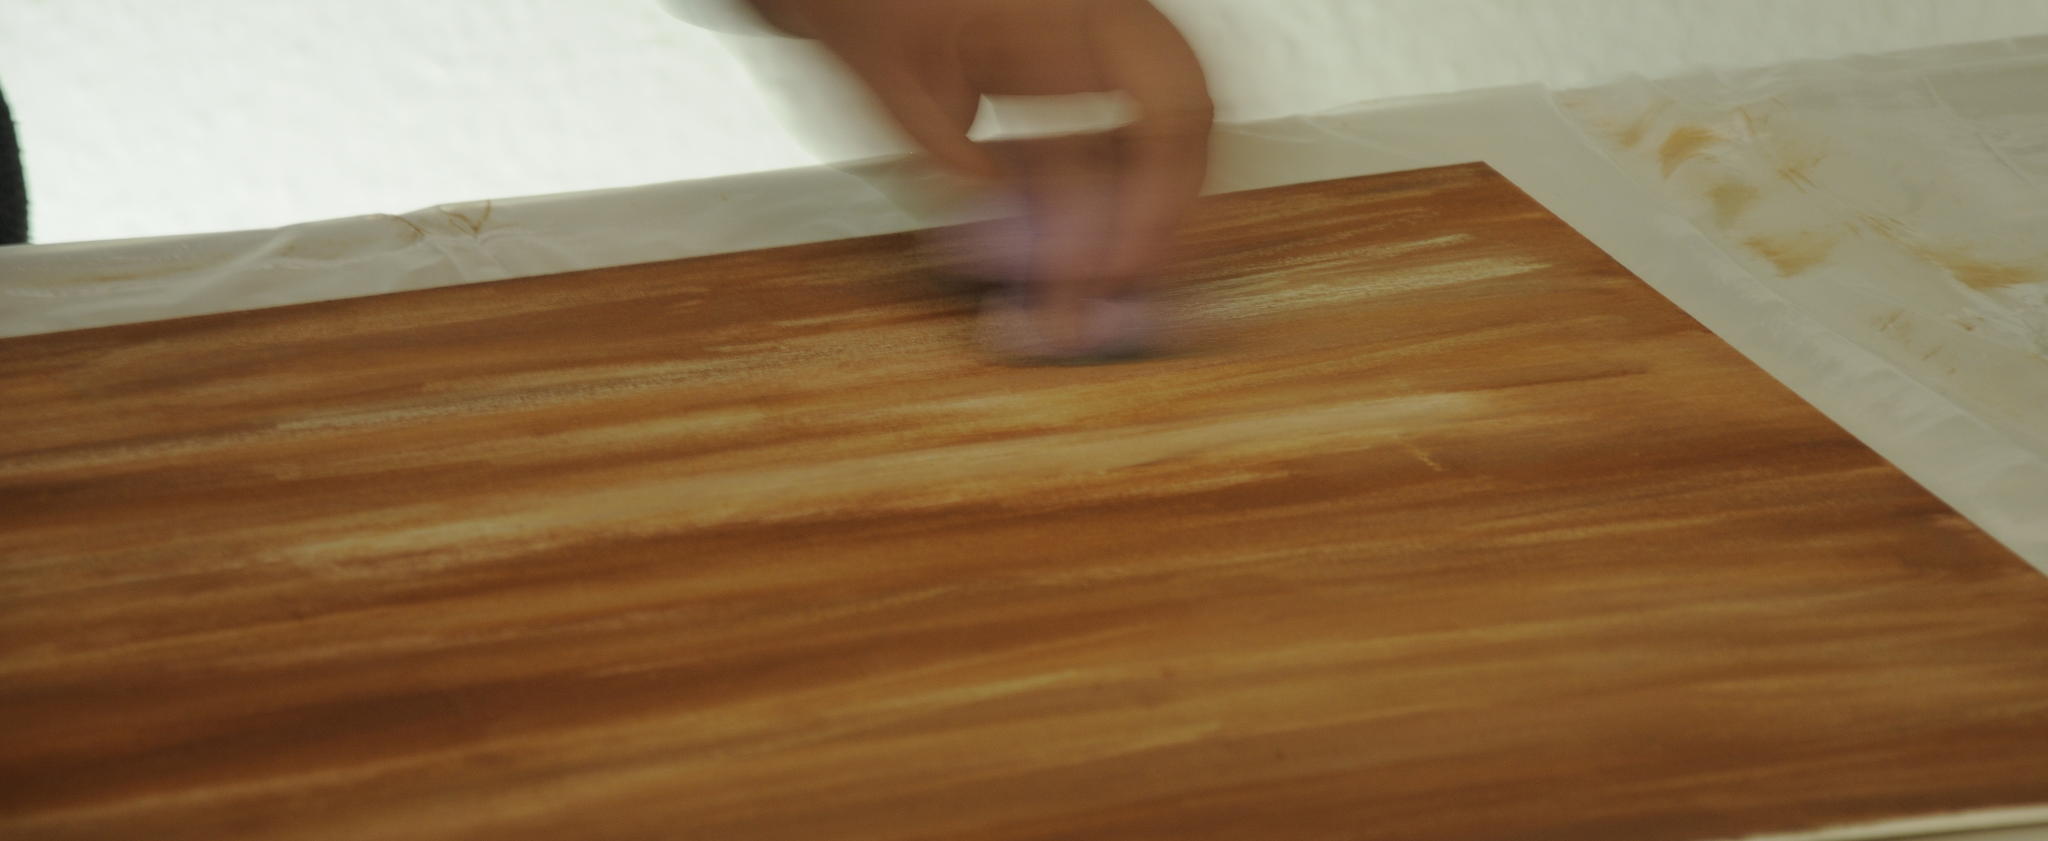
Step 3 - The second layer
Apply the second coat of paint. Mix the top coat of paint and make sure that it is well mixed. Especially if you mix the base colour with black or white, stripes of unmixed white or black colour can remain, which then make unsightly stains on the picture. Therefore mix well. Apply this mixed colour with a clean sponge and let it dry.
Apply coating color
Step 4 - It gets “Shabby”
The rough side of the household sponge is used to make the Shabby Chique. With the rough side of the sponge - the scrubbing side - you can now wipe or rub over the dried topcoat.
This will come off and rub off where enough wax was applied in step two. If you find these areas too hard or too contrasty - like in my video - you can use the sponge to loosen and rub the whole thing again without any problems with water. This will blur the contrasts a little bit and the whole thing will be softer.
create the Shabby look
Step 5 - Photo Patch
It’s getting serious - the writing has to get from the paper to the wood. For this we use the mirror-inverted printed words from the very first step. This is a bit tricky - as you can see in the video I managed to place the first word promptly upside down. 🙁
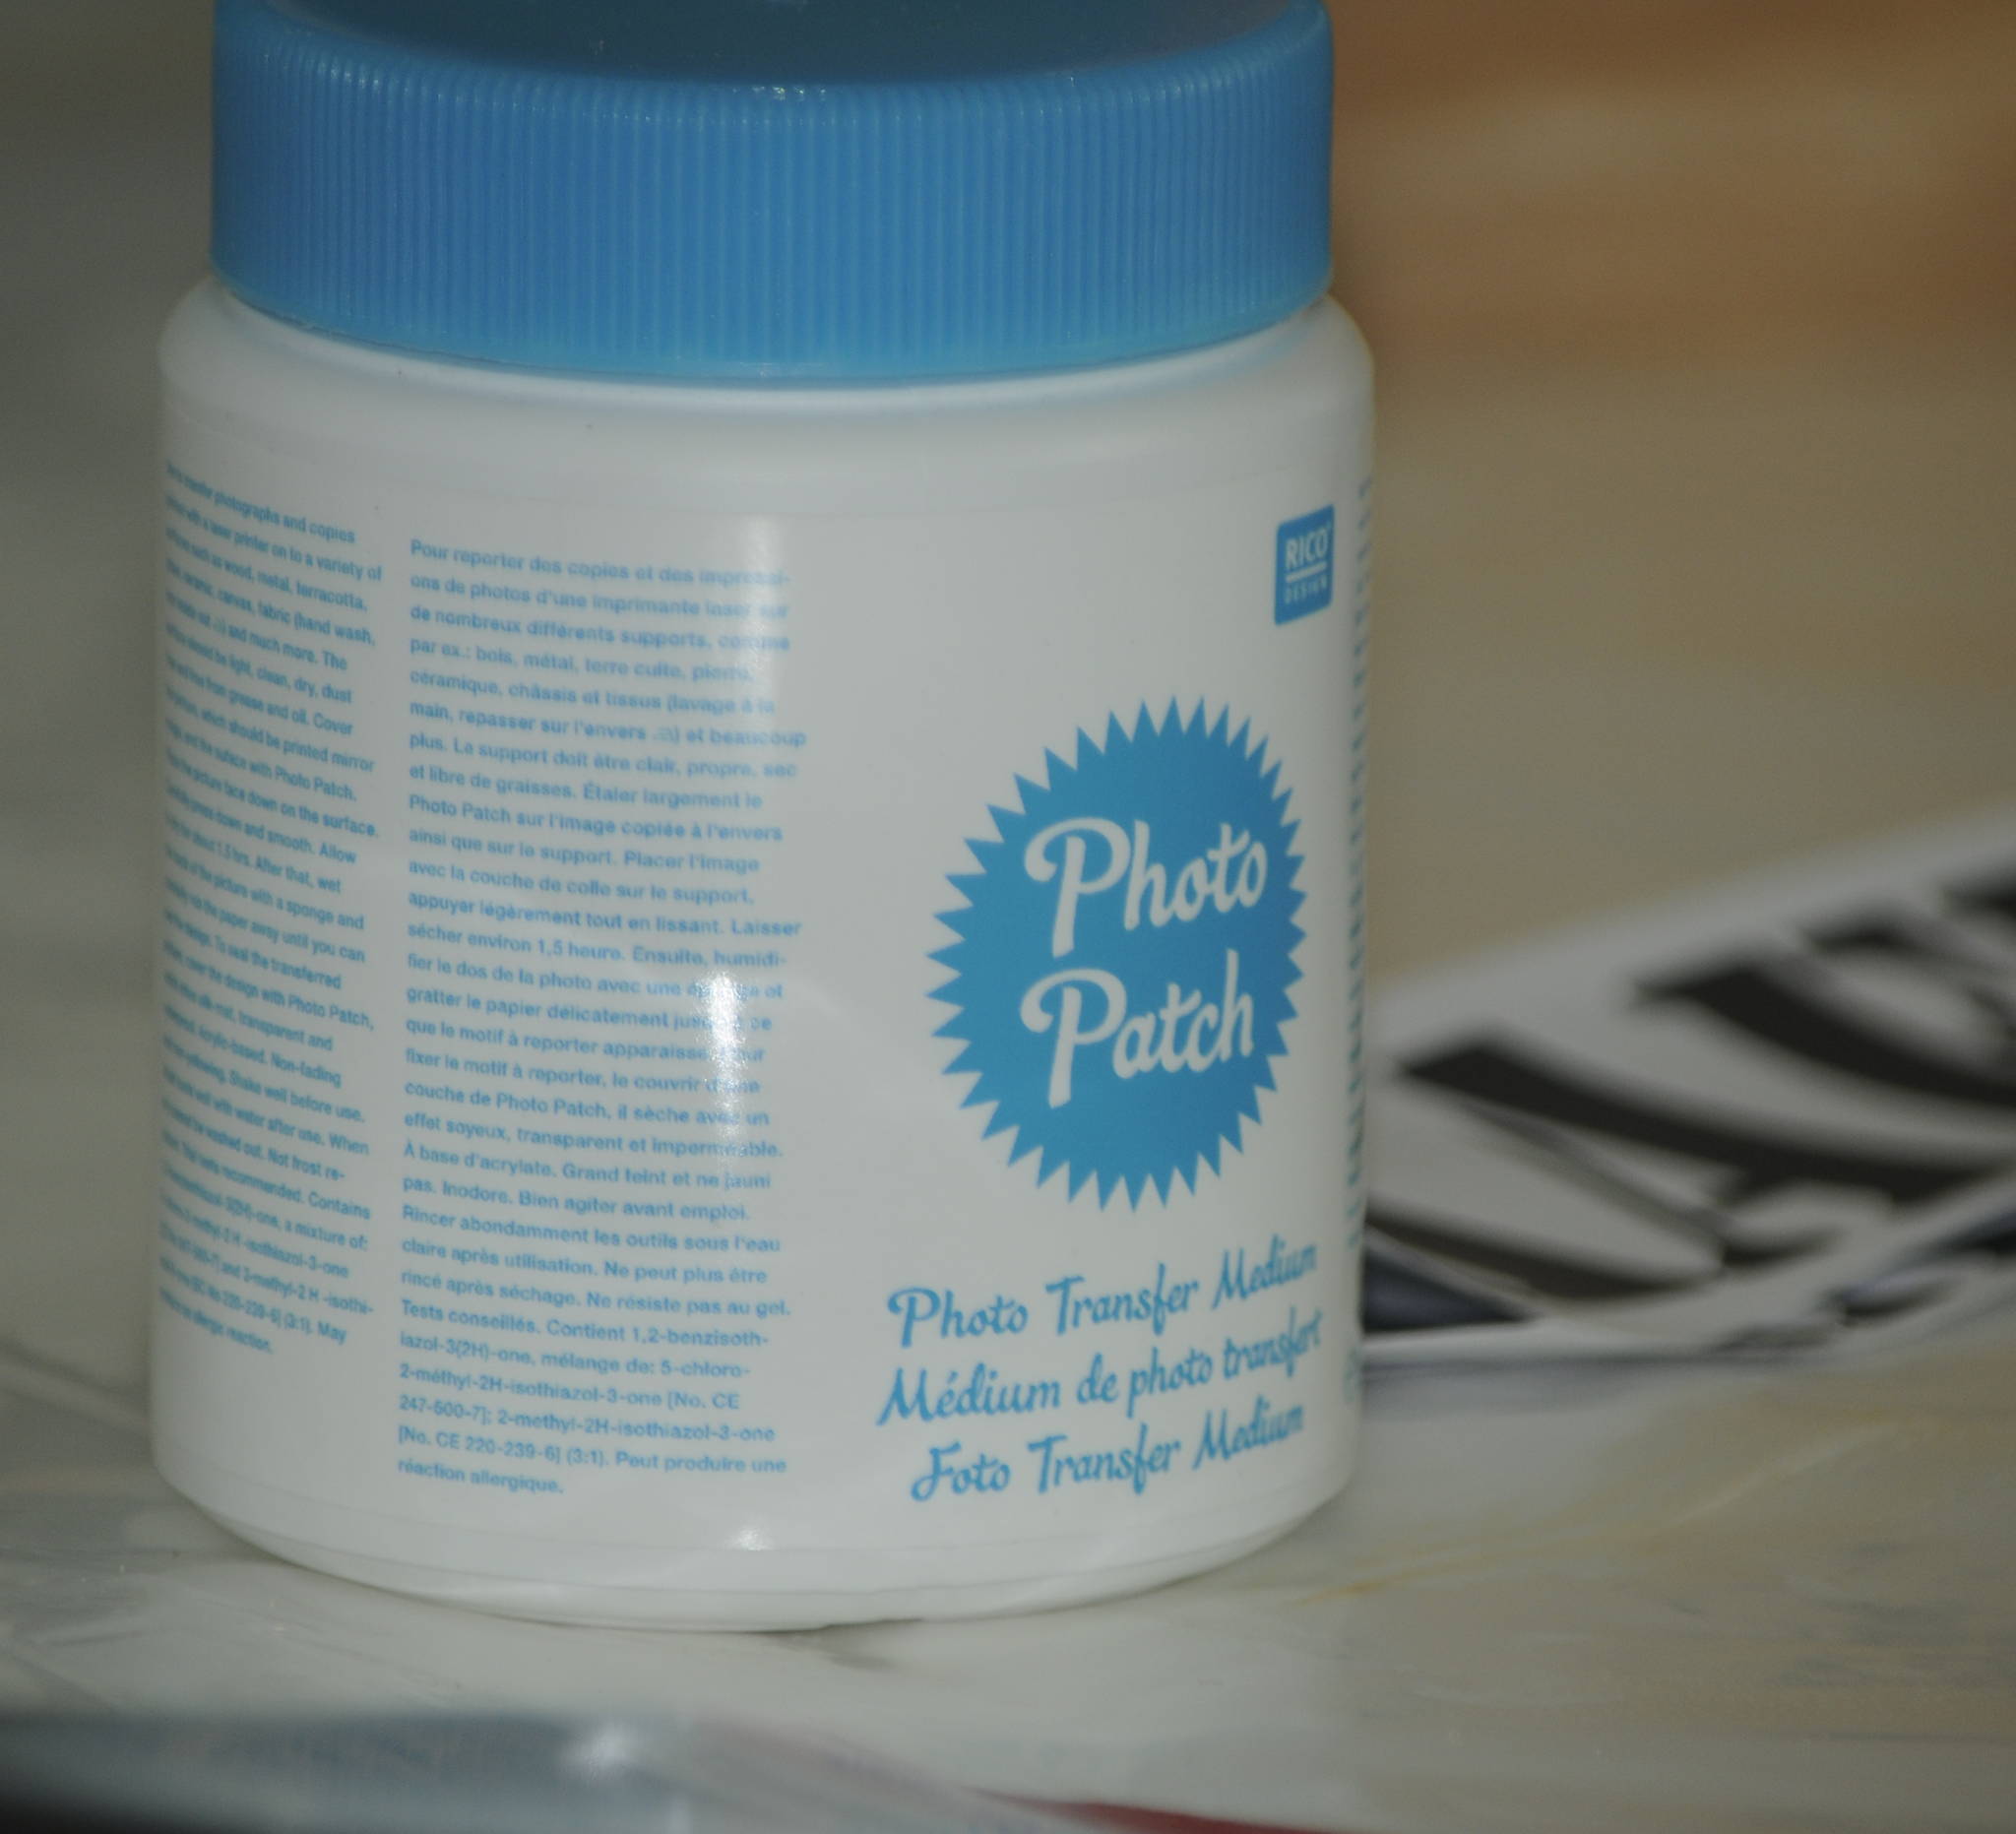
Photo Patch
To get the writing from the paper onto the wood, you take some photo patch with your brush and brush the place on the wood accordingly. Then apply Photo-Patch to the letters on the printed side as well. Next, put the word on the board with a squeegee and smooth it down. Work here from the inside out and make sure that no air bubbles remain between the paper and the wood. The whole thing is very easy if the paper is coated with enough photo transfer medium.
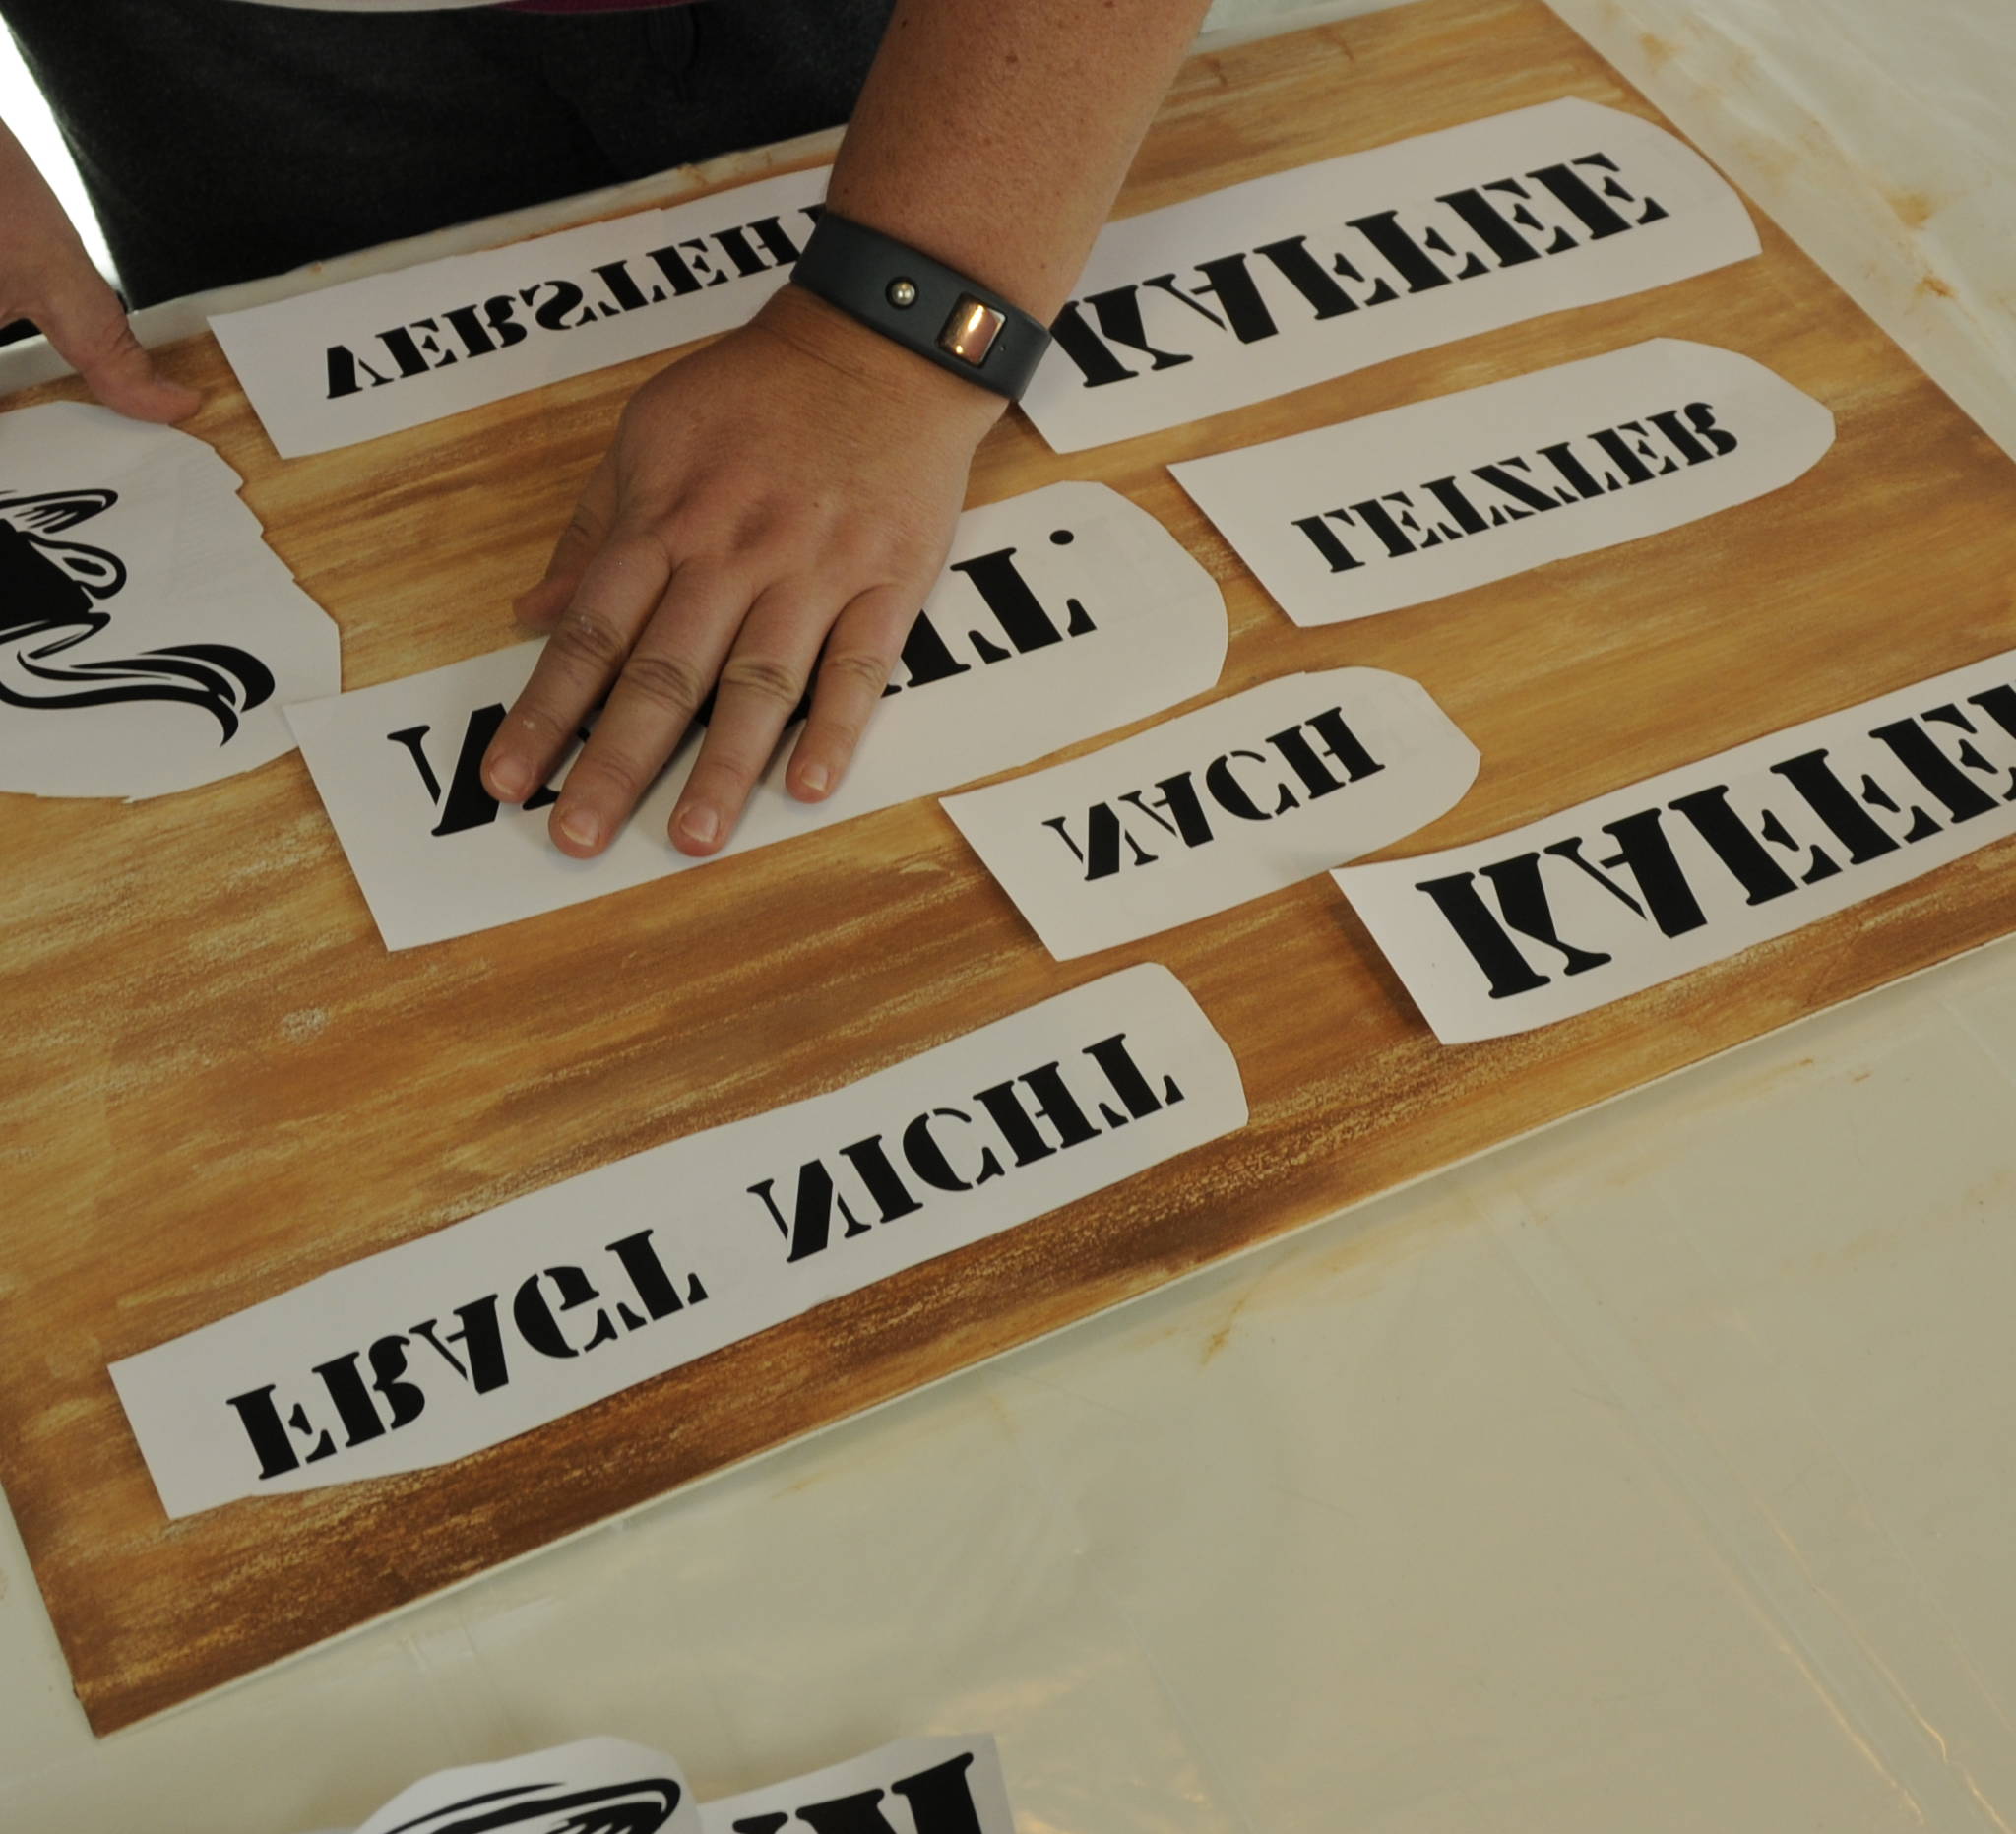
Checking the arrangement
After you have applied all the words in this way, the whole thing has to dry for about 90 minutes. You can also read on the internet that you can accelerate the drying process with a hair dryer.
I have decided to keep the time of 90 minutes and still support a little with the hair dryer. Such a chemical reaction simply runs better with a little heat. In addition, when I recorded the video it was warmer than you normally have at home - so it may well be that it takes a bit longer with you.
Step 6 - Get off the paper
The penultimate step removes the paper. If everything went right, the letters now stick to the wood and the paper can be removed. To do this, use the household sponge and a bowl of water again. With it you moisten the paper well and rub carefully an sometimes more strongly the softened paper from the wood. The letters should remain on the wood.
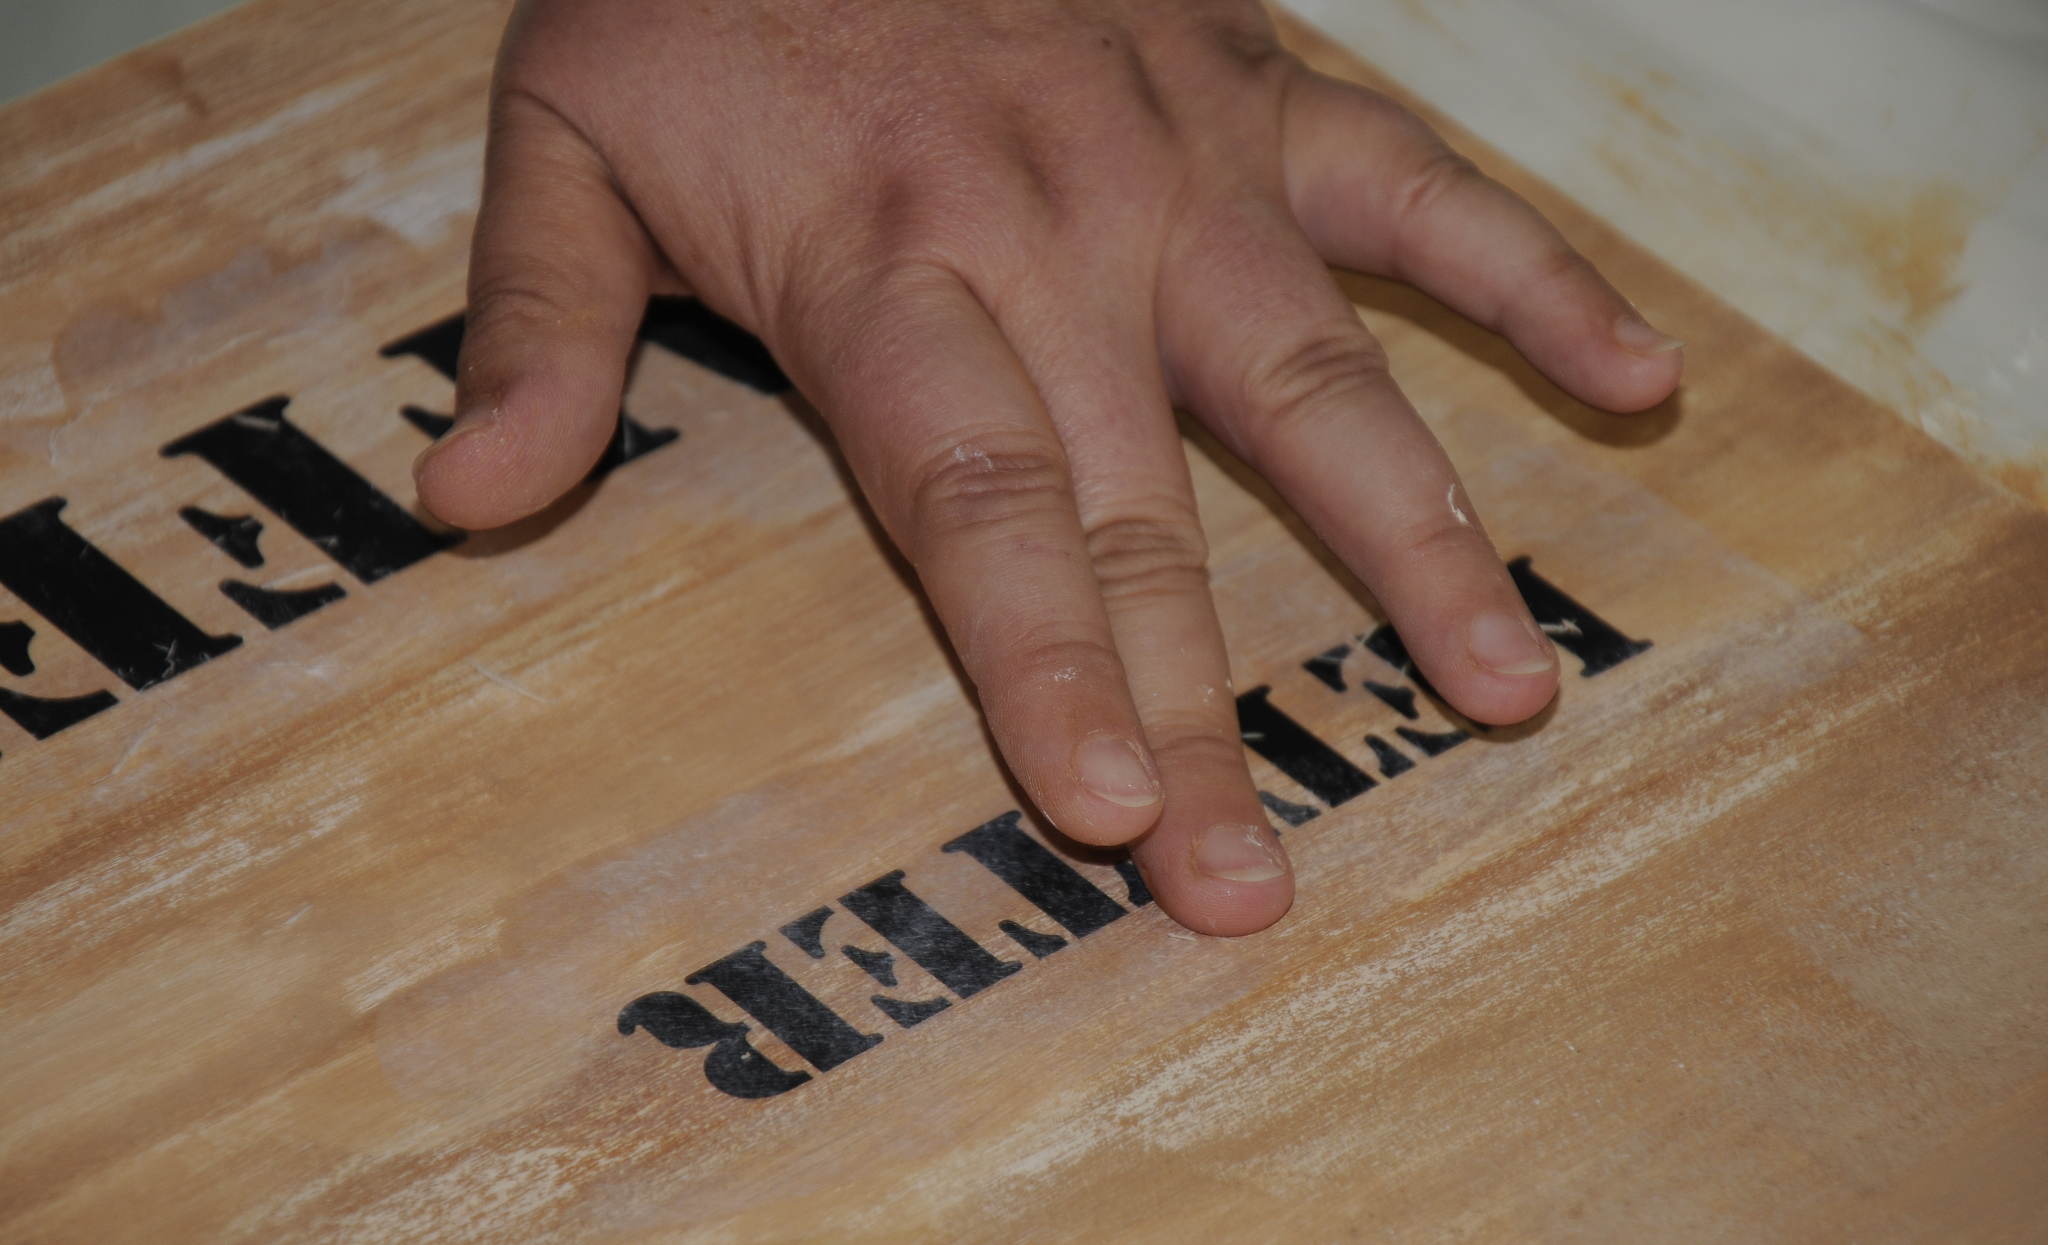
Remove the paper
Even if some “letter” parts come off, it doesn’t matter in my opinion, because it fits the desired “used look”. If there is still some paper left, you can also carefully rub it with your finger. At least after working with the sponge I still had a wafer-thin layer of paper over the words like a grey veil. But I could rub it off carefully with my index finger. If in doubt, a little more water will help to loosen the paper.
Step 6b - Mend the mistake
First I tried to paint over the upside down word with acrylic, but unfortunately this did not work out well. So I had to use a brutal method. In this case I resorted to steel wool ( Advertisement), which the wrong letters could not resist. Fortunately, the acrylic underneath was not damaged by the steel wool. So I was able to reapply the new printed word as described in step 5.
As you can see in the video, such mistakes can occur again and again when working as an artist. I am convinced that the essential point here is to learn from the mistake. Don’t be discouraged by such mistakes, but keep going. Next time it will be better, you will see.
Step 7 - Sealing
The last step is to seal the writing on the wood. For this purpose the wood is completely covered with the photo transfer medium I used. According to the product instructions, only the transferred motif needs to be painted with Photo-Patch. But I want to avoid edges on the motif and paint the wooden sign completely. Photo-Patch dries colourless and creates a silky-matt shine.
Did you like it?
This is my first project that I’m carrying publicly on the Internet. Did you like it? What can I do better? Where is information missing, where was I too long-winded? Write it down in the comments here in the blog or on YouTube. Please subscribe to my channel on YouTube and leave a “thumbs up” if you liked it. This helps me and supports me to publish even more for you in the future.
Yours, Tanja.